 Pin It
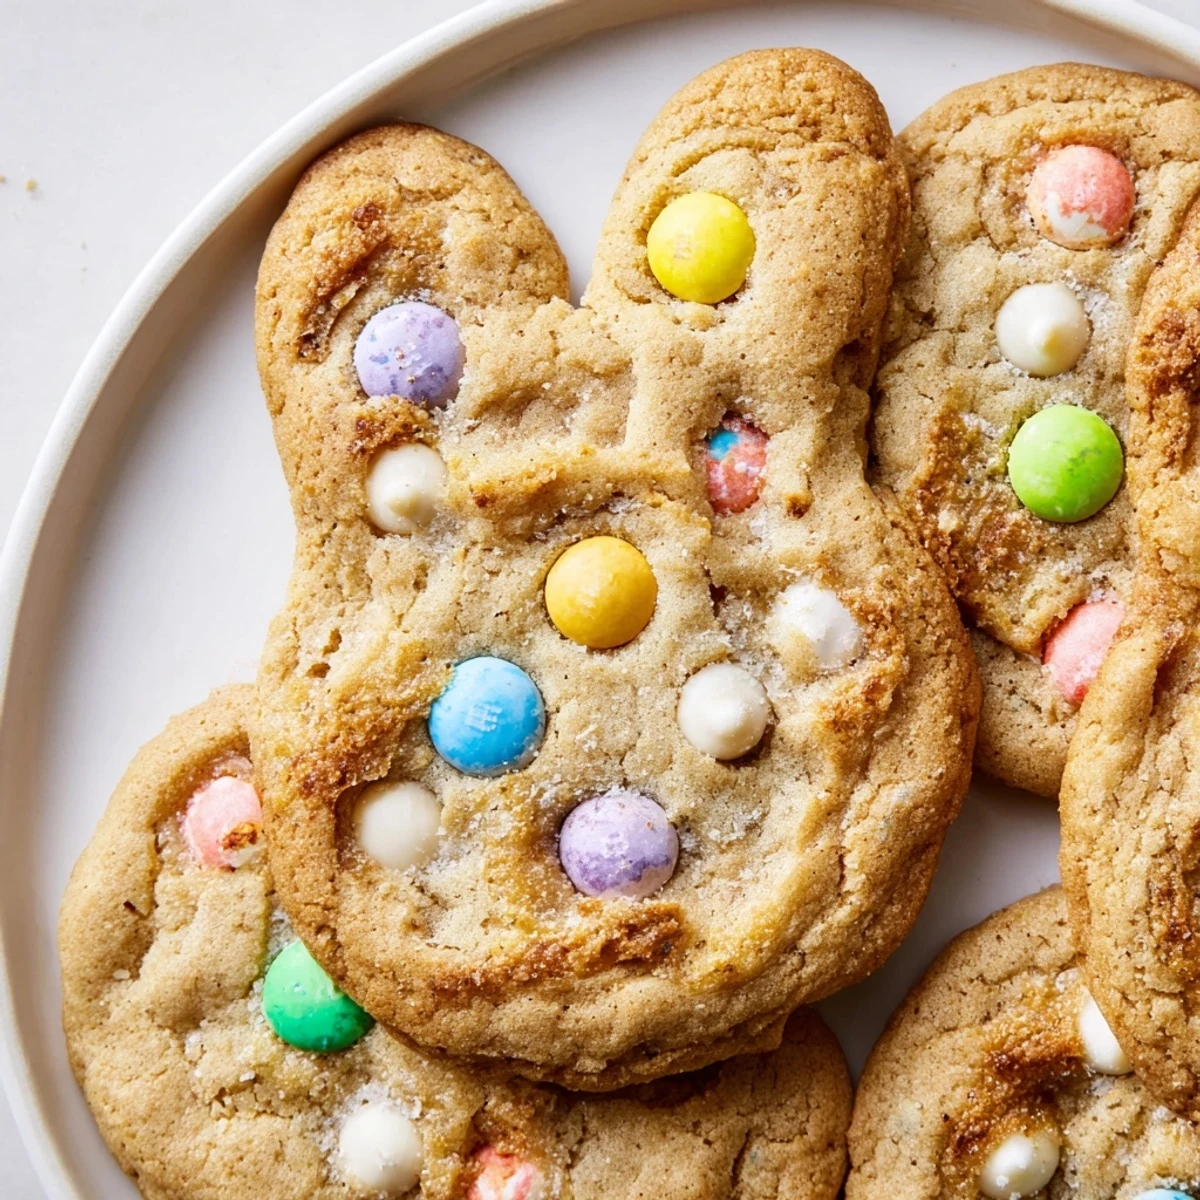
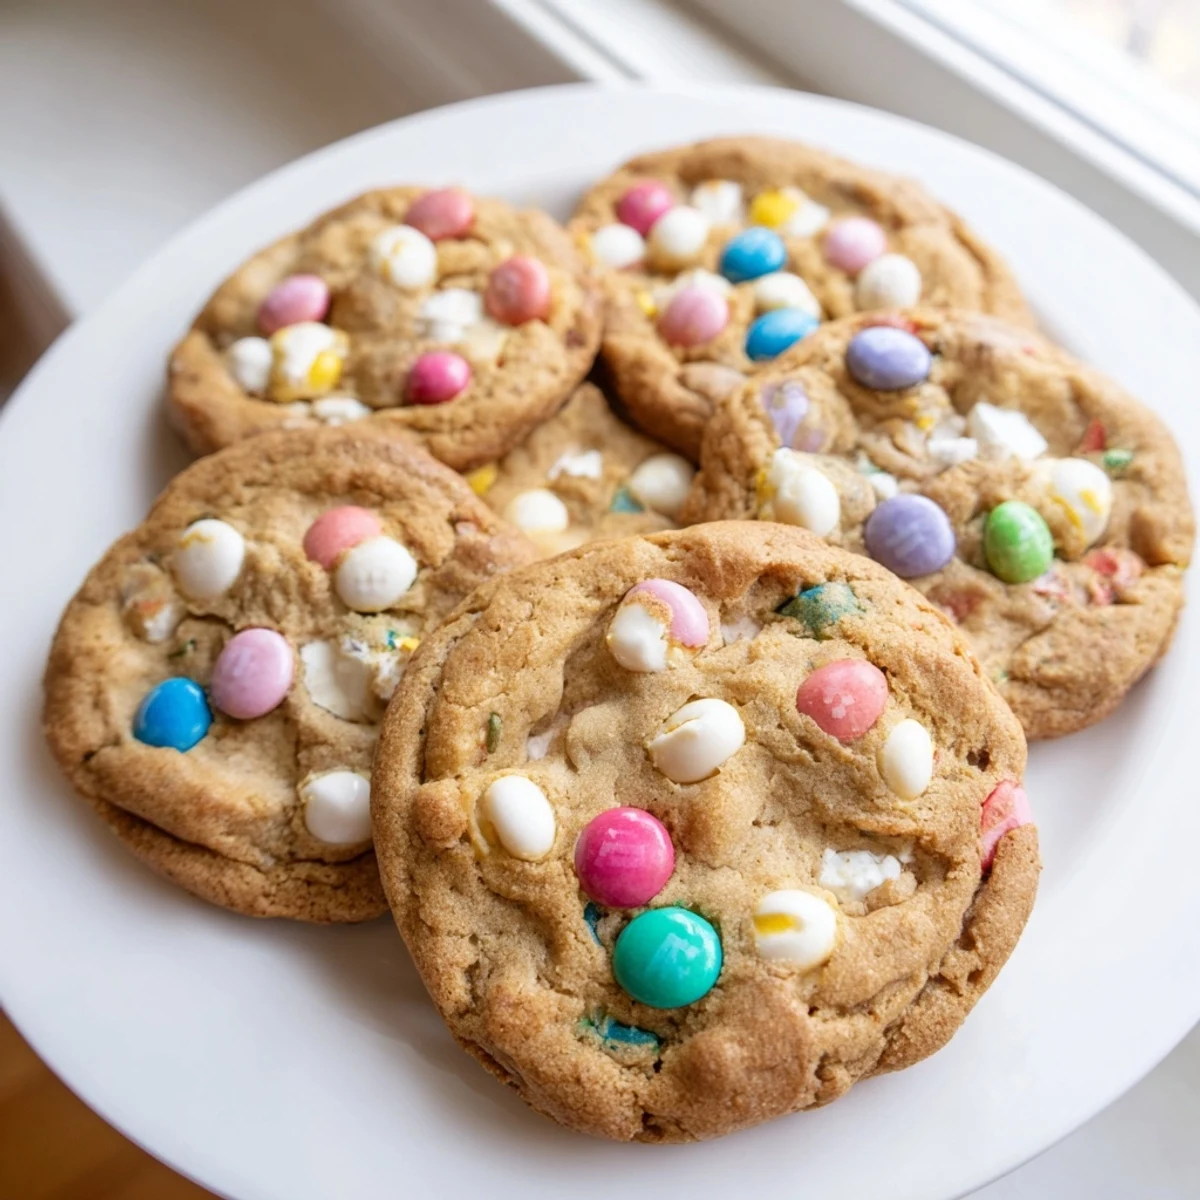
 Create adorable Easter treats with these soft, chewy cookies featuring colorful chocolate candies and playful bunny decorations. The dough comes together in just 20 minutes using pantry staples, then bakes into perfectly golden edges with tender, melt-in-your-mouth centers.
Customize with pastel M&Ms, white chocolate chips, or festive sprinkles for extra holiday flair. The optional bunny marshmallow toppers make these irresistible for both kids and adults.
These crowd-pleasing cookies stay fresh for days, making them ideal for Easter baskets, spring parties, or thoughtful homemade gifts.
Last Easter, my kitchen counter looked like a candy factory explosion with pastel M&Ms scattered everywhere and flour dusting my favorite apron. My niece was supposed to be helping but spent most of the time eating the decorations, leaving me to fashion little bunny faces on cookie dough while she snuck white chocolate chips. Those cookies disappeared faster than I could get them on the cooling rack, leaving behind nothing but happy chocolate-smeared smiles.
I discovered the magic of slightly underbaking these cookies after my first batch came out like hockey pucks during a rushed Easter morning prep. The moment I pulled that second tray out when centers still looked doughy, everything changed—suddenly I had those bakery-style soft cookies people think only professionals can make. Now it's become my golden rule for any cookie that claims to be chewy.
Ingredients
- 2 1/4 cups (280 g) all-purpose flour: The foundation of your cookie structure, spoon and level it to avoid dense dough
- 1/2 teaspoon baking soda: Gives your cookies just enough lift to be puffy not flat
- 1/2 teaspoon salt: Balances sweetness and makes chocolate flavors pop
- 3/4 cup (170 g) unsalted butter, softened: Room temperature butter incorporates properly for even baking
- 1 cup (200 g) light brown sugar, packed: Creates moisture and deep caramel notes for chewiness
- 1/2 cup (100 g) granulated sugar: Provides crisp edges while brown sugar handles the soft center
- 2 large eggs: Bind everything together and add structure
- 2 teaspoons pure vanilla extract: Don't skimp here—it's the backbone of classic cookie flavor
- 1 cup (180 g) chocolate M&M candies: Easter colors make these festive but regular ones work anytime
- 1/2 cup (90 g) white chocolate chips (optional): Adds creamy contrast to the chocolate candy shells
- Extra M&M candies for topping: Press these in before baking for that professional bakery look
- Bunny-shaped marshmallows or edible eyes (optional): Pure decoration but makes people smile every time
Instructions
- Preheat your oven to 350°F (175°C) and line two baking sheets with parchment paper.
- The parchment saves you from scrubbing baked-on sugar and helps cookies bake evenly without dark bottoms.
- Whisk together the flour, baking soda, and salt in a medium bowl.
- This ensures your leavening and salt are evenly distributed so every cookie tastes identical.
- Cream the softened butter, brown sugar, and granulated sugar in a large bowl until light and fluffy.
- Take your time here—about 2 to 3 minutes of beating creates air pockets for lighter cookies.
- Beat in the eggs one at a time, then mix in the vanilla extract.
- Adding eggs separately prevents them from curdling and helps them fully incorporate into the butter mixture.
- Gradually add the flour mixture to the wet ingredients, mixing on low speed until just combined.
- Overmixing develops gluten which makes cookies tough, so stop as soon as flour streaks disappear.
- Gently fold in the M&M candies and white chocolate chips by hand.
- The electric mixer would break your candy into specks, but hand-folding keeps those beautiful colorful pockets intact.
- Scoop dough balls about 2 inches apart on prepared baking sheets and top with extra decorations.
- A medium cookie scoop creates uniform portions that bake at the same rate for consistent results.
- Bake for 9 to 11 minutes until edges are set but centers still look slightly underdone.
- They continue cooking on the hot pan, so removing them early guarantees that soft chewy texture.
- Let cool on the baking sheet for 5 minutes before transferring to a wire rack.
- This resting period lets cookies firm up enough to move without breaking or losing their shape.
 Pin It
 My neighbor's kids now ask starting in February if I'm making my bunny cookies again this year. Something about those little candy faces peering up from the plate makes Easter feel like magic even for adults who pretend they're too old for whimsical desserts.
Getting That Perfect Chewy Texture
The secret is pulling these from the oven when the edges look done but centers still seem raw and glossy. I know it goes against every baking instinct but those soft centers firm up during the 5-minute rest on the hot pan. The residual heat completes the baking process leaving you with that professional texture that seems impossible to replicate at home until you try this method.
Decorating Without the Stress
Keep a small bowl of warm water nearby while you're adding bunny faces—dip your fingers between cookies to prevent the dough from sticking to your hands and smearing your careful designs. If you're working with kids, let them arrange the M&M 'eyes' while you handle the marshmallow ears that need more precision.
Making These Your Own Year-Round
While Easter colors make these special, the dough base adapts beautifully to any holiday or celebration. Red and green M&Ms turn them into Christmas treats, pastel colors work for baby showers, and standard colors make them perfect for bake sales or birthday parties any time of year.
- Swap the candies for peanut butter chips and chocolate chunks for a different flavor profile
- Add a teaspoon of almond extract alongside the vanilla for a subtle bakery-style twist
- Roll the dough edges in sprinkles before baking for extra festive flair
 Pin It
 There's something about homemade cookies that makes any holiday feel complete, especially when they're this colorful and fun. Happy Easter baking!
Recipe Q&A
- → Can I make the dough ahead of time?
-
Yes! Refrigerate the dough for up to 3 days before baking. Chilled dough actually produces thicker, chewier cookies with enhanced flavor. Let it soften slightly at room temperature for 10-15 minutes before scooping.
- → What if I can't find Easter-colored M&Ms?
-
Regular M&Ms work perfectly fine! You can also use pastel sprinkles, chopped chocolate bars, or mix different candy-coated chocolates. Jellybeans or mini eggs make festive Easter alternatives too.
- → Why are my cookies spreading too much?
-
This usually happens if the butter is too soft or the dough is warm. Try chilling the dough for 30 minutes before baking, and ensure your butter is softened but not melting. Measuring flour correctly also helps maintain structure.
- → Can I freeze these cookies?
-
Absolutely! Freeze baked cookies in an airtight container for up to 3 months. You can also freeze scooped dough balls and bake them straight from the freezer, adding 1-2 minutes to the baking time.
- → How do I get that perfect underbaked, chewy texture?
-
Remove cookies from the oven when edges look set but centers still appear slightly soft and glossy. They'll continue cooking on the hot baking sheet, resulting in perfectly chewy centers with crispy edges.
- → Are these suitable for classroom Easter parties?
-
Yes, but always check with the teacher first regarding allergies. Consider making nut-free versions and clearly label ingredients. These transport well and stay delicious at room temperature for hours.
