 Pin It
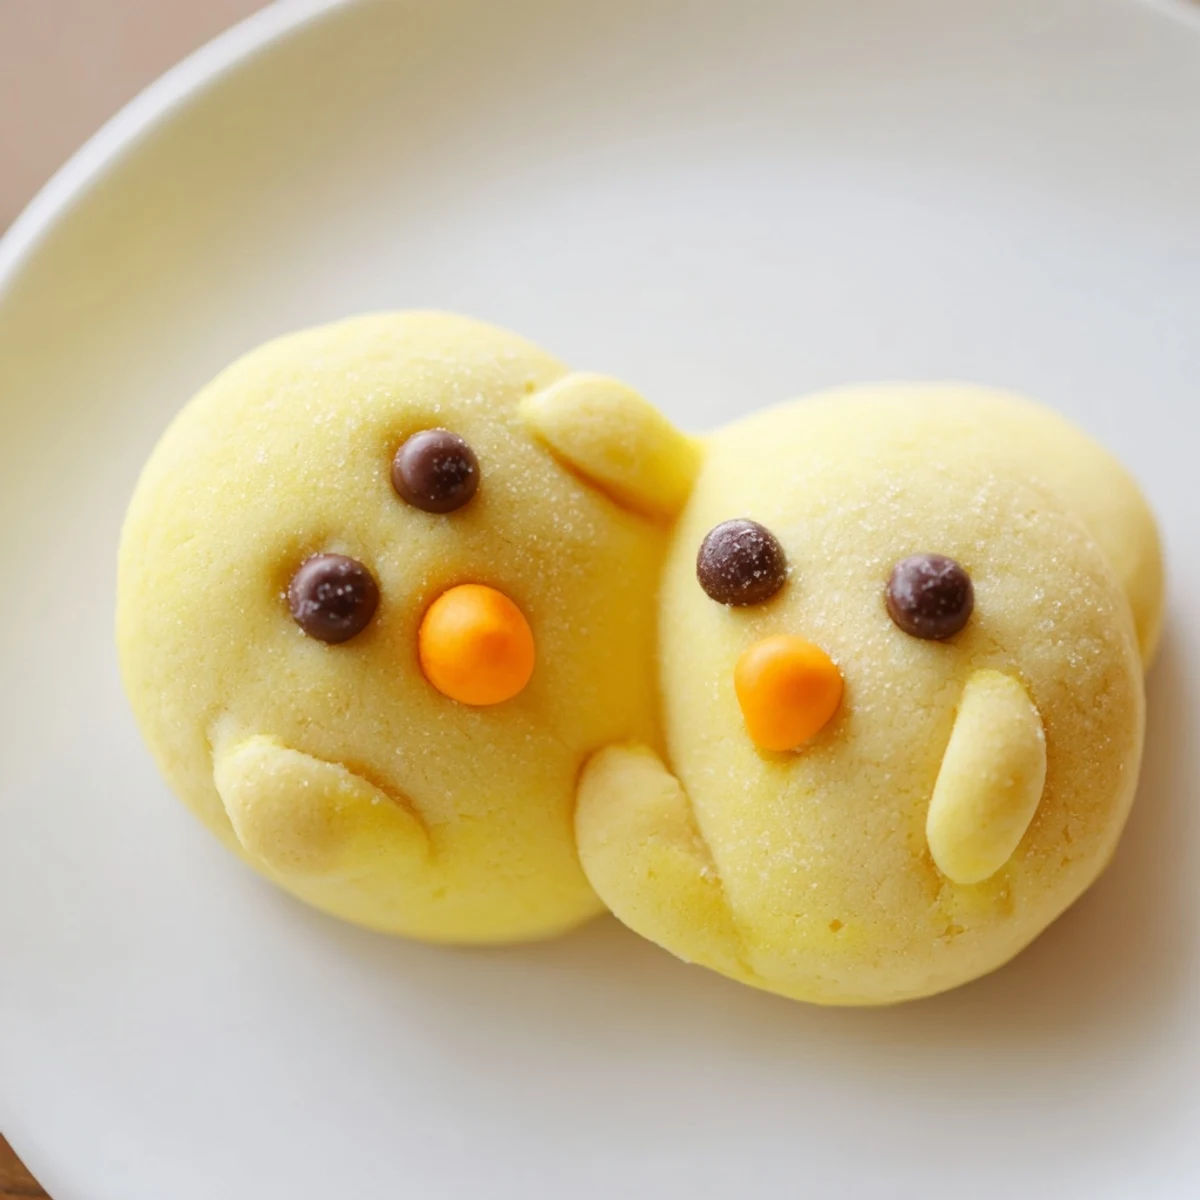
 These delightful chick-shaped sugar cookies bring whimsy to any spring celebration. The buttery dough incorporates yellow coloring throughout, then gets shaped into simple two-piece bodies—creating the classic chick silhouette with a smaller head resting on a rounded body. After baking until just golden, a thin powdered sugar glaze adds shine while black and orange decorating gels transform each cookie into an expressive little chick face.
The dough comes together quickly with standard pantry staples, and the shaping process is simple enough for children to help. Total hands-on time runs about 30 minutes, yielding 24 charming cookies that work beautifully for Easter, baby showers, or any festive spring gathering. For best results, chill the dough briefly if it becomes too soft, and let decorated cookies set completely before stacking or serving.
My daughter's spring birthday party needed something unforgettable, and these tiny chick cookies became the star of the show. The kitchen smelled like vanilla and butter while we worked side by side, her small hands carefully shaping each yellow ball into what she called 'baby birds.'
Last Easter, my niece insisted on helping decorate every single cookie. We ended up with chicks that had crossed eyes, lopsided beaks, and more personality than any bakery could sell. That's when I knew imperfect chicks were the best kind.
Ingredients
- 2 1/4 cups all purpose flour: The foundation that gives these cookies their perfect tender crumb
- 1/2 teaspoon baking powder: Just enough lift for soft, pillowy cookies
- 1/4 teaspoon salt: Balances the sweetness and brings out the buttery flavor
- 3/4 cup unsalted butter: Room temperature butter creates that irresistible melt in your mouth texture
- 3/4 cup granulated sugar: Sweetens the dough while keeping the cookies light
- 1 large egg: Binds everything together and adds richness
- 1 teaspoon vanilla extract: Pure vanilla makes all the difference in flavor
- Yellow food coloring: Gel coloring works best for vibrant egg yolky yellow without thinning the dough
- 3/4 cup powdered sugar: Creates a sweet glossy glaze that makes the chicks look freshly hatched
- 2 tablespoons milk: Just enough to turn the powdered sugar into a brushable glaze
- Black decorating gel or mini chocolate chips: Tiny dots that bring these chicks to life
- Orange decorating gel or candy: The beak that gives each chick its hungry baby bird expression
Instructions
- Preheat your oven:
- Set it to 350°F and line two baking sheets with parchment paper so nothing sticks
- Whisk the dry ingredients:
- In a medium bowl combine flour baking powder and salt until everything is evenly distributed
- Cream the butter and sugar:
- Beat them together until the mixture turns light and fluffy which takes about 2 to 3 minutes of serious mixing
- Add the wet ingredients:
- Beat in the egg and vanilla until the mixture looks smooth and glossy
- Combine everything:
- Gradually mix in the dry ingredients on low speed until a smooth dough forms
- Color the dough:
- Add yellow food coloring drop by drop kneading until you reach that perfect sunny yellow shade
- Shape the chicks:
- Roll dough into 1 inch balls then place one ball for the body and a smaller ball on top pressing gently so they stick together
- Arrange and bake:
- Space cookies about 2 inches apart on your prepared sheets and bake for 8 to 10 minutes until edges are barely golden
- Cool completely:
- Let the cookies sit on the baking sheet for a few minutes then transfer to a wire rack
- Glaze if desired:
- Mix powdered sugar with milk until thin and glossy then brush over cooled cookies for extra shine
- Add the faces:
- Use black gel or chocolate chips for eyes and orange gel or candy for beaks letting everything set before serving
 Pin It
 These little chicks have become my go to for spring classroom parties and baby showers. Something about their tiny faces makes people smile before they even take a bite.
Making Ahead
The dough keeps beautifully in the refrigerator for up to three days or freezes for a month. I often make a double batch and keep half ready for unexpected spring gatherings.
Decoration Ideas
Beyond the classic faces try adding tiny sprinkle wings or dipping the bottoms in melted white chocolate. My kids love giving each chick a different expression.
Storage Tips
Store these in an airtight container at room temperature for up to five days though they rarely last that long in my house. The glaze can make them slightly soft after day three.
- Place parchment paper between layers if stacking them
- Freeze undecorated baked cookies and glaze after thawing
- Keep decorated cookies away from humidity or the gel faces might smear
 Pin It
 Watch how quickly these disappear from the plate. Every batch reminds me that the cutest food often tastes the best.
Recipe Q&A
- → Can I make the dough ahead of time?
-
Yes, refrigerate the dough for up to 24 hours before shaping and baking. Let it soften slightly at room temperature for 15 minutes before rolling.
- → What if I don't have food coloring?
-
Natural yellow works beautifully, or try adding a pinch of turmeric for subtle golden color without artificial dyes.
- → How should I store these cookies?
-
Keep in an airtight container at room temperature for up to 5 days. Place parchment paper between layers to protect decorations.
- → Can I freeze these chick cookies?
-
Freeze undecorated baked cookies for up to 3 months. Thaw completely before adding glaze and decorations.
- → What's the best way to get smooth chick faces?
-
Use toothpicks to gently press head and body together while warm from baking. Apply decorations once completely cooled for best adherence.
- → Can I use royal icing instead of glaze?
-
Absolutely—royal icing creates a stiffer finish that holds decorations well, though it requires slightly more prep time.
