 Pin It
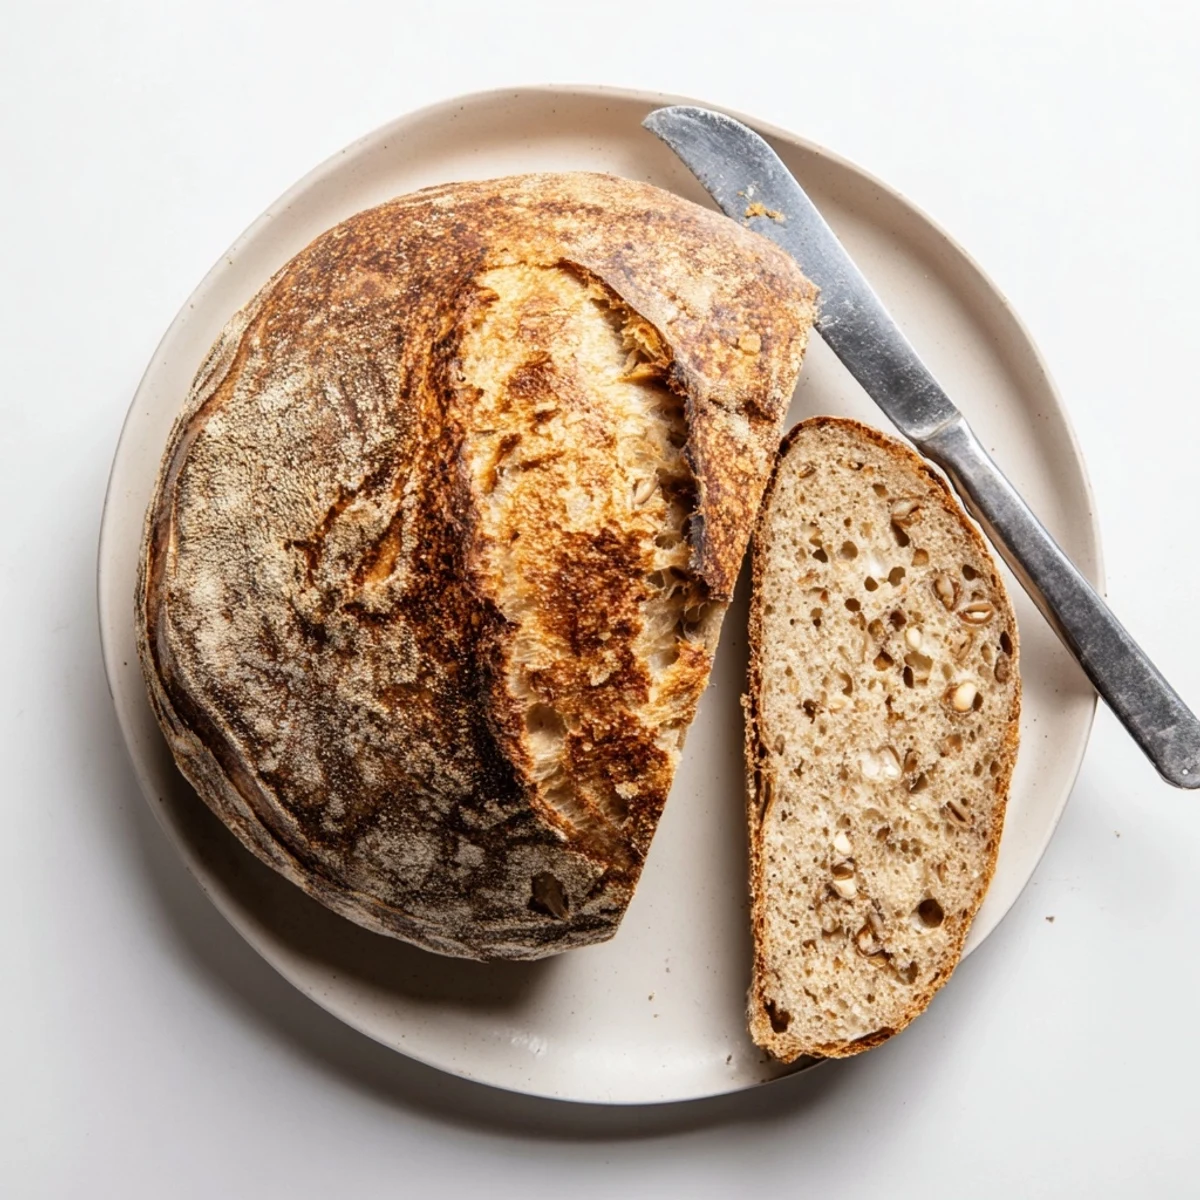
 Master the art of traditional sourdough baking with wild yeast. This artisan loaf develops a beautifully crispy crust and tender, airy interior through natural fermentation. The process requires patience but minimal active effort—just mixing, folding, and shaping while wild cultures work their magic.
The dough ferments for 4-5 hours, building flavor through stretch-and-fold techniques. After shaping, proof for 2-3 hours or overnight in the refrigerator for enhanced tanginess. Baking in a preheated Dutch oven creates professional bakery results with exceptional oven spring.
Serve warm with cultured butter, use for sandwiches, or enjoy alongside soups and salads. This versatile bread improves with practice and develops deeper character as you maintain your starter.
There is something magical about watching a simple mixture of flour and water transform into a living, breathing thing that can fill your entire kitchen with the most incredible aroma. I will never forget the first time my starter actually doubled in size after feeding it was like a tiny victory celebration right there on my counter. This bread has become my weekend ritual, the kind of project that makes time slow down in the best possible way.
My friend Sarah came over last winter during a snowstorm and we spent the whole afternoon watching the dough bubble and rise, drinking tea and waiting for that perfect moment to slide it into the oven. When the bread finally came out, steam rising from the crust, we stood there just breaking off warm pieces with our hands, burning our fingers slightly but not caring at all. Some foods are meant to be shared like that, straight from the oven with people you love.
Ingredients
- 100 g active sourdough starter: This is your wild yeast culture and it should be fed 8-12 hours before baking, bubbling vigorously and smelling pleasantly tangy
- 375 g bread flour: High protein flour is essential here for developing that strong gluten network that gives sourdough its characteristic chew and structure
- 25 g whole wheat flour: Just enough whole grain to add depth and nuttiness without weighing down the crumb or making it too dense
- 275 g water room temperature: Temperature matters here, too cold and fermentation slows, too warm and it can over ferment
- 10 g sea salt: Do not reduce this, salt not only seasons but also strengthens the gluten structure and controls fermentation speed
Instructions
- The Autolyse Rest:
- Mix your bread flour, whole wheat flour, and water in a large bowl until no dry flour remains, cover with a damp towel, and walk away for an hour. This rest period lets the flour fully hydrate and gives you a head start on gluten development.
- Incorporating the Starter:
- Add your bubbly starter and salt to the rested dough, then use your hand like a claw to pinch and fold the mixture until everything is evenly distributed. The dough will start out shaggy but will smooth out as you work with it.
- Bulk Fermentation with Stretch and Folds:
- Let the dough rest covered at room temperature for 4-5 hours, and every 30-45 minutes grab one edge of the dough and fold it over the center, rotating the bowl and repeating 4 times. These gentle folds build strength without knocking out all those precious fermentation bubbles.
- Pre-Shaping for Structure:
- Turn your dough onto a lightly floured surface and use your bench scraper to fold the edges toward the center, creating a taut package. Cover it with your bowl and let it relax for 20 minutes, which makes the final shaping much easier.
- Final Shaping Technique:
- Gently shape the dough into a tight round by folding the edges to the center and creating surface tension, then place it seam side up in a floured proofing basket. The seam will become the bottom of your loaf and those folds help the bread hold its shape in the oven.
- The Final Proof:
- Cover and let the dough rise at room temperature for 2-3 hours until it has grown by about 75 percent and feels jiggly like a water balloon when you poke it. For a more developed sour flavor, you can refrigerate overnight and bake straight from the fridge the next morning.
- Getting Your Oven Ready:
- Put your Dutch oven in the oven and preheat to 250°C for at least 30 minutes because that heavy pot needs to be screaming hot to create the steam that gives you that professional looking crust. Do not skip this step, that preheated pot is what makes home baked sourdough look like it came from a bakery.
- The Bake:
- Invert your dough onto parchment, score the top with a sharp blade or knife, transfer carefully into the hot pot, cover with the lid, and bake for 20 minutes. Remove the lid, reduce the temperature to 220°C, and bake another 25 minutes until the crust is a deep golden brown that sounds hollow when you tap it.
- Cooling for the Perfect Crumb:
- Let the bread cool completely on a wire rack for at least an hour before slicing into it, no matter how tempting it is to cut immediately. Cutting while hot releases steam and can make the crumb gummy, and besides, the crust continues to crisp as it cools.
 Pin It
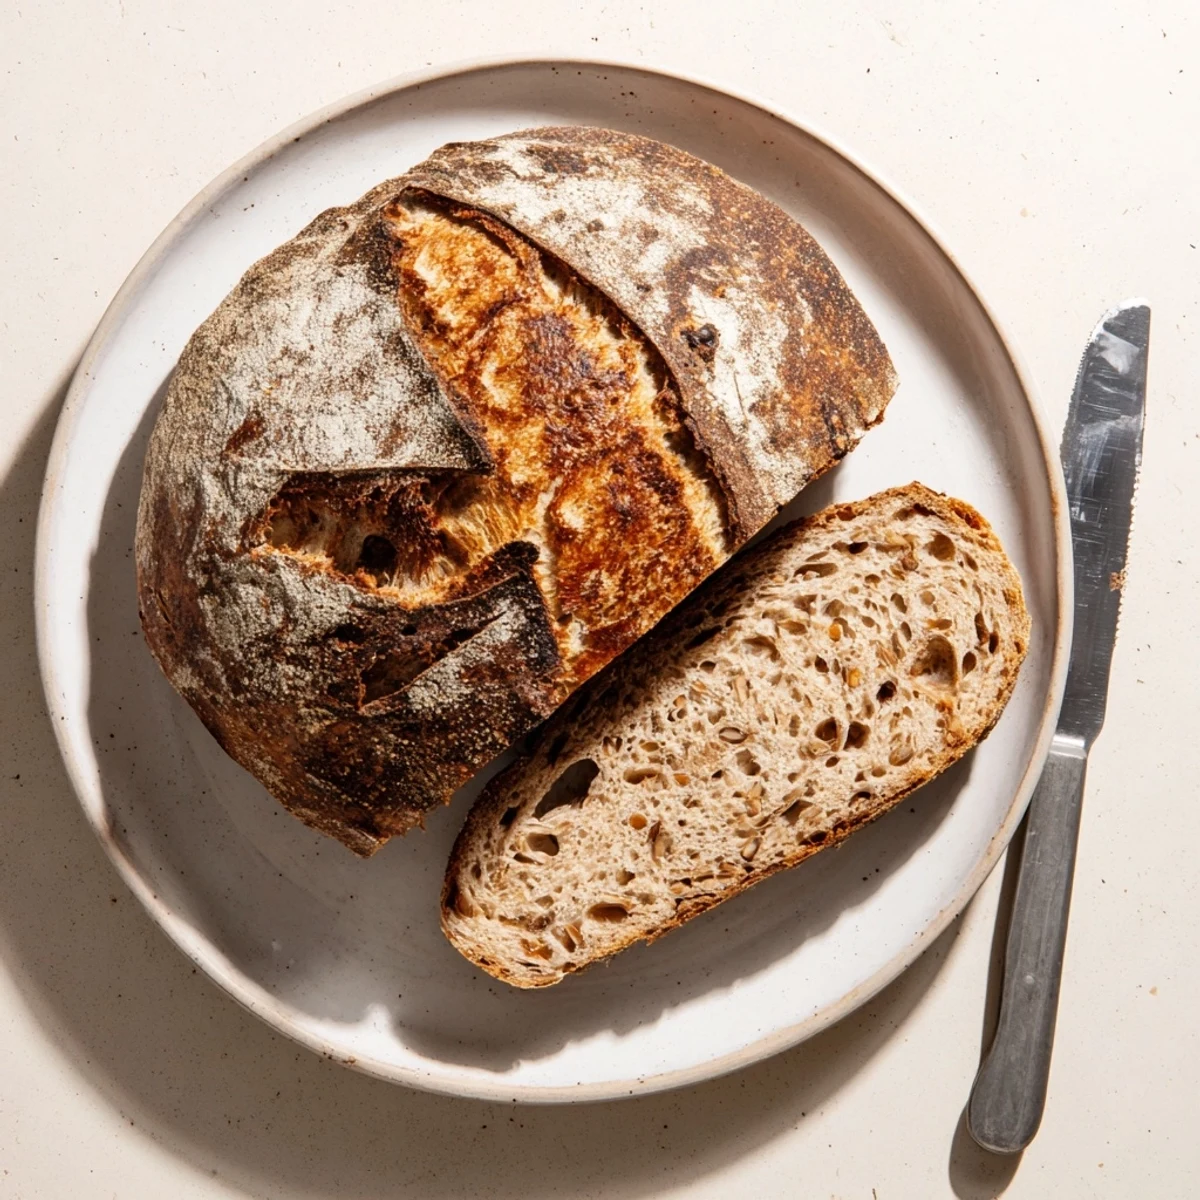
 This recipe has become my go to for housewarming gifts and dinner parties because there is something so impressive about presenting a loaf you created from nothing but flour, water, and time. People always look at it differently than store bought bread, like they understand the care that went into each bubble in the crumb.
Feeding Your Starter
Keep your starter in the refrigerator and feed it once a week if you are baking regularly, or freeze it for longer breaks. The day before baking, take it out and feed it equal parts flour and water by weight, then let it sit at room temperature until it is bubbly and has at least doubled in size. A healthy starter should smell pleasantly tangy, not sour or off putting.
Reading Your Dough
Learning to recognize when your dough is properly proofed takes practice, but look for it to feel jiggly when you gently shake the bowl and see small bubbles on the surface. The poke test is helpful too, press your finger gently into the dough and if it springs back slowly but leaves a small indent, it is ready to bake. Over proofed dough will not spring back at all, while under proofed dough will spring back quickly and completely.
Storage and Serving
Store your cooled bread cut side down on a cutting board or in a paper bag for up to 2 days, after which it is better toasted or used in recipes. Sourdough actually freezes beautifully, slice it first and freeze individual slices that you can pop directly in the toaster. This bread makes the most incredible toast and elevates even the simplest meal into something special.
- Try it with cultured butter and flaky sea salt for breakfast
- Use day old bread for panzanella or the best French toast you have ever had
- The crust stays crispest when stored in a paper bag rather than plastic
 Pin It
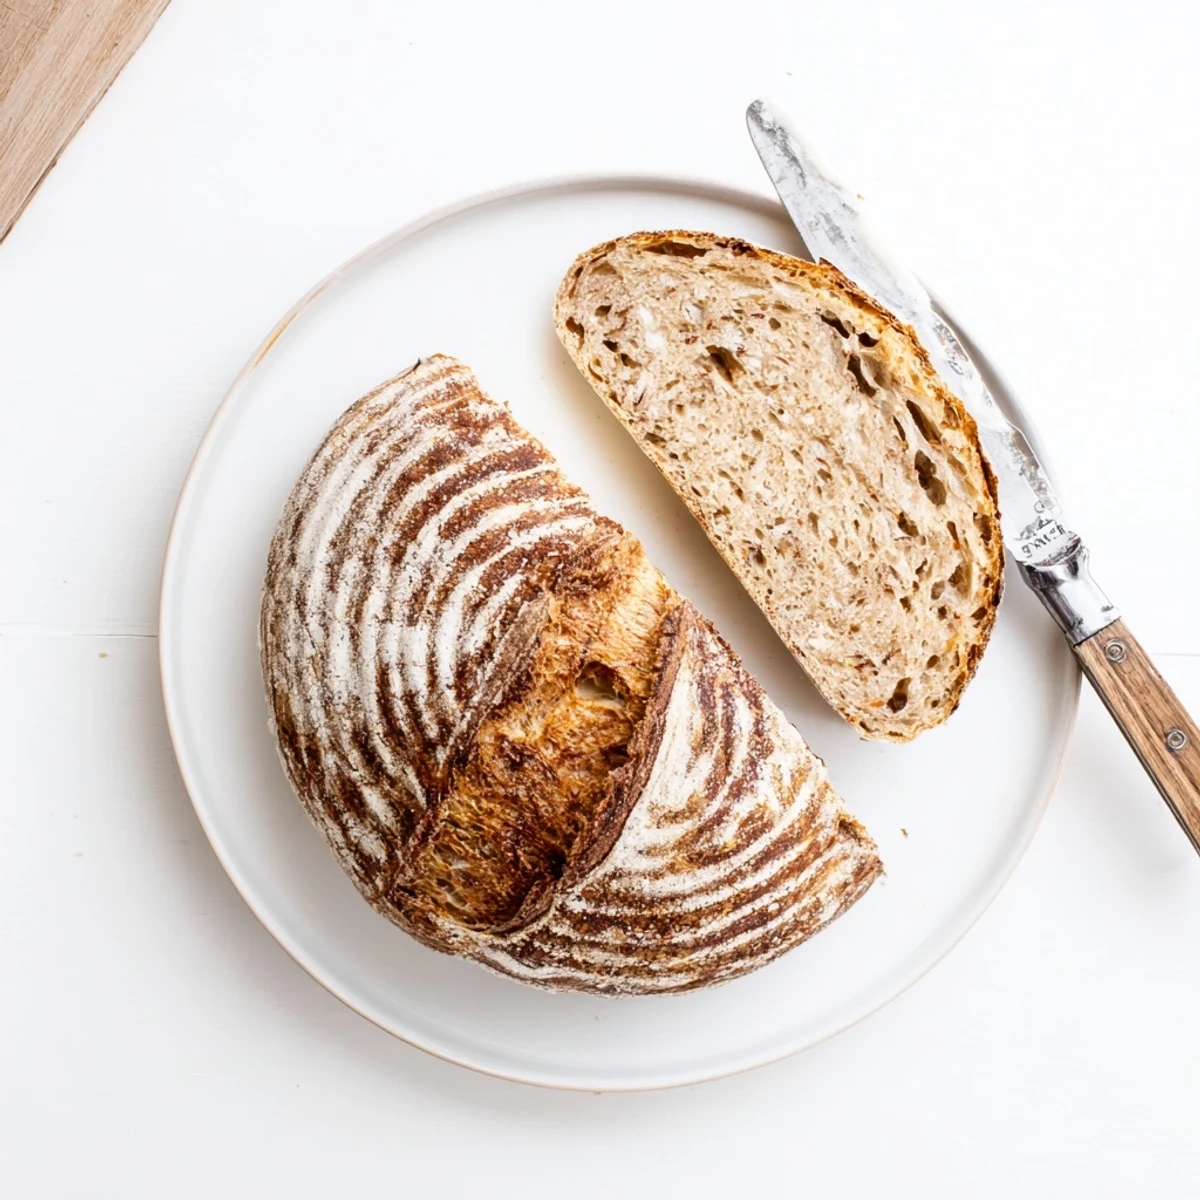
 There is nothing quite like that first warm slice, slathered with butter, knowing you created something alive and delicious from just flour and water. Happy baking.
Recipe Q&A
- → What makes sourdough different from regular bread?
-
Sourdough uses wild yeast cultures and beneficial bacteria instead of commercial yeast. This creates natural lactic acid, giving the loaf its characteristic tangy flavor and improving digestibility. The long fermentation develops complex flavors and creates that distinctive chewy texture with crispy crust.
- → Why does sourdough take so long to make?
-
Wild yeast works more slowly than commercial yeast, requiring extended fermentation time. This slow process develops flavor, breaks down gluten for easier digestion, and creates the classic sourdough characteristics. Most of this time is hands-off while the dough ferments.
- → Can I bake without a Dutch oven?
-
While a Dutch oven creates ideal steam for a crispy crust, you can use a heavy baking sheet with a bowl of water on the oven rack below. Alternatively, create a foil tent over the loaf during the first 20 minutes of baking to trap steam.
- → How do I know when my starter is active enough?
-
A healthy starter should be bubbly, doubled in volume 4-8 hours after feeding, and have a pleasant sour aroma. When you drop a spoonful into water, it should float. If your starter doesn't show these signs, feed it for a few days before baking.
- → Why is my dough sticky and hard to handle?
-
Sourdough hydration is naturally higher than commercial bread dough. Use wet hands and a bench scraper to handle it. The stretch-and-fold technique strengthens the dough without adding excessive flour. With proper fermentation, the dough becomes more manageable and develops better structure.
- → Can I shorten the fermentation time?
-
You can place the dough in a slightly warm spot (around 26-28°C) to speed fermentation, but avoid exceeding 30°C as this can harm beneficial cultures. Cold-proofing in the refrigerator actually extends fermentation but develops superior flavor and makes shaping easier.
