 Pin It
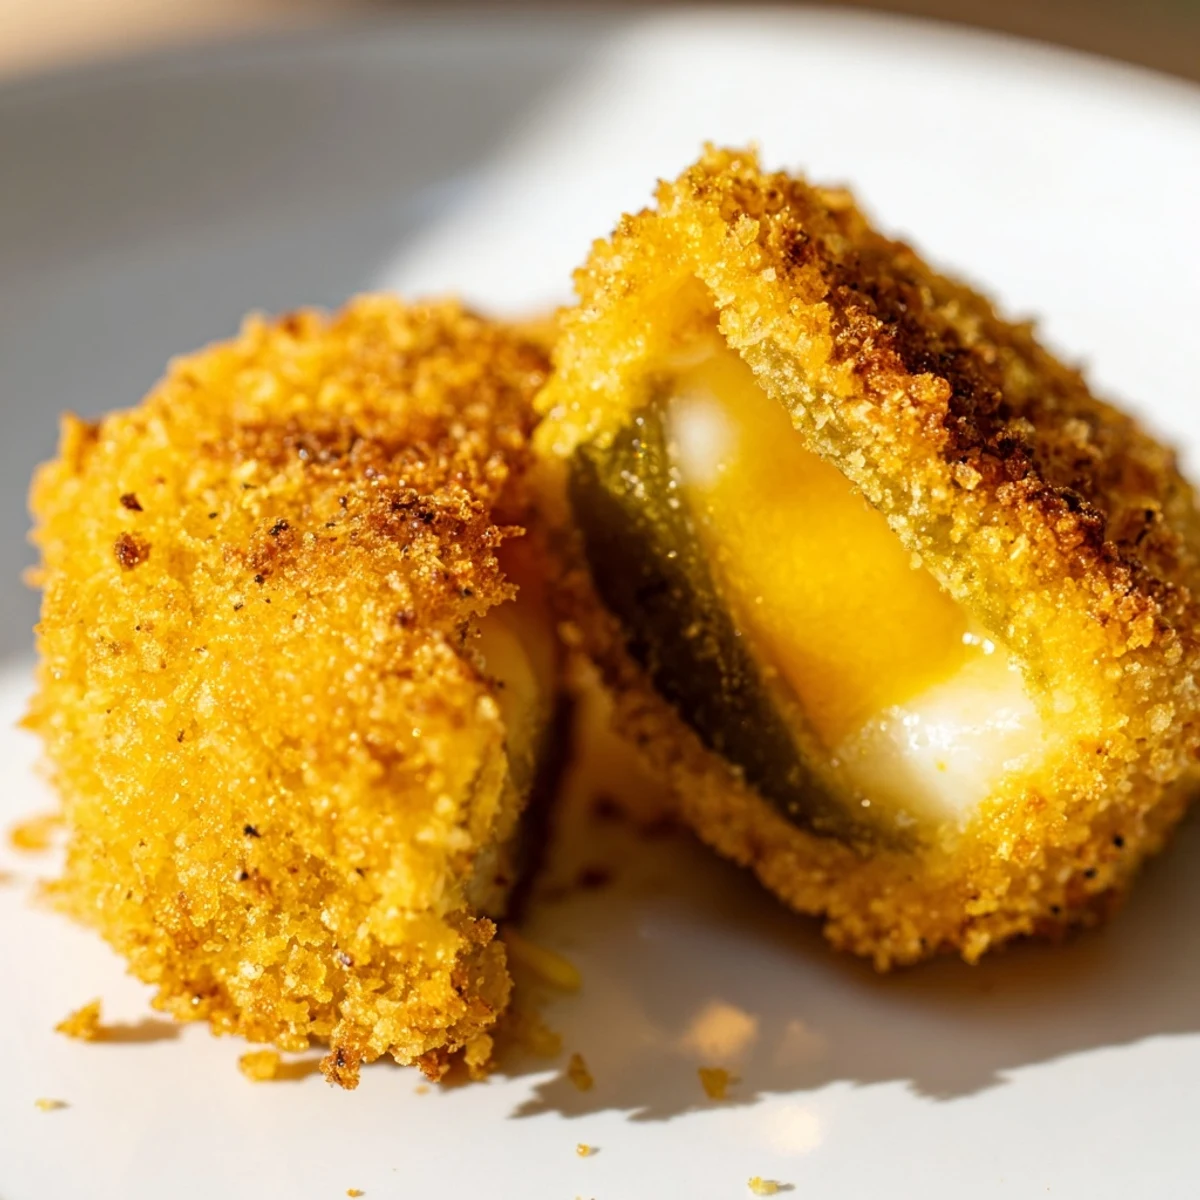
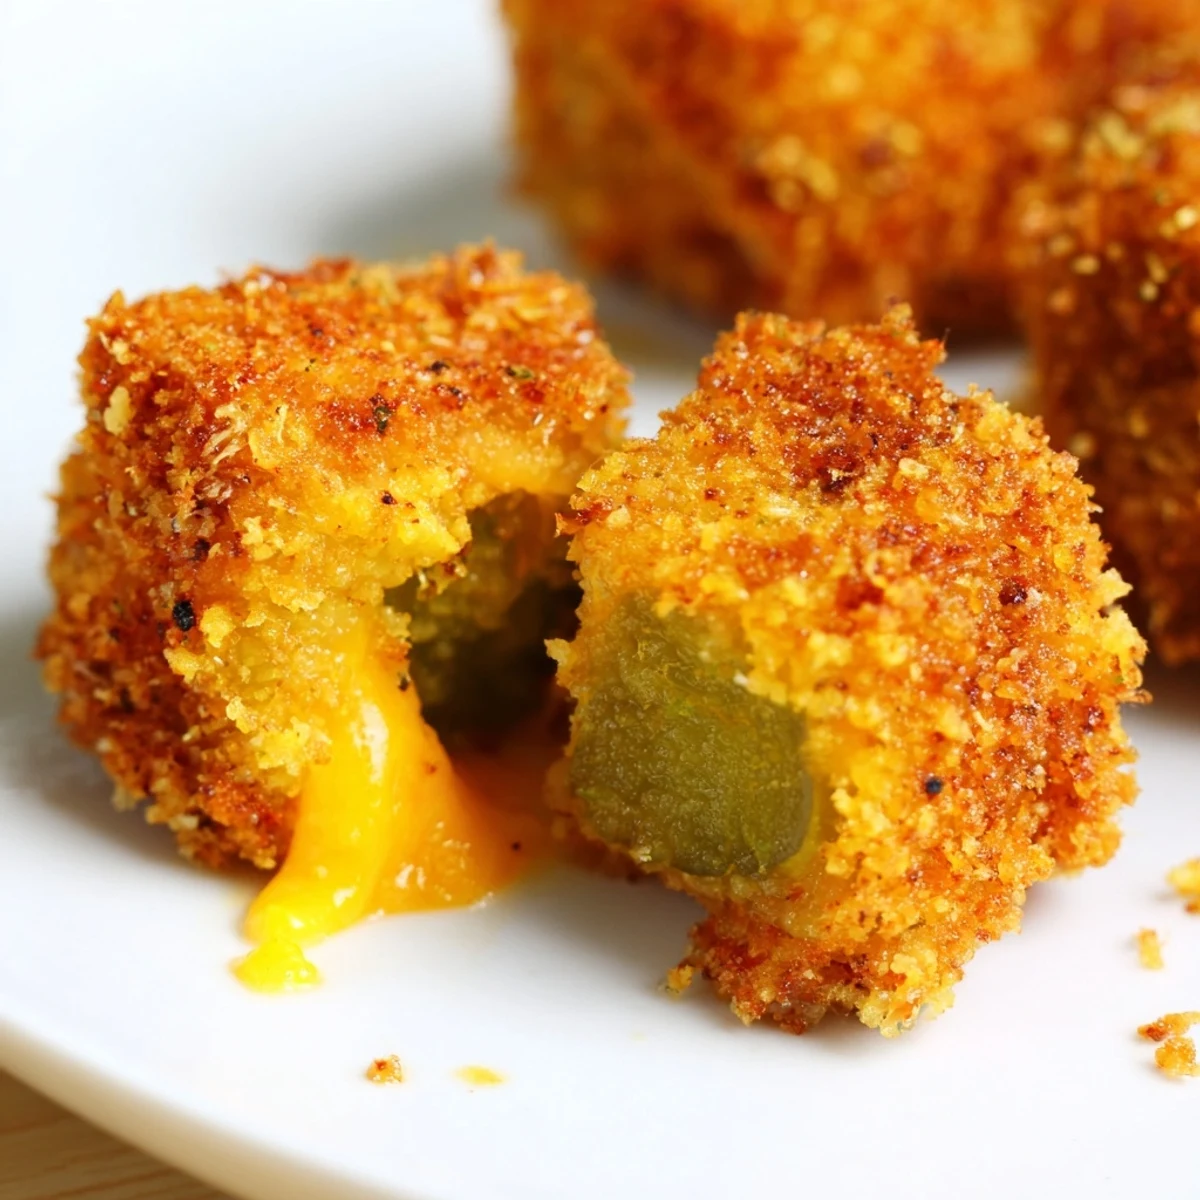
 These crispy pickle cheese bites combine thick dill pickle slices with cubes of cheddar, sandwiched together and coated in a seasoned panko crust. A three-step breading process — flour, egg wash, then garlic powder and paprika-spiced breadcrumbs — ensures an even, crunchy coating that fries up beautifully in just minutes. Served warm with ranch or your favorite dip, they deliver a satisfying contrast of tangy pickles, gooey melted cheese, and golden crunch that makes them an instant crowd-pleaser.
My cousin brought a plate of these to a backyard cookout last summer and I stood by the serving tray until they were gone, pretending I was just guarding them from the kids.
I made a double batch for game night once and my friend Dan ate nine of them before anyone else sat down. He still denies it but the empty napkin pile told the truth.
Ingredients
- Dill pickle slices: Thicker cuts hold up better during frying so aim for a quarter inch and pat them absolutely dry or the breading will slide right off
- Cheddar cheese cubes: Cut them small enough to fit inside the pickle sandwich without squeezing out the sides when you press down
- All purpose flour: This is your base layer and skipping it means the egg has nothing to grab onto
- Eggs and milk: The milk thins the egg just enough for an even coating without being watery
- Panko breadcrumbs: Regular crumbs work but panko gives you that shatteringly crisp shell that restaurant fried pickles have
- Garlic powder, paprika, and black pepper: Mixing these into the panko is what separates these from plain breaded pickles into something people ask about
- Vegetable oil: You want a neutral oil with a high smoke point so it gets hot enough without burning
Instructions
- Dry the pickles:
- Press each slice between paper towels until no moisture comes through. This single step is what keeps your breading from turning mushy in the oil.
- Build the sandwiches:
- Nestle a cheese cube between two pickle slices and push a toothpick through the center if they feel wobbly. Do not skip the toothpick because things shift during frying.
- Set up your breading station:
- Arrange three shallow bowls in a row with flour first, then beaten eggs with milk, then panko mixed with garlic powder, paprika, and pepper.
- Coat each bite:
- Dredge in flour shaking off excess, dip fully into the egg mixture, then press firmly into the seasoned panko. Use your fingers to really pack the crumbs on.
- Heat the oil:
- Pour oil about two inches deep in a heavy pan and bring it to 350 degrees. Drop a single crumb in to test if it sizzles immediately.
- Fry in batches:
- Cook three or four bites at a time for one to two minutes per side until deeply golden. Pull them out with a slotted spoon and set them on fresh paper towels.
- Serve right away:
- Remove the toothpicks and arrange on a plate with ranch dressing or whatever dip you love. They lose their crunch fast so do not wait around.
 Pin It
 My mom called them ridiculous the first time she tried one then asked me for the recipe before she left that night. She now makes them for every church potluck and tells people it was her idea.
Getting the Oil Temperature Right
I used to guess at oil temperature and wondered why my fried things came out greasy. A cheap instant read thermometer fixed everything overnight and now I will not fry without one. The difference between 325 and 350 degrees is the difference between soggy and spectacular.
Choosing the Right Pickles
Not all dill pickles are created equal for frying. The refrigerated deli section kind tend to be crisper and more garlicky than shelf stable jars. I have tried both and the refrigerated ones hold their snap through the frying process much better.
Make Ahead and Storage
You can bread all the bites up to a few hours ahead and keep them on a parchment lined sheet in the fridge. Fry them straight from cold and they actually crisp up beautifully.
- Never refrigerate leftover fried bites because the steam ruins the crunch completely
- If you absolutely must reheat use an air fryer at 375 for a few minutes not a microwave
- Unfried breaded bites freeze well for up to a month and can go straight into hot oil from frozen
 Pin It
 Some snacks are just food but these little pickle cheese bites turn a regular Tuesday into something worth talking about. Keep the paper towels handy and make more than you think you need.
Recipe Q&A
- → What kind of pickles work best for these bites?
-
Dill pickle slices about 1/4-inch thick work best because they hold their shape during frying and provide a balanced tang that complements the cheddar.
- → Can I bake these instead of frying?
-
Yes, you can bake them at 200°C (400°F) on a lined sheet for about 12–15 minutes, flipping halfway. The crust will be less crunchy than deep-fried but still enjoyable.
- → Can I substitute cheddar with another cheese?
-
Mozzarella gives a milder, stretchier melt, while pepper jack adds a spicy kick. Just make sure the cheese is firm enough to slice into small cubes.
- → How do I keep the breading from falling off during frying?
-
Pat the pickles very dry before assembling, press the panko firmly onto each bite, and avoid crowding the pan so the oil temperature stays consistent.
- → Can I make these ahead of time?
-
You can assemble and bread them up to a few hours ahead, then refrigerate on a parchment-lined tray. Fry just before serving for the best crunch.
- → What dipping sauces pair well with these?
-
Ranch is a classic choice, but they also pair nicely with spicy mayo, garlic aioli, honey mustard, or a simple sour cream and dill dip.
