 Pin It
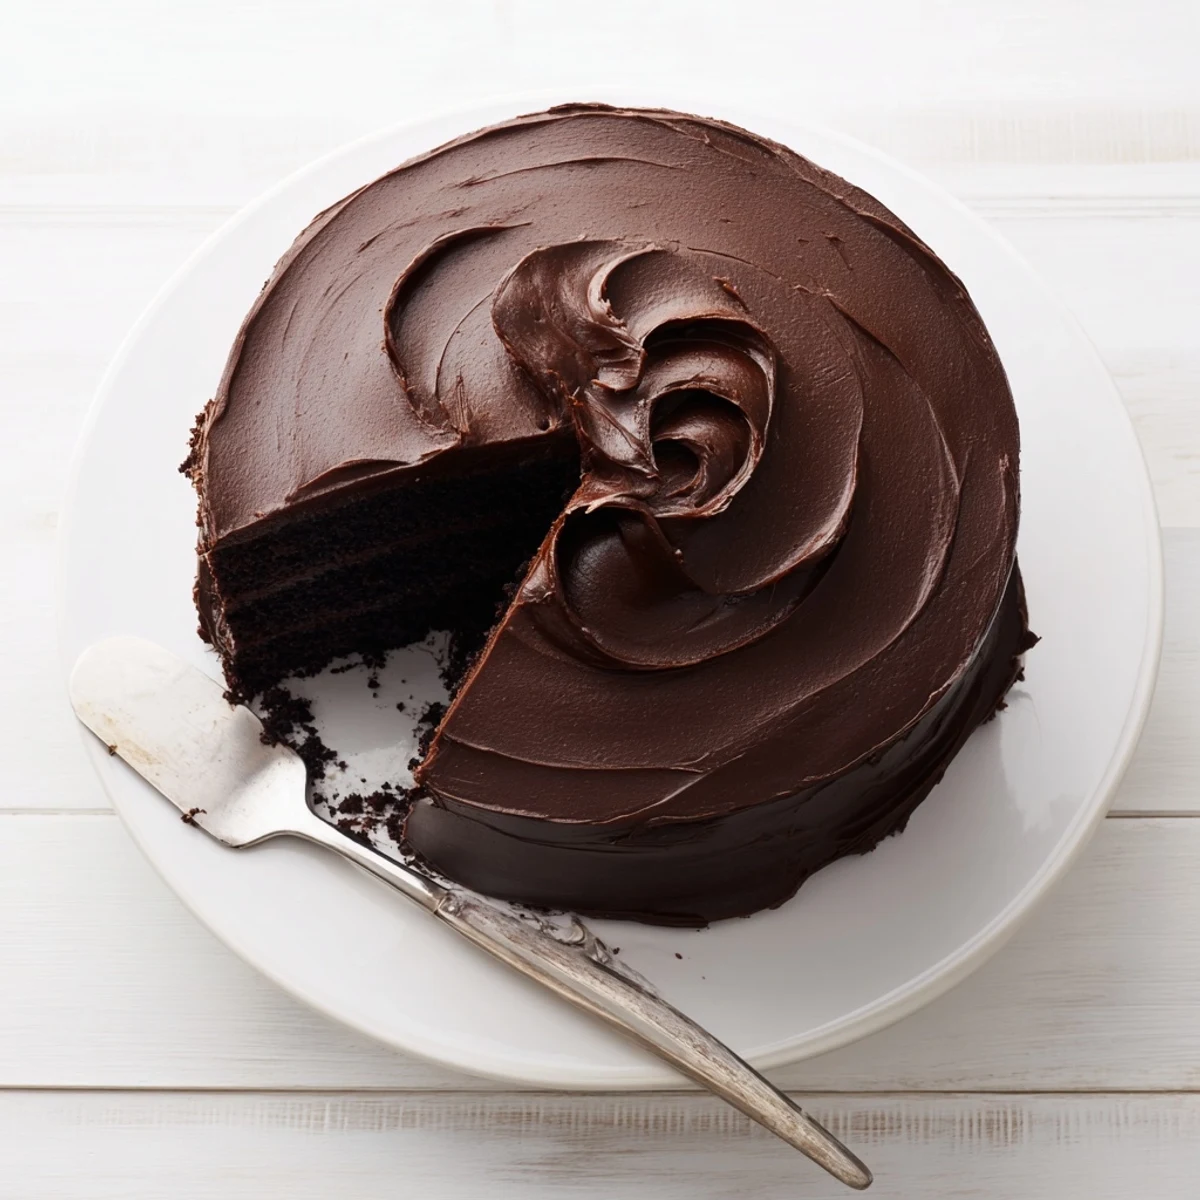
 This stunning double-layer chocolate cake brings the iconic treat from Matilda to your kitchen. The incredibly moist crumb comes from a unique batter technique that incorporates boiling water, creating a tender texture that pairs perfectly with the velvety chocolate buttercream frosting.
The entire process takes about an hour, yielding twelve generous servings. Professional bakers recommend room temperature ingredients for optimal results, and the swooping frosting technique captures that memorable movie magic.
Perfect for chocolate enthusiasts, this versatile dessert works beautifully for birthdays, holidays, or whenever the craving strikes. The rich cocoa flavor develops fully as it cools, making it worth the brief wait.
The first time I attempted this cake, I was hosting a movie marathon night and my friends voted on a Matilda rewatch. I stayed up way too late the night before, testing batch after batch until the crumb felt like the kind of chocolate cloud that makes you pause mid bite and forget what movie scene just happened. Now it is the cake my sister specifically requests for her birthday, every single year without fail.
Last winter I made three of these cakes in one weekend for various celebrations, and my kitchen smelled like pure chocolate heaven for days. My husband kept wandering in to scrape the mixing bowl, which I have learned is actually the best quality control test there is.
Ingredients
- 225 g all-purpose flour: The foundation that gives this cake structure while staying tender
- 400 g granulated sugar: This amount might seem generous but it balances the intense cocoa perfectly
- 85 g unsweetened cocoa powder: Dutch processed cocoa gives the deepest chocolate flavor
- 1½ tsp baking powder and baking soda: Both leavening agents work together for a tall, even rise
- 1 tsp salt: Enhances chocolate flavor like nothing else can
- 2 large eggs: Room temperature eggs incorporate more smoothly into the batter
- 240 ml whole milk: Full fat milk makes all the difference in richness
- 120 ml vegetable oil: Keeps the cake moist longer than butter would alone
- 2 tsp pure vanilla extract: Never skip this, it rounds out the chocolate notes
- 240 ml boiling water: The magic ingredient that blooms the cocoa and creates incredible moisture
- 225 g unsalted butter: Softened to room temperature for effortless frosting
- 75 g unsweetened cocoa powder: Sifted first to prevent lumps in your silky frosting
- 425 g powdered sugar: Sift this too for that professional smooth texture
- 60 ml whole milk: Add gradually until you reach your perfect spreading consistency
- 2 tsp pure vanilla extract: The same warmth in the frosting as in the cake layers
- Pinch of salt: Just enough to make the chocolate taste more like itself
Instructions
- Preheat and prep your pans:
- Set your oven to 175°C and grease two 23 cm round cake pans thoroughly, then line the bottoms with parchment paper for absolutely effortless removal later.
- Whisk the dry ingredients:
- In a large bowl, combine flour, sugar, cocoa powder, baking powder, baking soda, and salt until everything is evenly distributed.
- Add the wet ingredients:
- Pour in eggs, milk, oil, and vanilla, then beat on medium speed until the batter looks smooth and well combined.
- Stir in the boiling water:
- Slowly mix in the boiling water and do not panic when your batter turns thin and runny this is exactly what creates that incredible moist texture.
- Bake to perfection:
- Divide the batter between your prepared pans and bake for 30 to 35 minutes, until a toothpick in the center comes out clean.
- Cool completely:
- Let the cakes rest in their pans for 10 minutes, then turn them out onto wire racks to cool completely before frosting.
- Make the frosting:
- Beat butter until creamy, sift in the cocoa powder, then gradually add powdered sugar alternating with milk until perfectly smooth.
- Assemble your masterpiece:
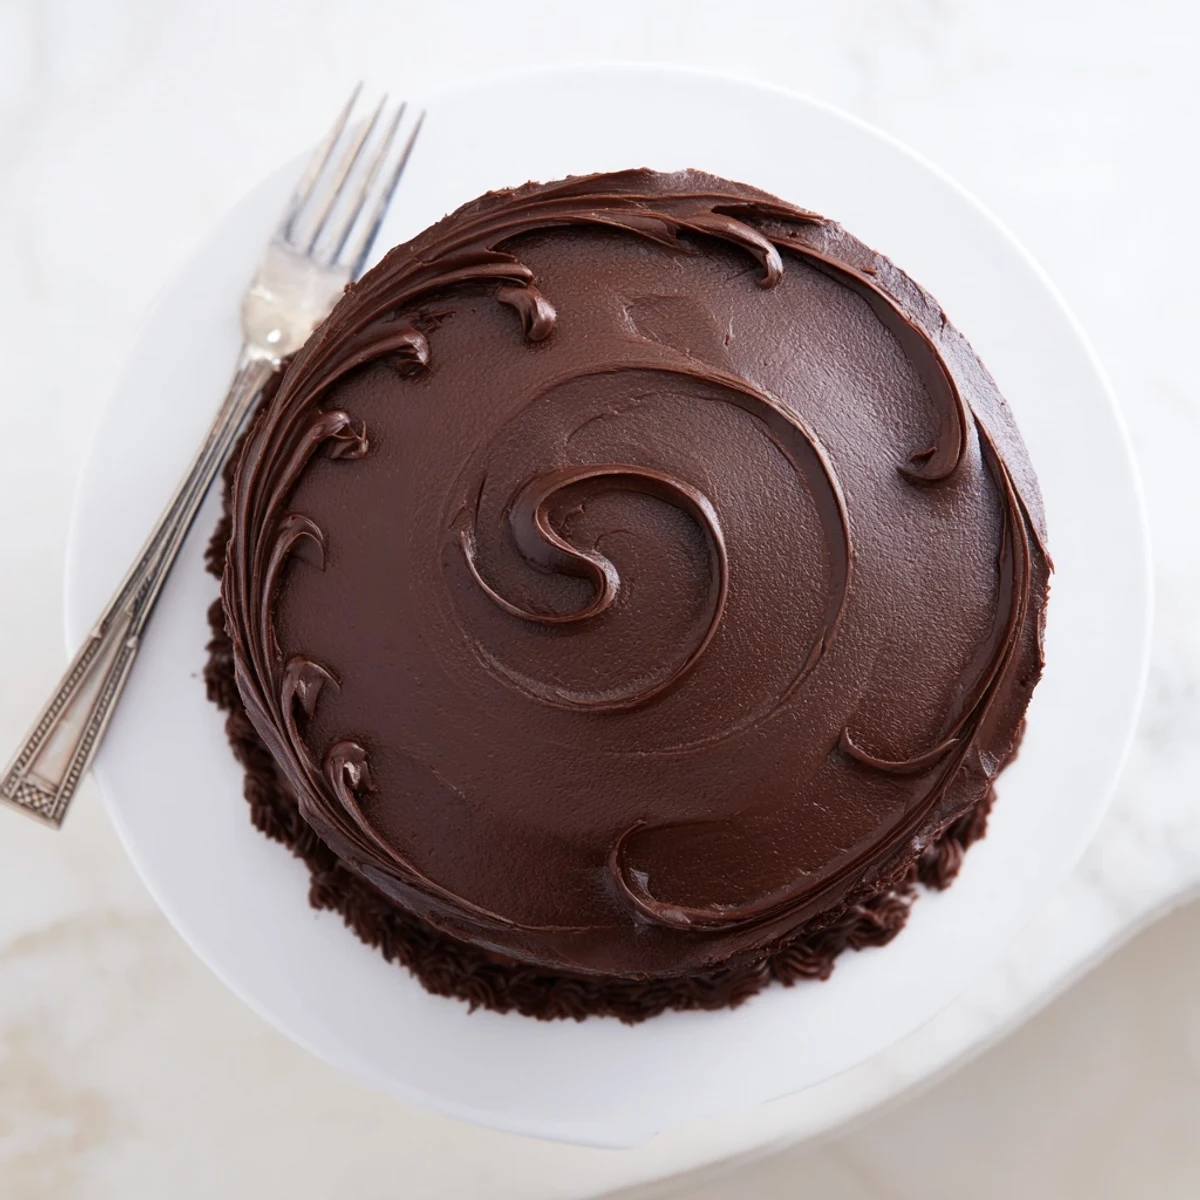
- Place one cake layer on your serving plate, frost the top, add the second layer, then cover everything with swoops and swirls for that signature Matilda look.
 Pin It
 My niece once helped me decorate this cake and created the most enthusiastic, messy swirls that somehow looked better than my careful attempts. That is the day I learned that perfect is overrated and joy tastes better anyway.
Making It Your Own
Sometimes I swap half the milk for sour cream when I want an extra tangy richness that cuts through all that chocolate sweetness. Other times I sneak a layer of chocolate ganache between the cakes for what my friend calls dangerous levels of delicious.
Serving Suggestions
This cake absolutely sings when served with a tall glass of cold milk, though my dad insists a robust cup of coffee is the only proper pairing. The contrast between the cold drink and that room temperature chocolate heaven is something special.
Storage and Timing
I have learned through happy accident that this cake actually tastes better on day two when the flavors have had time to become best friends. Keep it covered at room temperature and it stays perfectly moist for up to four days.
- Make the cake layers a day ahead and wrap them tightly in plastic
- The frosting can be made ahead and refrigerated then brought to room temperature
- For extra insurance, place a piece of bread in the container to maintain moisture
 Pin It
 Every time I pull this cake out of the oven, that rich chocolate scent fills the whole house and I remember why baking is basically edible magic. Hope it finds its way into your regular rotation too.
Recipe Q&A
- → What makes this chocolate cake so moist?
-
The secret ingredient is boiling water, which gets mixed into the batter at the end. This creates a thin consistency that bakes into an incredibly moist crumb, while activating the cocoa powder for deeper chocolate flavor.
- → Can I make this cake in advance?
-
Absolutely. The baked layers can be wrapped tightly and stored at room temperature for up to two days or frozen for up to three months. Frost the cake on the day you plan to serve it for the freshest presentation and texture.
- → How do I achieve the signature frosting swirls?
-
Use an offset spatula held at a slight angle while spreading the frosting. Create swoops and waves with gentle wrist pressure rather than trying to smooth everything perfectly. The playful, rustic style captures that classic Matilda aesthetic beautifully.
- → Can I substitute ingredients for dietary needs?
-
Replace whole milk with your preferred plant-based alternative, and use vegan butter for the frosting. For a lighter version, substitute half the oil with unsweetened applesauce. Always test substitutions first, as they may slightly alter the texture.
- → What's the best way to store leftovers?
-
Cover the frosted cake with a cake dome or large inverted bowl and keep at room temperature for up to three days. For longer storage, refrigerate in an airtight container for up to a week, though bringing it to room temperature before serving enhances the flavor.
- → Why does my batter look so thin?
-
The thin consistency is completely normal and intentional. The boiling water creates a loose batter that produces an exceptionally tender, moist crumb. Don't be tempted to add more flour—the result will be perfect as written.
