 Pin It
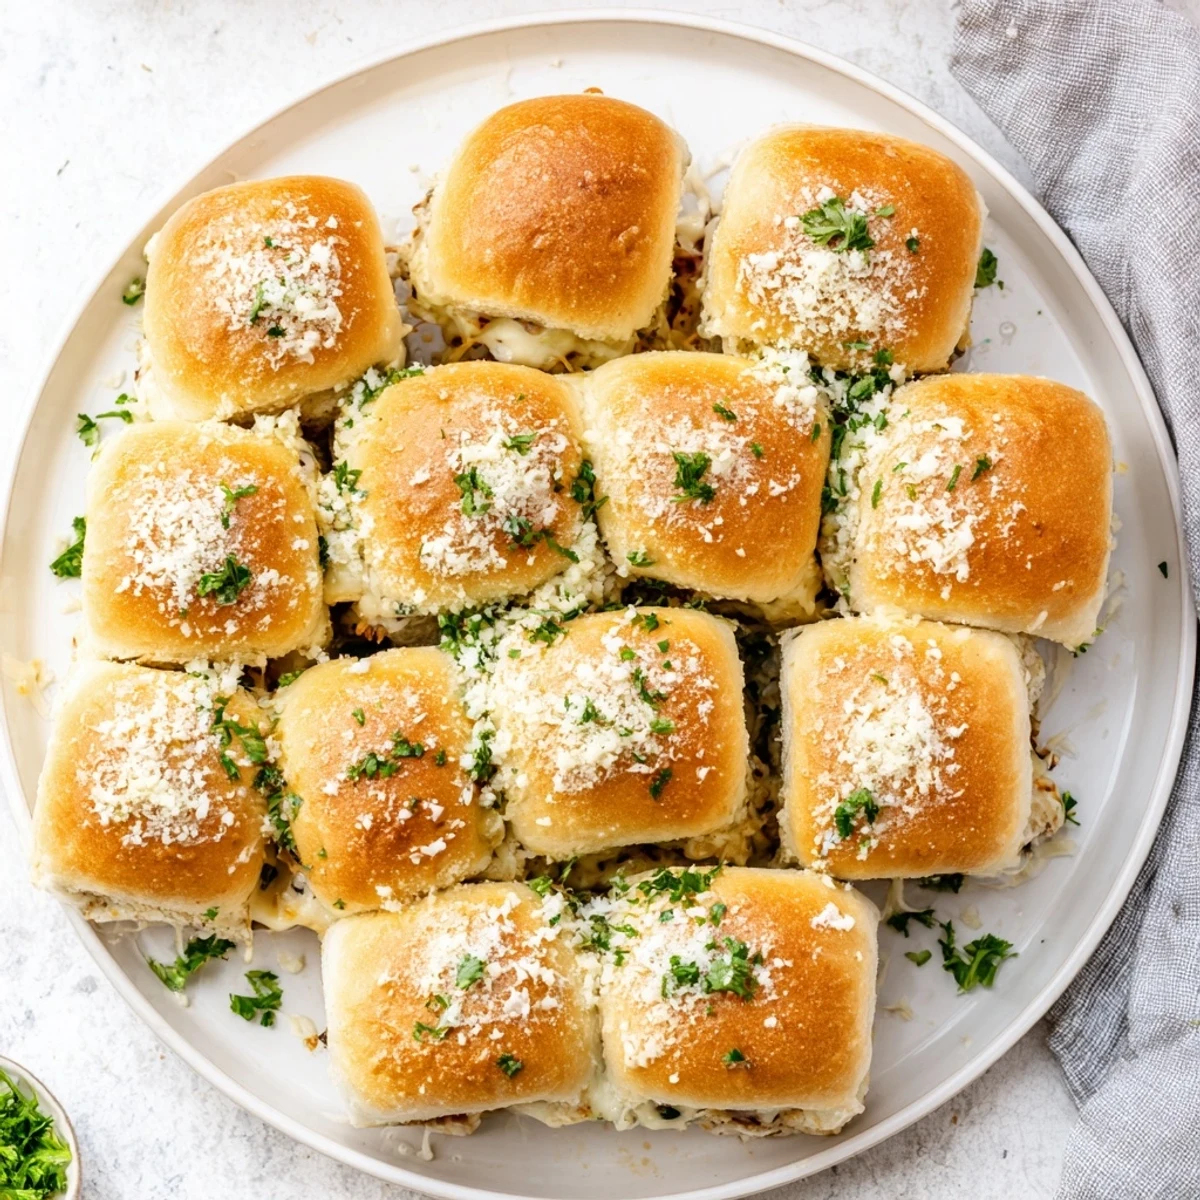
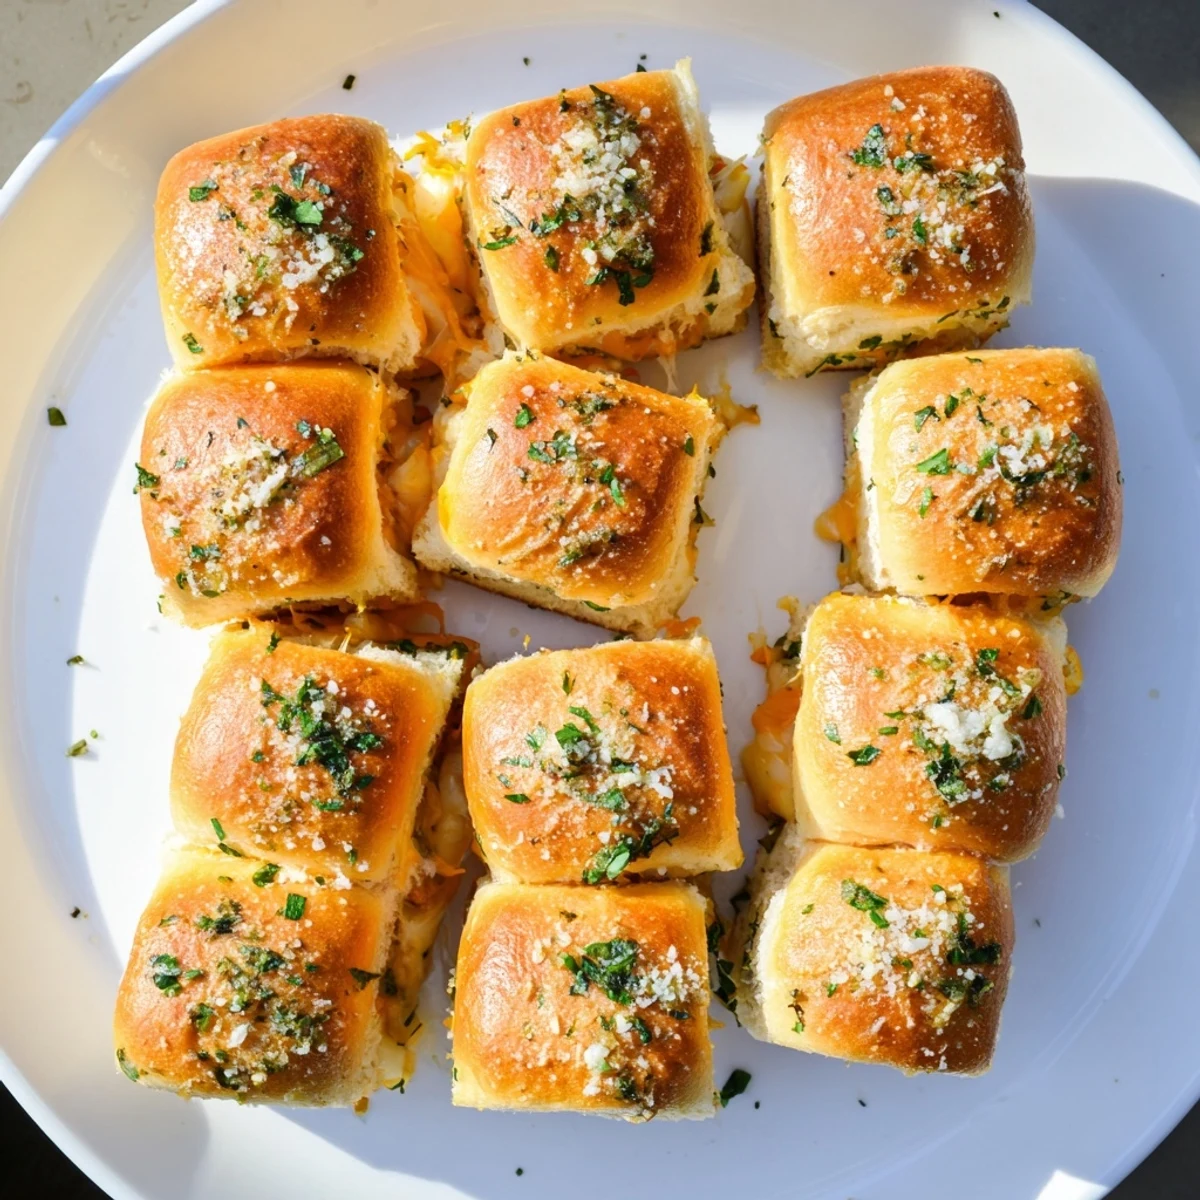
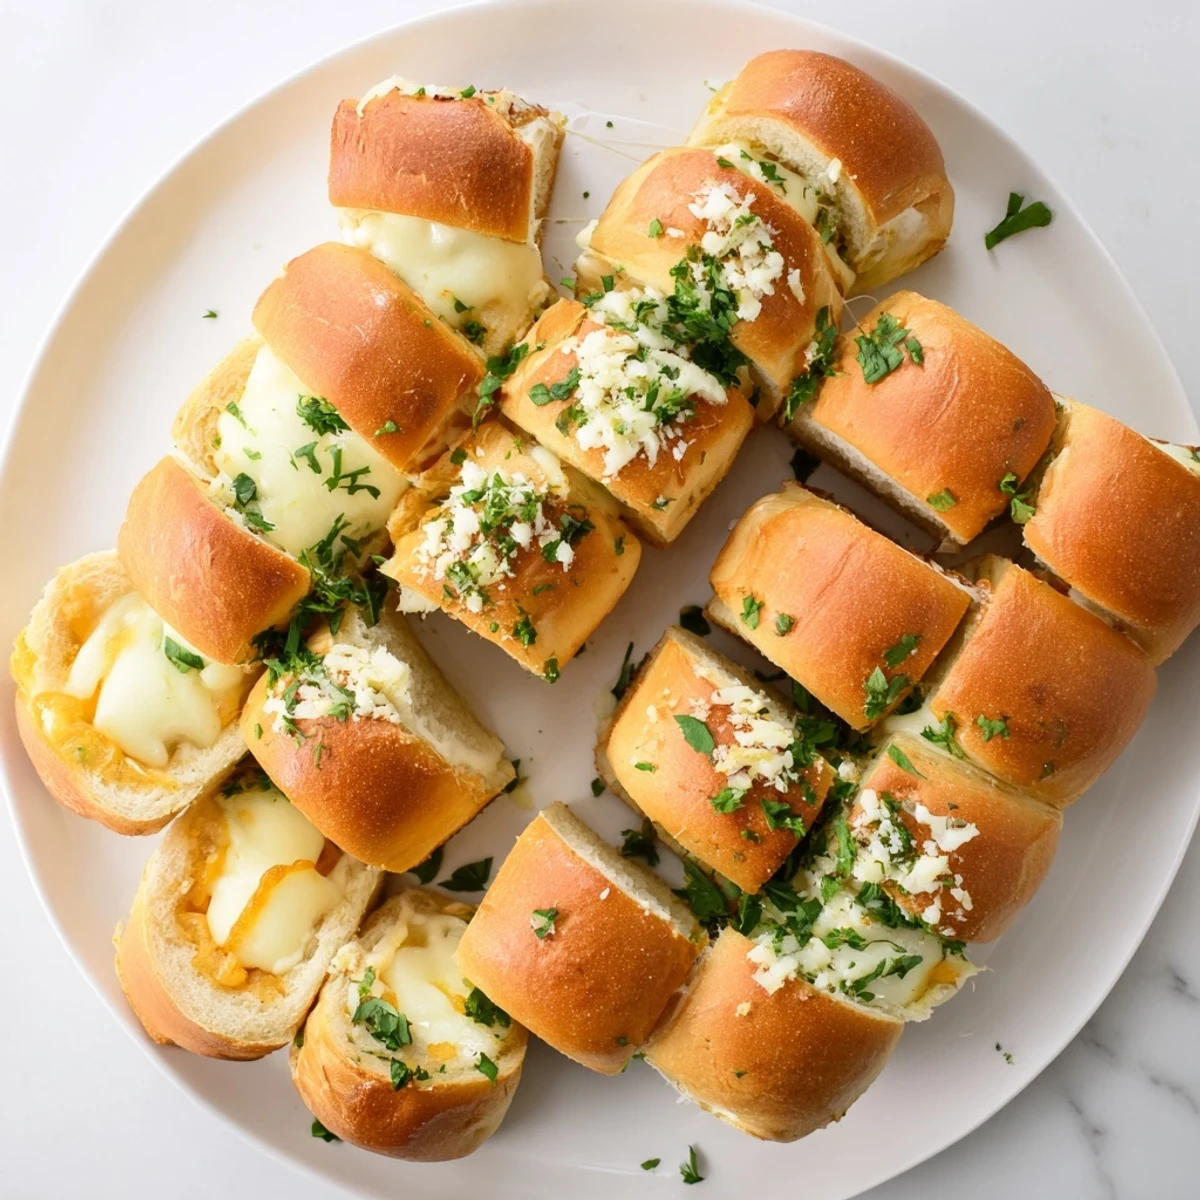
 These bite-sized Hawaiian roll sliders start with sweet rolls sliced horizontally and mounded with a blend of shredded mozzarella and sharp cheddar. After brushing the tops with melted garlic butter, they bake until the cheese melts into a bubbling, golden layer and the rolls develop a beautifully crisp crust. The optional sprinkle of fresh parsley and grated Parmesan adds extra savory depth. Ready in just 25 minutes from start to finish, these make an irresistible appetizer or snack.
My sister texted me at 9 PM one Tuesday, demanding I come over immediately because she'd discovered something life changing. When I walked in, the whole apartment smelled like buttery garlic and happiness. She'd made a tray of these mini grilled cheese sliders and insisted they were going to ruin my life in the best way possible. She wasn't wrong.
Last New Year's Eve, I tripled this recipe for a party and literally watched them disappear in under four minutes. My friend's husband kept pretending to help clean up but was actually just snagging them from the tray every time he walked past. Now he requests them for every single gathering, birthday parties included.
Ingredients
- Hawaiian sweet rolls: Their slight sweetness perfectly balances the salty cheese and creates that irresistible sweet-savory combo people can't stop eating
- Mozzarella cheese: This is what gives you those amazing cheese pulls when you take your first bite
- Cheddar cheese: Sharp cheddar cuts through the sweetness of the rolls and adds that classic grilled cheese flavor we all grew up loving
- Unsalted butter: Melted butter creates that golden crust on top and helps the garlic powder stick to every roll
- Garlic powder: Don't skip this, it transforms these from basic cheese bread into something people will ask you to make repeatedly
Instructions
- Get your oven ready:
- Preheat to 350°F and line a baking sheet with parchment paper because cleanup should never stand between you and melted cheese.
- Prep the rolls:
- Keep the rolls connected and slice the entire block horizontally like you're making a giant sandwich, creating a top and bottom slab.
- Build the cheese base:
- Place the bottom slab on your baking sheet and pile on both cheeses, making sure to distribute them evenly so every roll gets the good stuff.
- Close it up:
- Place the top half of the rolls over the cheese like you're putting a lid on a treasure chest full of molten gold.
- Add the magic topping:
- Whisk melted butter with garlic powder and brush it generously over every roll, getting into all those crevices and edges.
- Bake until golden:
- Sprinkle with parsley and Parmesan if you're feeling fancy, then bake for 12 to 15 minutes until the tops look like toasted perfection.
- The hard part:
- Let them cool for exactly two minutes before cutting, then use a sharp knife to separate them into individual rolls.
 Pin It
 My daughter now asks for these on her birthday instead of cake. That's not an exaggeration, she genuinely requested a tray of mini grilled cheese for her seventh birthday party and her friends acted like I'd invented the concept of happiness.
Make Them Your Own
I've experimented with adding thin tomato slices or fresh spinach between the cheese layers. It adds a little freshness and makes me feel like I'm eating something almost balanced. Sometimes I'll slip in a few pepperoncini peppers if I want to wake everything up a bit.
Cheese Swaps That Work
Smoked gouda creates this incredible depth that makes people stop mid-bite and ask what you did differently. Pepper jack brings heat that some people love and others will definitely question, so know your audience. Provolone melts beautifully and has a milder flavor that picky eaters tend to appreciate.
Party Planning Secrets
You can assemble these hours before baking and keep them wrapped in the refrigerator. Just brush with the butter mixture right before they go into the oven. I like to make two trays at once because one is never enough, and the leftovers reheat surprisingly well.
- Set out a knife for cutting but people will probably just pull them apart with their hands
- Pair with tomato soup if you want to serve this as an actual meal instead of just appetizers
- These freeze beautifully after baking, just wrap them individually
 Pin It
 These sliders have turned into my emergency food for everything from surprise guests to bad days. Sometimes I double the recipe just because.
Recipe Q&A
- → Can I prepare these ahead of time?
-
Yes, assemble the rolls up to 8 hours before baking. Cover tightly with foil and refrigerate, then add the garlic butter just before popping them in the oven.
- → What other cheeses work well?
-
Provolone, Swiss, pepper jack, or smoked gouda all create delicious variations. Mix and match based on your flavor preferences.
- → How do I store leftovers?
-
Keep in an airtight container in the refrigerator for up to 3 days. Reheat in a 350°F oven for 5-7 minutes to restore crispiness.
- → Can I freeze these before baking?
-
Absolutely. Assemble completely, wrap tightly in plastic and foil, then freeze for up to 1 month. Thaw overnight in the refrigerator before baking.
- → What should I serve with these?
-
Tomato soup creates the classic pairing. They also complement vegetable platters, fresh fruit, or mixed green salads for a complete meal.
- → Why cut the rolls as a block?
-
Keeping the rolls connected makes assembly faster and prevents cheese from oozing out during baking. The individual portions separate easily after cooking.
