 Pin It
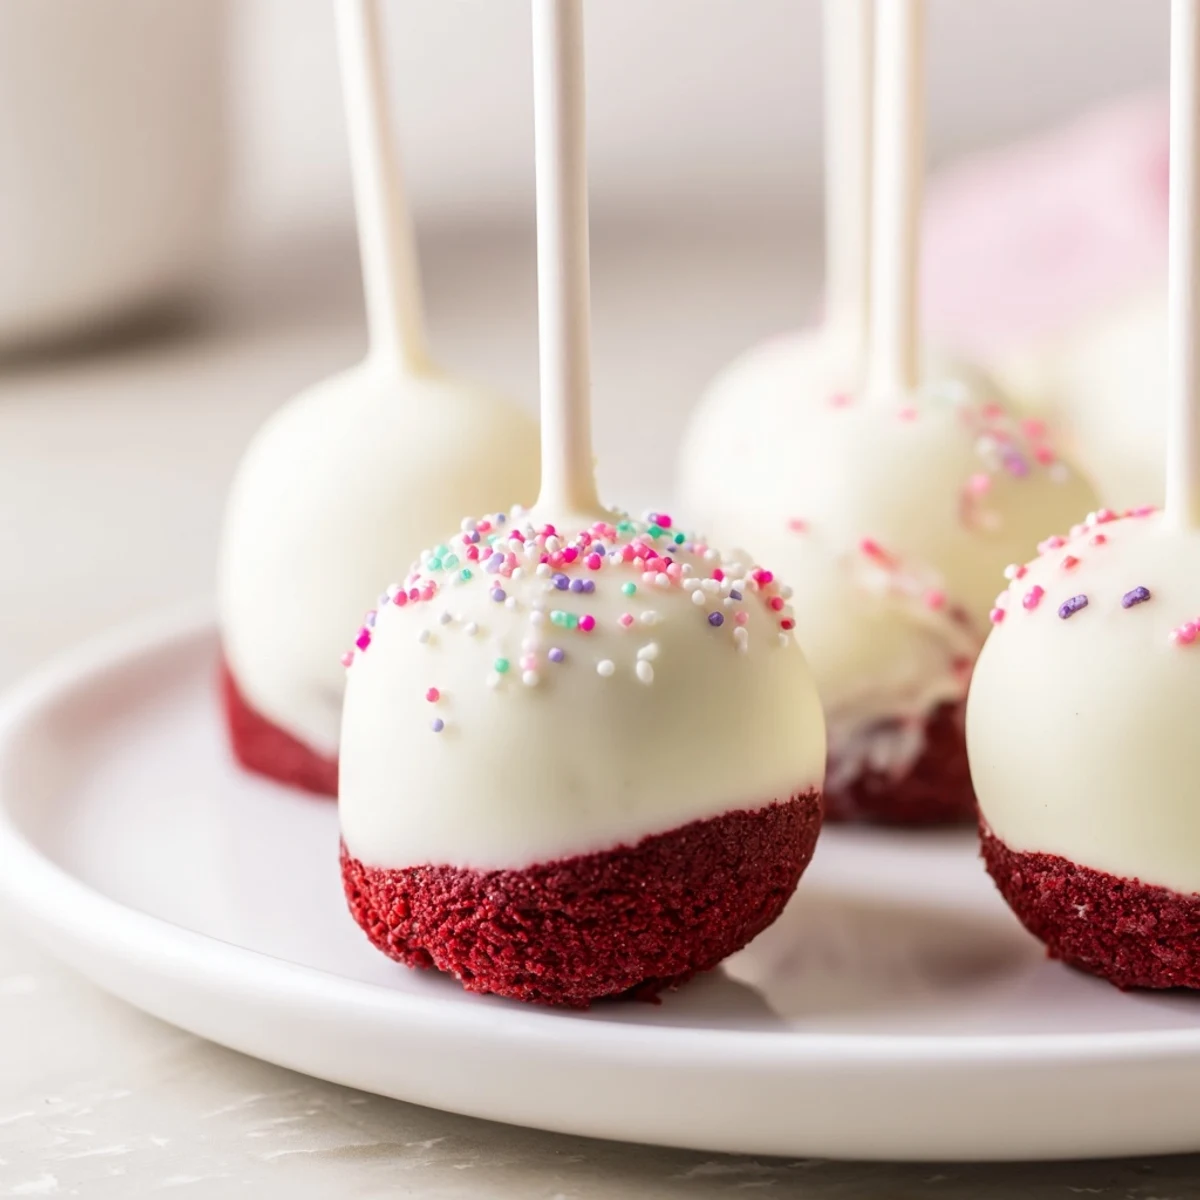
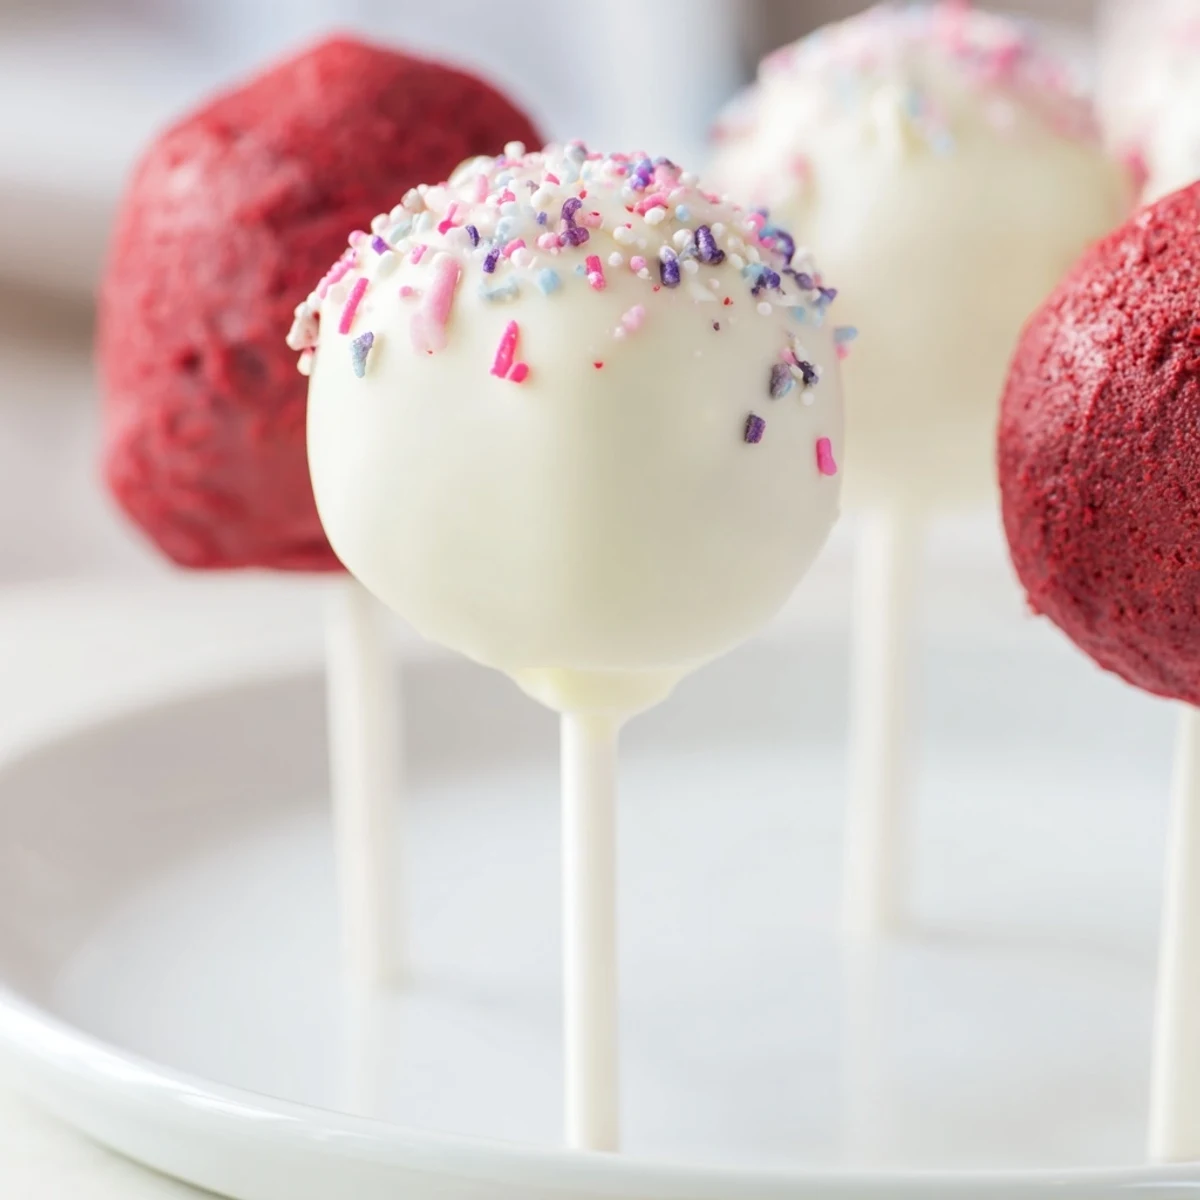
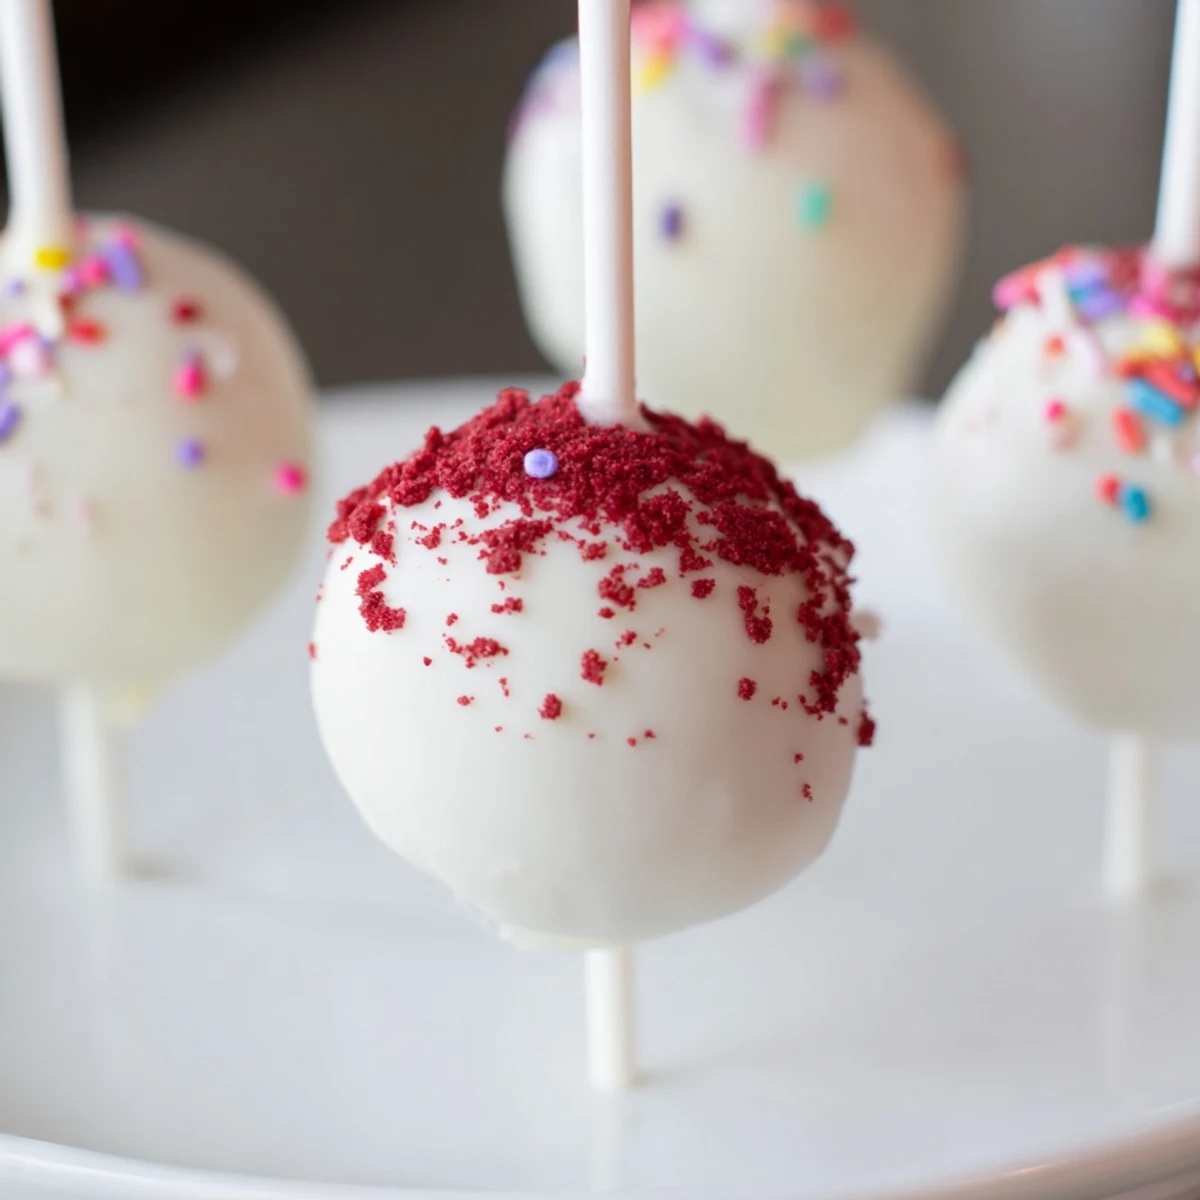
 Enjoy these moist red velvet bites combined with creamy frosting and enveloped in silky white chocolate. Perfectly balanced flavors create a decadent treat ideal for gatherings or gifting. The preparation includes baking a tender red velvet base, mixing it with a creamy cheese blend, shaping into bite-sized portions, chilling, then dipping in white chocolate coating. Optional sprinkles add a festive touch. These treats offer a delightful texture contrast and a rich, sweet finish.
The first time I attempted cake pops, I ended up with red-stained fingers and a kitchen that looked like a confetti explosion. My roommate walked in, took one look at the chaos, and asked if I'd been crafting instead of baking. That batch turned out lopsided and stubborn, but something about those imperfect little cake-on-a-stick creations made everyone smile anyway.
I made these for my niece's birthday party last year, and watching a room full of eight-year-olds go quiet while eating was genuinely satisfying. Her mom texted me later that night asking for the recipe because apparently her daughter had declared them better than anything from a bakery. That's the kind of kitchen win that keeps you coming back to the mixing bowl.
Ingredients
- 1 1/4 cups (160 g) all-purpose flour: The foundation of our cake, providing structure to hold everything together when we crumble it later
- 1 cup (200 g) granulated sugar: Sweetens the cake while keeping it tender enough for that perfect sandy texture when mixed with frosting
- 1/4 cup (22 g) unsweetened cocoa powder: Just enough to deepen that classic red velvet flavor without overpowering the delicate balance
- 1/2 tsp baking soda: Helps the cake rise to the perfect fluffy consistency we need for easy crumbling
- 1/2 tsp salt: Enhances all the flavors and prevents the cake from tasting flat or one-note
- 1/2 cup (120 ml) buttermilk, room temperature: The secret ingredient that makes red velvet incredibly moist and gives it that signature subtle tang
- 1/2 cup (120 ml) vegetable oil: Keeps the cake tender and ensures it crumbles beautifully instead of turning into a dense ball
- 2 large eggs, room temperature: Provides structure and richness that helps the cake pops hold their shape
- 1 tsp vanilla extract: Rounds out all the flavors and adds that warm, comforting background note
- 1 tsp distilled white vinegar: Reacts with the baking soda and buttermilk for that characteristic red velvet texture
- 1 tbsp red food coloring: Gives us that stunning ruby-red color that makes these treats instantly recognizable
- 4 oz (115 g) cream cheese, softened: The essential binder that holds our cake crumbles together and adds tangy richness
- 2 tbsp (30 g) unsalted butter, softened: Makes the frosting creamy and helps it blend seamlessly into the cake crumbs
- 1 1/2 cups (180 g) powdered sugar: Sweetens the cream cheese frosting just enough without making it cloyingly sweet
- 1/2 tsp vanilla extract: A second dose for the frosting because vanilla bridges the gap between cake and coating
- 12 oz (340 g) white chocolate or white chocolate candy melts: Creates that gorgeous white shell against the red cake and adds a creamy sweetness
- Sprinkles for decoration: Purely optional but absolutely worth it for that festive, finished look
Instructions
- Bake the foundation:
- Preheat your oven to 350°F (175°C) and grease an 8-inch square cake pan, lining it with parchment paper for easy removal later.
- Whisk the dry team:
- In a large bowl, combine flour, sugar, cocoa powder, baking soda, and salt until everything is evenly distributed.
- Mix the wet ingredients:
- In a separate bowl, whisk buttermilk, oil, eggs, vanilla, vinegar, and red food coloring until the mixture is smooth and uniformly red.
- Combine and pour:
- Gradually add the wet ingredients to the dry ones, mixing just until combined—some small lumps are okay. Pour the batter into your prepared pan and bake for 30-35 minutes until a toothpick comes out clean.
- Prepare the frosting:
- While the cake cools completely, beat softened cream cheese and butter until smooth, then add powdered sugar and vanilla until fluffy.
- Create the pop mixture:
- Crumble the cooled cake into a large bowl and add the cream cheese frosting, mixing until it resembles damp sand and holds together when pressed.
- Shape into balls:
- Scoop tablespoon-sized portions and roll them into smooth balls, placing them on a parchment-lined baking sheet as you work.
- Chill thoroughly:
- Refrigerate the cake balls for at least 1 hour or freeze for 20 minutes—they need to be firm for dipping.
- Melt the coating:
- Melt white chocolate or candy melts in a microwave-safe bowl in 30-second intervals, stirring between each until perfectly smooth.
- Attach the sticks:
- Dip the end of each cake pop stick into melted chocolate, then insert it halfway into each chilled cake ball.
- Dip and decorate:
- Holding the stick, dip each cake ball fully into the melted white chocolate, letting excess drip off, and immediately add sprinkles if desired.
- Set completely:
- Stand the cake pops upright in a styrofoam block or dedicated stand until the chocolate hardens completely before serving.
 Pin It
 These became my go-to holiday gift one year when I realized everyone in my family had everything they needed already. There's something genuinely joyful about handing someone a box of handmade, perfectly portioned treats that look almost too pretty to eat—almost.
Mastering the Coating
The temperature of your white chocolate makes all the difference between a smooth finish and a frustrating mess. If it's too hot, the cake pops will slide right off the sticks. Too cool, and you'll end up with a thick, clunky coating that hides all that beautiful red underneath.
Flavor Variations
Sometimes I'll fold a pinch of cinnamon into the dry ingredients for warmth, or add orange zest to the frosting for a bright, citrusy twist that cuts through all that sweetness. My sister-in-law swears by adding a teaspoon of espresso powder to deepen the chocolate notes.
Storage and Serving
Cake pops actually improve after a night in the fridge, as the flavors meld together and the texture becomes more cohesive. They're perfect for making ahead for parties, and they travel surprisingly well if you can keep them upright and relatively cool.
- Wrap individual pops in clear treat bags tied with ribbon for instant party favors
- If transporting, use a floral foam block wrapped in decorative paper to keep them standing
- Let refrigerated pops sit at room temperature for 15 minutes before serving for the best texture
 Pin It
 There's a quiet satisfaction in making something that looks like it came from a fancy bakery, especially when it starts as a simple sheet cake and a bowl of frosting. These little treats have a way of making ordinary moments feel worth celebrating.
Recipe Q&A
- → What ingredients provide the red velvet flavor?
-
A combination of cocoa powder, red food coloring, vanilla, and distilled white vinegar contribute to the classic red velvet taste and texture.
- → How is the white chocolate coating prepared?
-
White chocolate or candy melts are gently melted in short intervals and stirred until smooth to achieve a creamy coating for dipping.
- → Can these treats be stored after preparation?
-
Yes, storing in an airtight container in the refrigerator keeps them fresh for up to five days.
- → What is the purpose of chilling the cake balls?
-
Chilling firms up the shaped bites, making them easier to dip into the melted white chocolate without losing form.
- → Are there any suggested flavor variations?
-
Additions like cinnamon or orange zest to the cake mixture can introduce unique twists to the classic flavor profile.
- → What tools are needed for assembling these treats?
-
An 8-inch square pan, electric mixer, parchment paper, baking sheet, microwave-safe bowl, cake pop sticks, and a stand or styrofoam block are essential for preparation and assembly.
