 Pin It
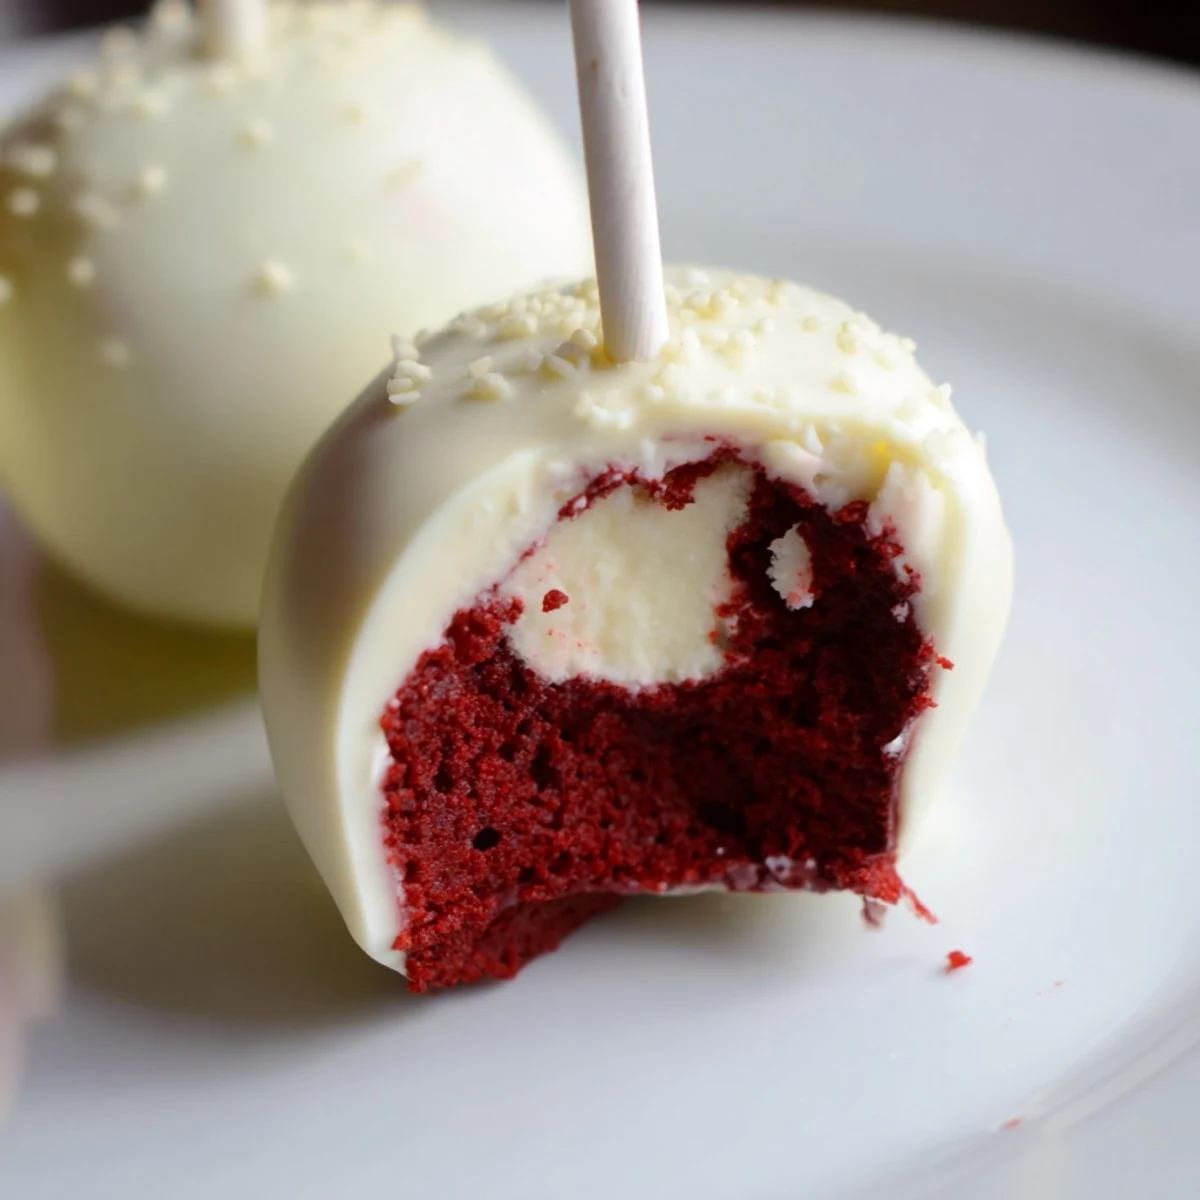
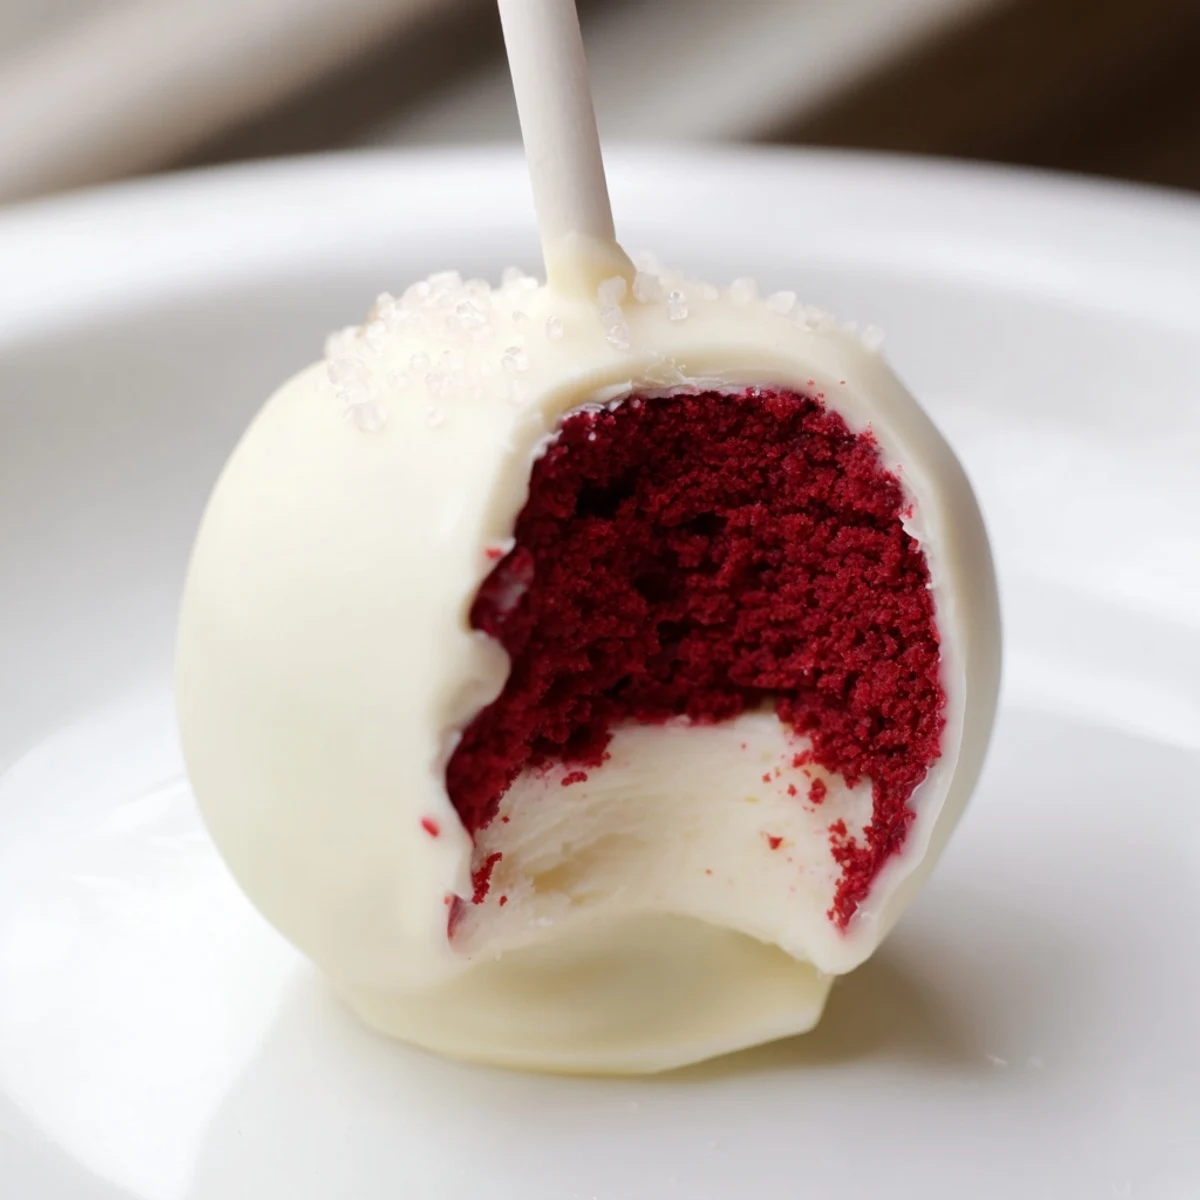
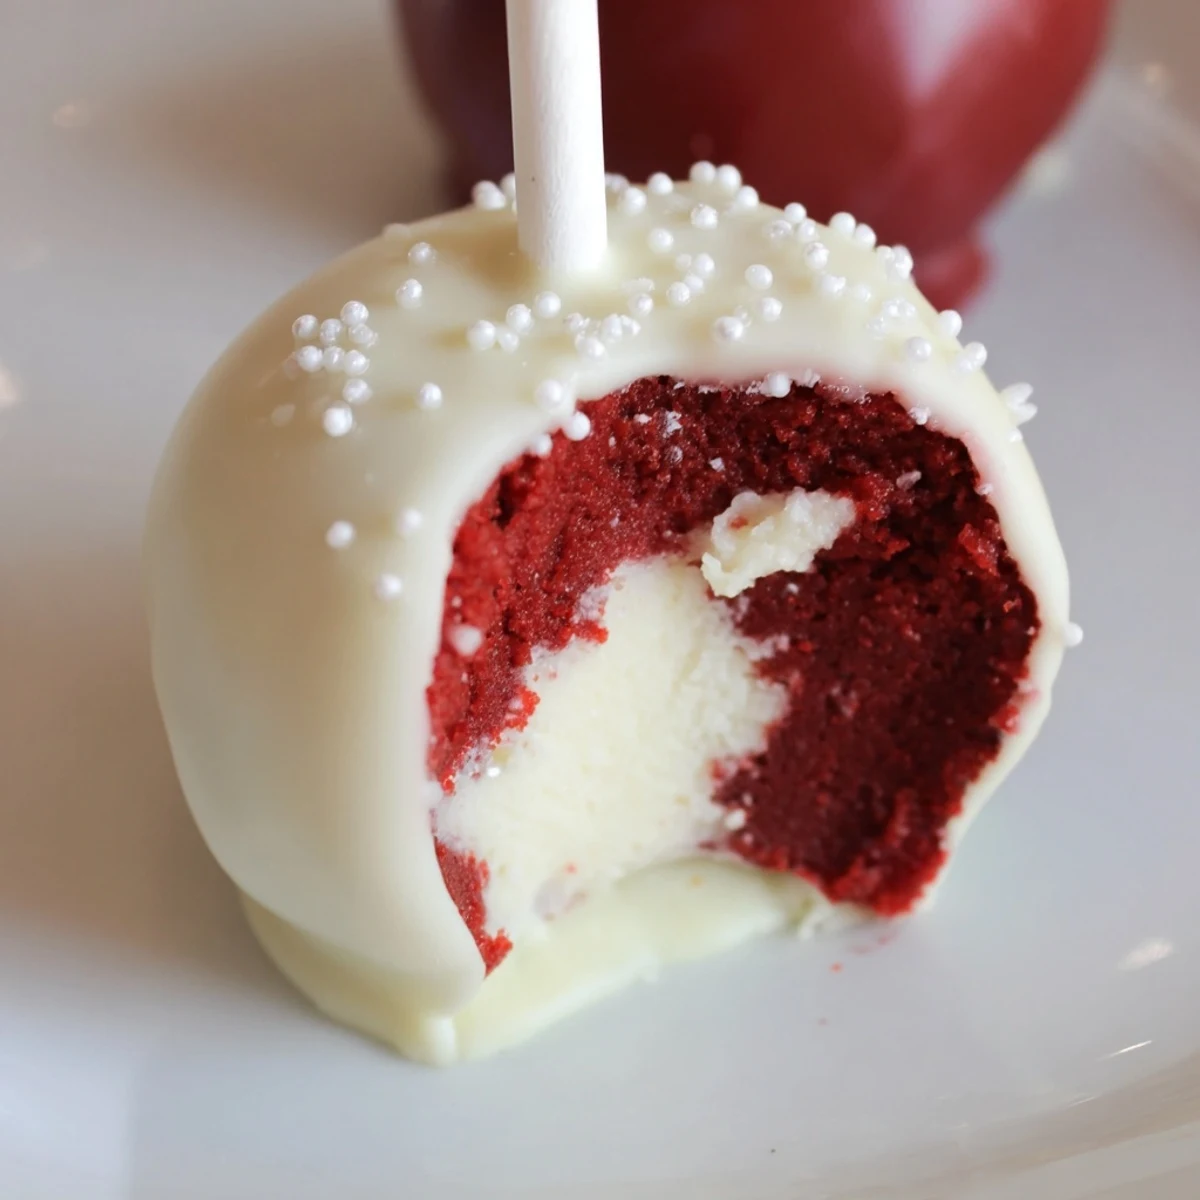
 This delightful creation features moist red velvet cake combined with smooth cream cheese frosting, shaped into bite-sized spheres. Each piece is enrobed in silky white chocolate, offering a balanced sweetness and creamy texture. Perfect for gatherings, these treats freeze and store well, providing an easy, elegant dessert option.
With a tender crumb and rich coating, they bring vibrant color and flavor to any occasion, offering a satisfying blend of cocoa and creamy notes without heaviness.
The first time I attempted cake pops was for my daughter's seventh birthday, and I learned the hard way that there is an art to getting that perfect crackle-free coating. I spent three hours dipping and redipping, creating more chocolate-covered fingers than successful treats. These red velvet pops with their creamy white chocolate shells have since become my go-to party contribution, and I have finally figured out all the tricks to make them foolproof.
My sister-in-law requested these for her wedding shower, and I remember standing in my kitchen at midnight with red-stained hands, dipping the hundredth pop and wondering what I had gotten myself into. When guests started texting me days later asking for the recipe, I knew all that late-night chocolate tempering was worth it. They have since become my most requested treat for baby showers and birthday parties alike.
Ingredients
- All-purpose flour: This creates the structure for your cake base, and I always recommend weighing it for the most consistent results every single time
- Unsweetened cocoa powder: Do not substitute Dutch-processed here, as the natural cocoa reacts with the buttermilk and vinegar to create that signature red velvet tang
- Unsalted butter: Bring this to room temperature before you start, as cold butter will never cream properly with the sugar and could leave you with dense cake
- Buttermilk: The acidity here is crucial for both flavor and texture, but if you are in a pinch you can make your own by adding vinegar to regular milk
- Red food coloring: I prefer gel colors over liquid because they will not throw off your batter consistency, and a little goes a long way toward that vibrant hue
- Cream cheese: Make sure this is fully softened or you will end up with lumpy frosting that makes forming smooth cake balls nearly impossible
- White chocolate or candy melts: Candy melts are much more forgiving for beginners, but good quality white chocolate tastes significantly better if you have the patience to temper it properly
Instructions
- Bake the foundation:
- Preheat your oven to 350 degrees F and prepare an 8-inch round cake pan with grease and flour. Whisk together your dry ingredients in one bowl while creaming the butter and sugar in another until they are light and fluffy. Add those eggs one at a time, then incorporate the buttermilk, vanilla, vinegar, and that gorgeous red food coloring before folding in the dry mixture just until combined.
- Let it cool completely:
- Pour your batter into the prepared pan and bake for 25 to 30 minutes until a toothpick comes out clean from the center. Let the cake rest in the pan for about 10 minutes before turning it out onto a wire rack, and resist every urge to start crumbling it before it has cooled all the way through.
- Make the magic dough:
- Beat together that softened cream cheese and butter until they are silky smooth, then add the powdered sugar and vanilla until you have a creamy frosting. Crumble your completely cooled cake into a large bowl and mix in the frosting until the mixture holds together like cookie dough when you squeeze it in your hand.
- Form the balls:
- Roll the mixture into 1-inch balls and place them on a parchment-lined tray, working quickly so the warmth from your hands does not melt the frosting. Pop these in the freezer for 30 minutes because cold cake balls are the secret to getting that smooth chocolate coating without it sliding right off.
- Dip and decorate:
- Melt your white chocolate with a tablespoon of vegetable oil if it seems too thick, then dip just the tip of each stick into the chocolate before inserting it halfway into a cake ball. Dip each pop into the chocolate, gently tap off the excess, add sprinkles immediately while the chocolate is still wet, and stand them upright in a styrofoam block to set completely.
 Pin It
 I brought these to a neighborhood cookie exchange last December and watched them disappear in under five minutes while other treats sat neglected on the table. The hostess actually chased me down as I was leaving to beg for the recipe, and now they are the most anticipated item at every gathering we attend.
Making Them Ahead
You can form the cake balls up to a week in advance and keep them frozen in an airtight container, then just dip them the day before your event. The undipped balls freeze beautifully, and I often make a double batch just to have some ready for unexpected occasions.
Chocolate Troubleshooting
If your white chocolate seizes and turns into a grainy mess, do not panic and do not throw it away. You can often rescue it by stirring in a teaspoon of vegetable oil or shortening and gently reheating while stirring constantly until it becomes smooth again.
Presentation Ideas
I love arranging these in a mason jar filled with sugar or salt for a casual party display, or wrapping each one individually in clear treat bags tied with colorful ribbon for gifting. The presentation really elevates something that is actually quite simple to make at home.
- Coordinate your sprinkles with the occasion or season for that extra thoughtful touch
- Use a tall glass as a drying rack if you do not have a proper cake pop stand
- Keep them refrigerated until the moment of serving, especially in warm weather
 Pin It
 There is something so satisfying about biting through that crisp white chocolate shell into the soft, creamy red velvet center. These little treats have a way of making any celebration feel just a bit more special.
Recipe Q&A
- → How can I ensure the cake balls hold their shape?
-
Chilling the cake and frosting mixture thoroughly before shaping helps the balls firm up and retain their shape during coating.
- → What type of chocolate works best for coating?
-
Use white chocolate or candy melts that melt smoothly and set firmly to create an even, glossy coating.
- → Can I add decorations to the coating?
-
Yes, sprinkles or edible decorations can be added immediately after dipping, before the coating sets.
- → How long should the cake balls chill before dipping?
-
Freeze or chill the shaped balls for about 30 minutes or until firm for optimal coating results.
- → Is it possible to tint the white chocolate coating?
-
Yes, adding a small amount of oil-based food coloring to melted white chocolate can create festive colors.
