 Pin It
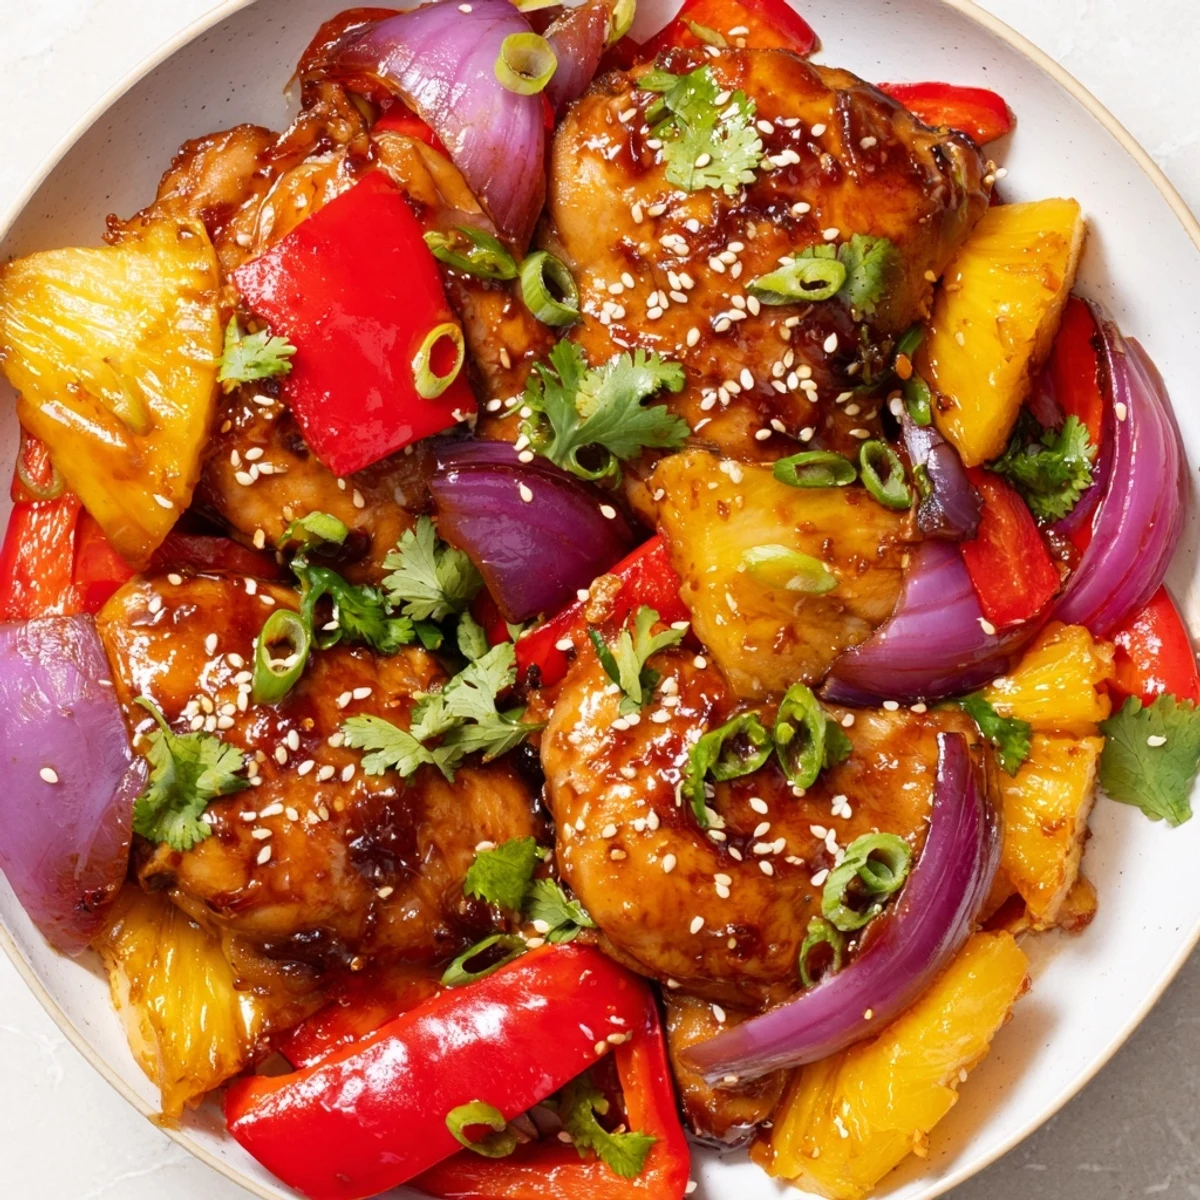
 This vibrant sheet pan dish features tender chicken breasts baked alongside fresh pineapple chunks, colorful bell peppers, and red onion. A tangy, sweet Hawaiian-inspired sauce made from soy sauce, honey, garlic, ginger, and rice vinegar infuses the ingredients, creating a balanced and flavorful meal. The simple two-step baking process ensures juicy chicken and tender vegetables, finished off with optional garnishes like cilantro and sesame seeds. Ideal for a quick, flavorful dinner with minimal cleanup.
The first time I made this sheet pan Hawaiian chicken, my husband took one bite and literally asked me to marry him all over again. I had stumbled home from work completely exhausted, craving something tropical but unwilling to dirty every pot in the kitchen. That dinner became an instant weekly ritual, and now my friends actually request it for their birthdays. Something about that sweet and tangy sauce clinging to caramelized pineapple just makes people happy.
Last summer, my sister was recovering from surgery and I brought this over to her house. She kept texting me updates about how her house smelled like a vacation rental in Maui. Her kids, who normally complain about anything with peppers, ended up fighting over the last piece of pineapple. Now whenever I show up with that sheet pan, everyone knows something good is about to happen.
Ingredients
- 4 boneless skinless chicken breasts: Pat them completely dry before seasoning so they develop gorgeous color in the oven
- 1 tablespoon olive oil: This helps the seasoning stick and promotes even browning
- 1 teaspoon kosher salt: Use kosher salt instead of table salt for better distribution
- ½ teaspoon black pepper: Freshly ground makes a noticeable difference here
- 2 cups fresh pineapple chunks: Fresh pineapple roasts beautifully but canned works if drained really well
- 1 large red bell pepper and 1 large yellow bell pepper: The different colors make the dish pop and offer slightly different sweetness levels
- 1 small red onion: Cut into wedges so they caramelize in the oven instead of drying out
- ⅓ cup low sodium soy sauce: Regular soy sauce can make the sauce too salty once reduced
- ¼ cup honey: This balances the soy sauce and creates that gorgeous glazed finish
- 3 tablespoons rice vinegar: Adds just the right amount of brightness to cut through the sweetness
- 2 cloves garlic and 1 tablespoon fresh ginger: Grate the ginger on a microplane for the smoothest texture
- 1 tablespoon tomato paste: The secret ingredient that gives the sauce body and depth
- 1 tablespoon cornstarch mixed with 2 tablespoons water: This slurry thickens the sauce so it clings to everything
- ½ teaspoon crushed red pepper flakes: Optional but adds the prettiest warmth
- 2 tablespoons chopped fresh cilantro and 2 tablespoons toasted sesame seeds: These garnishes are not optional, they make the dish look restaurant worthy
Instructions
- Get your oven ready and that pan prepped:
- Preheat your oven to 425°F and line a large sheet pan with parchment paper. Trust me, you will thank yourself later when cleanup is just crumpling up paper.
- Season the chicken like you mean it:
- Pat the chicken breasts dry with paper towels, then rub them all over with olive oil, salt, and pepper. Place them in the center of your prepared sheet pan, giving them space to breathe.
- Scatter the colorful goodness:
- Arrange pineapple chunks, bell pepper pieces, and red onion wedges around the chicken. Try to keep everything in a single layer so the vegetables roast instead of steam.
- Make the sauce that changes everything:
- Whisk together soy sauce, honey, rice vinegar, garlic, ginger, tomato paste, and red pepper flakes in a small bowl until completely smooth. The aroma alone will make your kitchen smell incredible.
- Thicken it up:
- Mix cornstarch with water in another small bowl until no lumps remain, then stir this slurry into your sauce mixture. This is what transforms it from a thin marinade into a luscious glaze.
- Give everything a first coat:
- Drizzle half of that beautiful sauce over the chicken and vegetables, reserving the rest for later. Use your hands or tongs to toss the vegetables gently so they are evenly coated.
- First round in the oven:
- Bake for 20 minutes, then remove the pan from the oven. The vegetables should be starting to soften and the chicken will look opaque and tempting.
- Glaze and finish:
- Brush the chicken with more sauce and give the vegetables a toss, then return everything to the oven for another 8 to 10 minutes. You are looking for chicken that reaches 165°F internally and vegetables that are tender with some caramelized edges.
- Let it rest and serve it up:
- Let the chicken rest for 5 minutes before slicing into thick pieces. Serve everything together with that remaining sauce drizzled over the top, finished with fresh cilantro, sesame seeds, and sliced green onions.
 Pin It
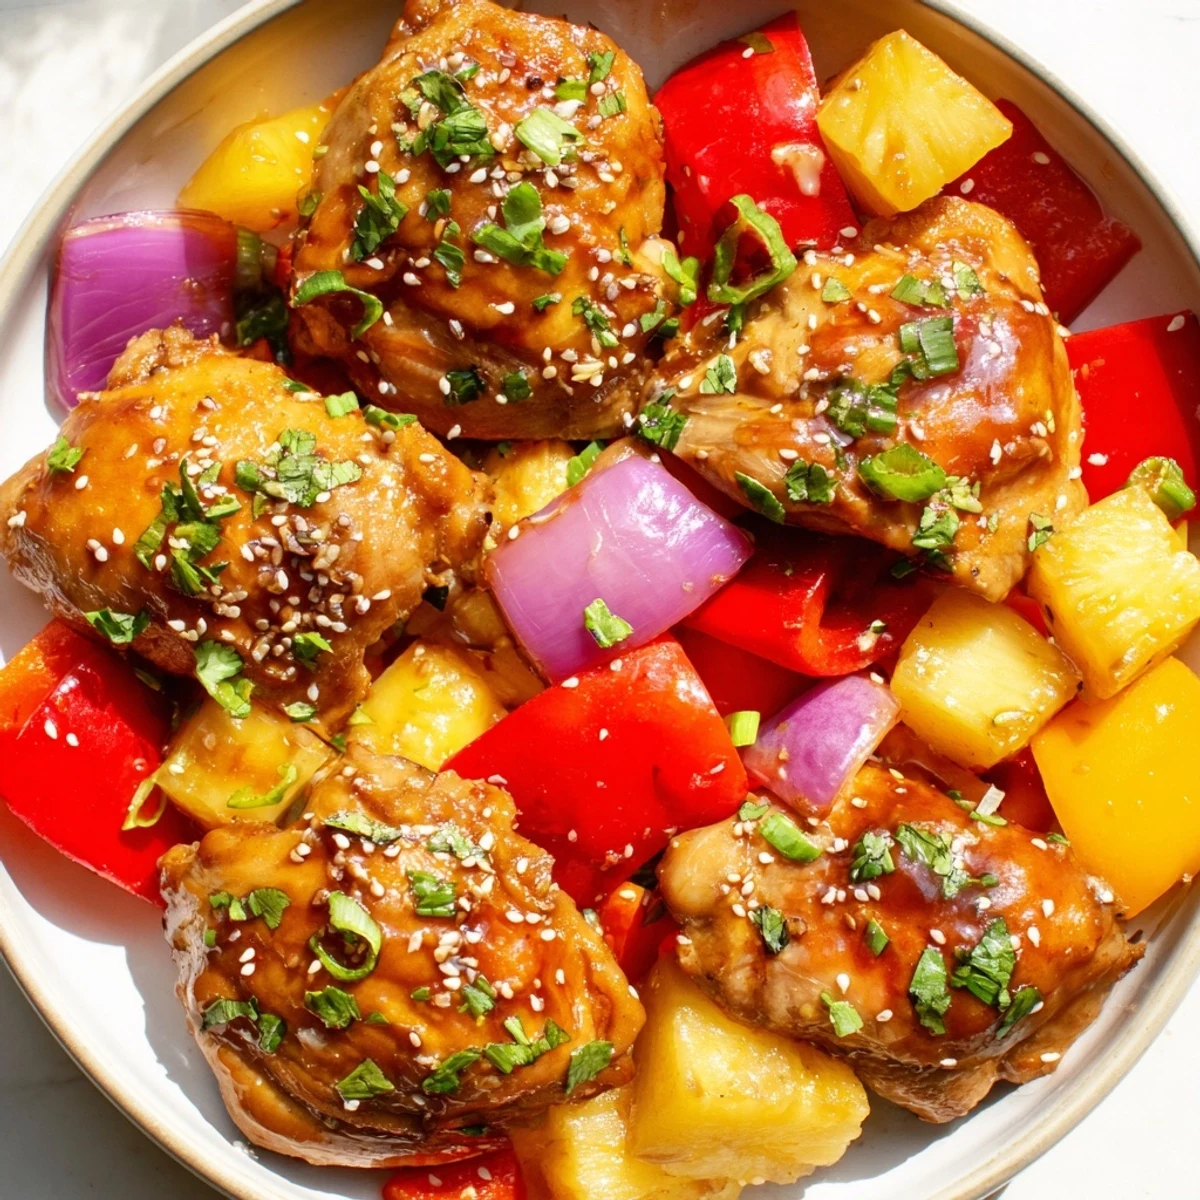
 My neighbor smelled this cooking once and showed up at my door with her own plate, asking what I was making. Now we have a standing monthly dinner rotation where we each make this for our families. The way the pineapple gets those gorgeous charred edges and the peppers turn sweet and tender, it is just something special.
Making It Ahead
I often double the sauce on Sunday and keep it in a Mason jar in the refrigerator. The cornstarch will settle, just give it a good shake or stir before using. You can also cut all the vegetables and store them in separate containers for even faster weeknight assembly.
Perfect Pairings
Steamed jasmine rice soaks up that sauce like nothing else, but cauliflower rice works beautifully if you are watching carbs. I have also served this over coconut rice for extra tropical vibes. A simple cucumber salad with rice vinegar on the side balances the sweetness perfectly.
Leftover Magic
This reheats beautifully for lunch the next day, though the pineapple will be softer. I like to chop everything up and turn it into a grain bowl with some additional fresh vegetables and a squeeze of lime.
- Store everything in the refrigerator for up to 3 days in airtight containers
- Reheat gently in the microwave or a warm oven to avoid drying out the chicken
- The sauce actually gets better as it sits, so do not be afraid to make it ahead
 Pin It
 Every time I make this dish, I am reminded that the best meals are often the simplest ones. Good food, happy people, and almost zero cleanup. What could be better than that?
Recipe Q&A
- → Can I use chicken thighs instead of breasts?
-
Yes, chicken thighs can be substituted for a juicier result. Cooking time may need adjustment to ensure thighs are fully cooked.
- → Is it necessary to marinate the chicken?
-
Marinating the chicken in half the sauce for 30 minutes before baking enhances flavor but is optional for convenience.
- → What sides pair well with this dish?
-
Steamed rice or cauliflower rice complements the dish well, balancing the sweet and savory flavors.
- → Can I prepare the sauce ahead of time?
-
The sauce can be made in advance and stored in the refrigerator for up to two days to save time.
- → How do I know when the chicken is done?
-
Chicken is thoroughly cooked when its internal temperature reaches 165°F (74°C), and juices run clear.
- → Are there any allergen considerations?
-
This dish contains soy from the sauce. Gluten-free soy sauce or tamari should be used for gluten sensitivity.
