 Pin It
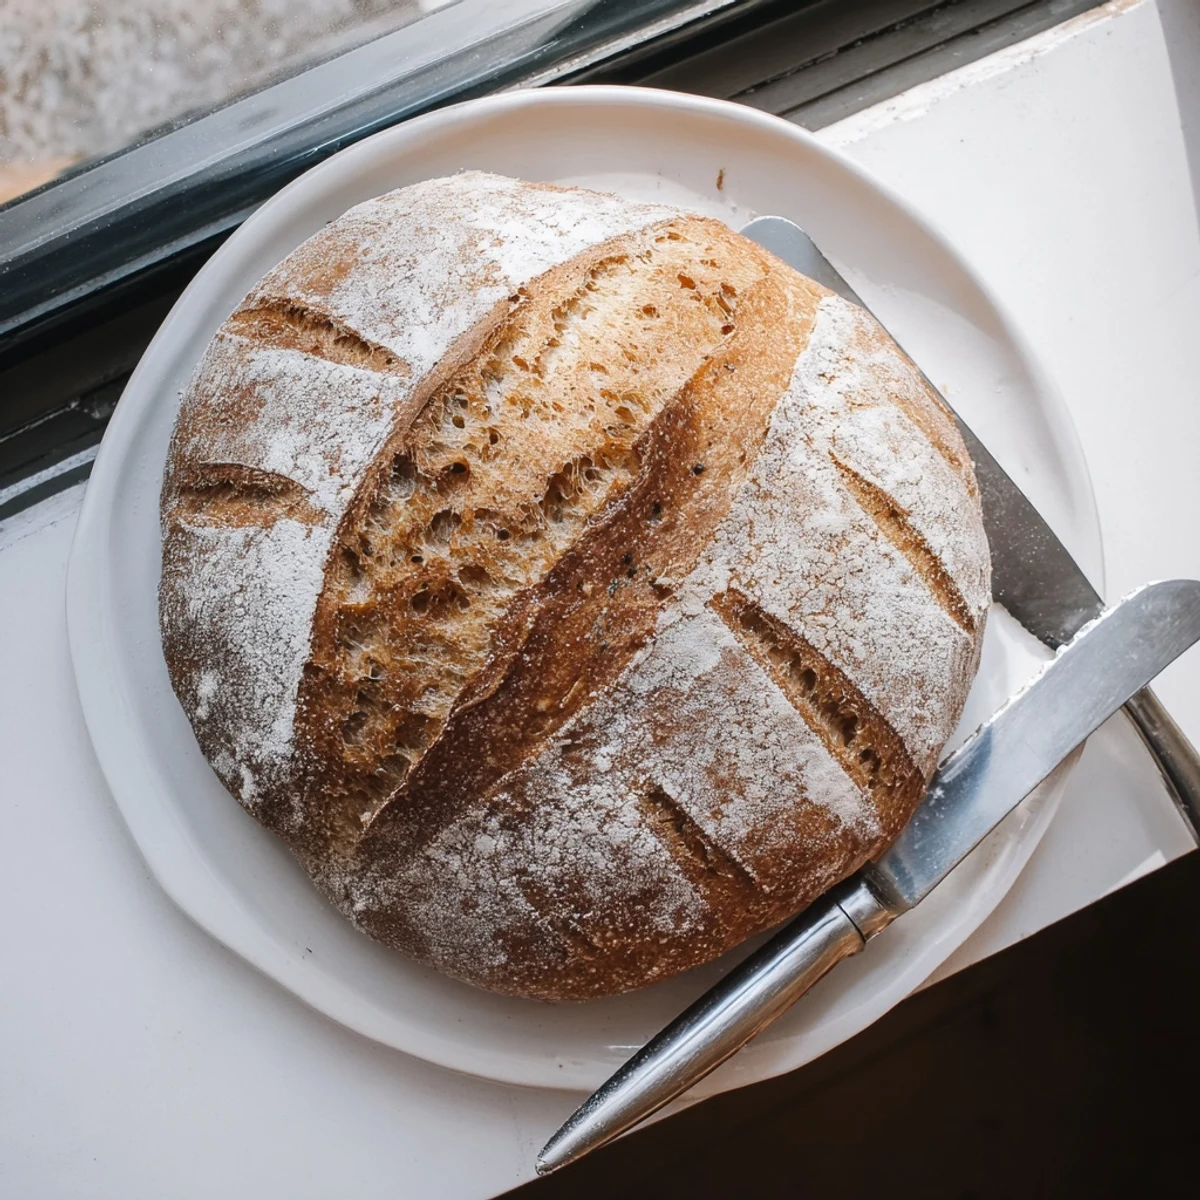
 Craft a traditional sourdough loaf using wild yeast starter and patient fermentation. This classic bread develops deep flavor through a 12-18 hour proofing process, resulting in the signature tangy taste and irresistible texture. The method combines simple ingredients—bread flour, water, salt, and active starter—with time-honored techniques including autolyse, stretch and folds, and cold fermentation. Bake in a Dutch oven for professional-quality results with a crackling crust and airy crumb perfect for toast, sandwiches, or enjoying with butter.
My first sourdough loaf came out of the oven looking like a flattened frisbee. I had followed the instructions to the letter, or so I thought. The smell was incredible though, that tangy fermented aroma that filled the entire house. Something about that first failure hooked me, and I have been baking sourdough ever since.
Last winter, during a particularly brutal storm, my power went out right in the middle of bulk fermentation. I wrapped the bowl in three towels and nestled it near the fireplace, checking it every hour by candlelight. That loaf turned out to be one of my best ever, proofing slowly for ten hours while the house creaked and groaned outside. My neighbors came over when the power returned, drawn by the smell, and we ate the entire loaf with nothing but salted butter and conversation.
Ingredients
- Bread flour: Higher protein content than all purpose gives you that chewy, open crumb structure and better oven spring
- Room temperature water: Cold water shocks the starter and slows fermentation, while warm water can make the dough sticky and hard to handle
- Active sourdough starter: Your starter should be at its peak activity, bubbly and doubled in size, usually 4 to 8 hours after its last feeding
- Fine sea salt: Coarse salt will not dissolve properly in the dough, leaving you with salty spots that interrupt the fermentation
- Rice flour: This is a game changer for preventing sticking in your proofing basket, creating a nonstick barrier regular flour cannot match
Instructions
- Mix and rest the dough:
- Combine the flour and water in a large bowl, using your fingers to break up any dry clumps. The mixture will look shaggy and rough, but resist the urge to fix it. Cover the bowl with a clean towel or plastic and walk away for a full hour. This rest period, called autolyse, allows the flour to hydrate fully and begins gluten development without any kneading.
- Develop the dough:
- Add your starter and salt to the bowl, using a pinching motion to incorporate them throughout the dough. The dough will start to come together into a shaggy mass. Perform your first set of stretch and folds by grabbing one edge of the dough and pulling it upward, then folding it over the center. Rotate the bowl and repeat four times, then cover and let rest for thirty minutes. Repeat this process three more times, and watch how the dough transforms from sticky and weak to smooth, strong, and elastic.
- Let it rise:
- Cover the bowl and leave it in a warm spot, ideally around 75 degrees Fahrenheit. The dough needs to double in size, which takes anywhere from four to six hours depending on your kitchen temperature and starter strength. You will know it is ready when a small indentation made with your finger springs back slowly but does not fill in completely.
- Shape for the final rise:
- Turn the dough out onto a lightly floured counter, being gentle to preserve all those beautiful air bubbles you have created. Fold the edges toward the center to create tension on the surface, then flip the dough over and use your bench scraper to drag it against the counter, creating a tight, smooth ball. Let it rest for twenty minutes to relax, then shape it again into either a round boule or oval batard. Place the dough seam side up in your floured proofing basket.
- Cold ferment overnight:
- Cover the basket and place it in the refrigerator for at least eight hours, up to twelve. This cold rest develops incredible flavor and makes the dough much easier to handle. The cold also firms up the crust so it holds its shape better when you score it.
- Get ready to bake:
- Place your Dutch oven in the oven and preheat to 450 degrees Fahrenheit for at least thirty minutes. You want that pot screaming hot. Pull your dough from the refrigerator and gently turn it out onto a piece of parchment paper. Use a sharp knife or lame to score the top with a pattern of your choice, cutting about a half inch deep to help the dough expand in the oven.
- Create steam and bake:
- Carefully lift the parchment and dough into the hot Dutch oven, cover immediately with the lid. Bake for twenty minutes, then remove the lid. The loaf will have puffed up nicely and started to develop color. Continue baking uncovered for another twenty minutes until the crust is a deep golden brown and the loaf sounds hollow when tapped on the bottom.
- The hardest part:
- Transfer the loaf to a cooling rack and wait at least one hour before slicing. Cutting into warm bread releases too much steam and leaves you with a gummy crumb. This waiting period allows the starches to set and the interior to finish cooking from residual heat.
 Pin It
 There is something almost meditative about the rhythm of sourdough baking. The waiting teaches you patience, the failures teach you humility, and the successes taste better than anything you could buy. My starter has traveled with me through three apartments and across state lines, a living thing that connects all the kitchens I have called home.
Understanding Your Starter
Your sourdough starter is a living ecosystem of wild yeast and bacteria. Feed it consistently, discarding half and refreshing with equal parts flour and water, and it will reward you with reliable, predictable baking results. I keep mine on the counter and feed it every morning while my coffee brews, creating a small ritual that anchors my day.
Reading The Dough
Learning to read your dough is more valuable than any recipe. Notice how it becomes stronger and more elastic with each stretch and fold. Pay attention to how it feels slightly jiggly when properly fermented. Your hands will learn what your eyes cannot see.
Storing Your Bread
Proper storage will keep your crust crisp and your crumb fresh for days. Once completely cooled, store the loaf cut side down on a cutting board, or wrap it in a linen bag. The refrigerator actually makes bread go stale faster due to retrogradation of starches.
- Freeze slices in a single layer, then transfer to a freezer bag for easy toasting
- Revive a day old crust by sprinkling with water and reheating at 350 degrees for ten minutes
- Stale bread never goes to waste, it makes incredible croutons, bread pudding, or breadcrumbs
 Pin It
 There is no bread more satisfying than the one you created with your own hands, time, and patience. Happy baking, and may your crusts always be crisp.
Recipe Q&A
- → What makes sourdough different from regular bread?
-
Sourdough uses wild yeast and lactic acid bacteria naturally present in flour rather than commercial yeast. This creates distinctive tangy flavor, improves digestibility, and extends shelf life naturally.
- → How do I know when my starter is active enough?
-
An active starter doubles in size within 4-8 hours after feeding, displays plenty of bubbles on the surface and throughout, and has a pleasant yeasty aroma with mild acidity.
- → Can I speed up the fermentation process?
-
Fermentation time affects flavor development. While warm temperatures accelerate the process, longer, cooler fermentation produces deeper flavor and better texture. Cold fermentation in the refrigerator enhances the final result.
- → Why is scoring the dough important?
-
Scoring controls where the loaf expands during baking, creating an attractive appearance and preventing uneven splitting. Use a sharp blade or lame to make clean cuts about 1/4 inch deep.
- → What if I don't have a Dutch oven?
-
A Dutch oven creates steam for a crispy crust. Alternatives include placing a metal pan of water on the bottom oven rack or using a pizza stone with a metal bowl inverted over the loaf.
- → How should I store sourdough bread?
-
Store at room temperature in a paper bag or wrapped in a clean cloth for 2-3 days. Avoid plastic which softens the crust. For longer storage, slice and freeze in an airtight bag.
