 Pin It
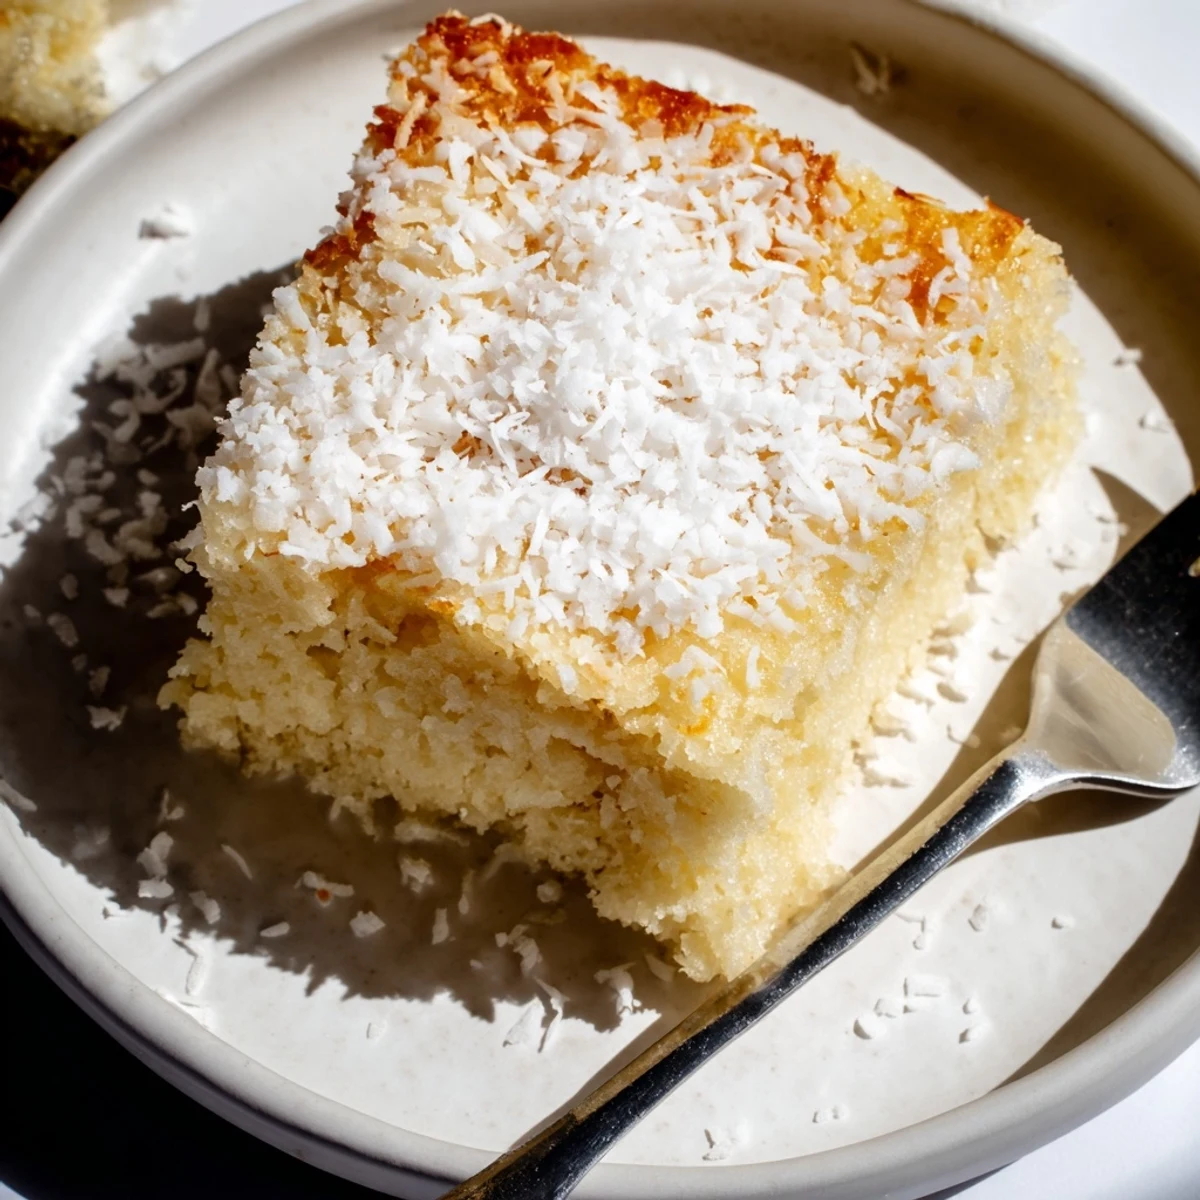
 This coconut mochi cake delivers the perfect balance of chewy texture and tropical sweetness. Made with sweet rice flour (mochiko) and full-fat coconut milk, each bite offers that signature mochi elasticity alongside rich coconut flavor. The preparation comes together quickly—just whisk together the dry and wet ingredients separately, combine them, and bake until golden edges form.
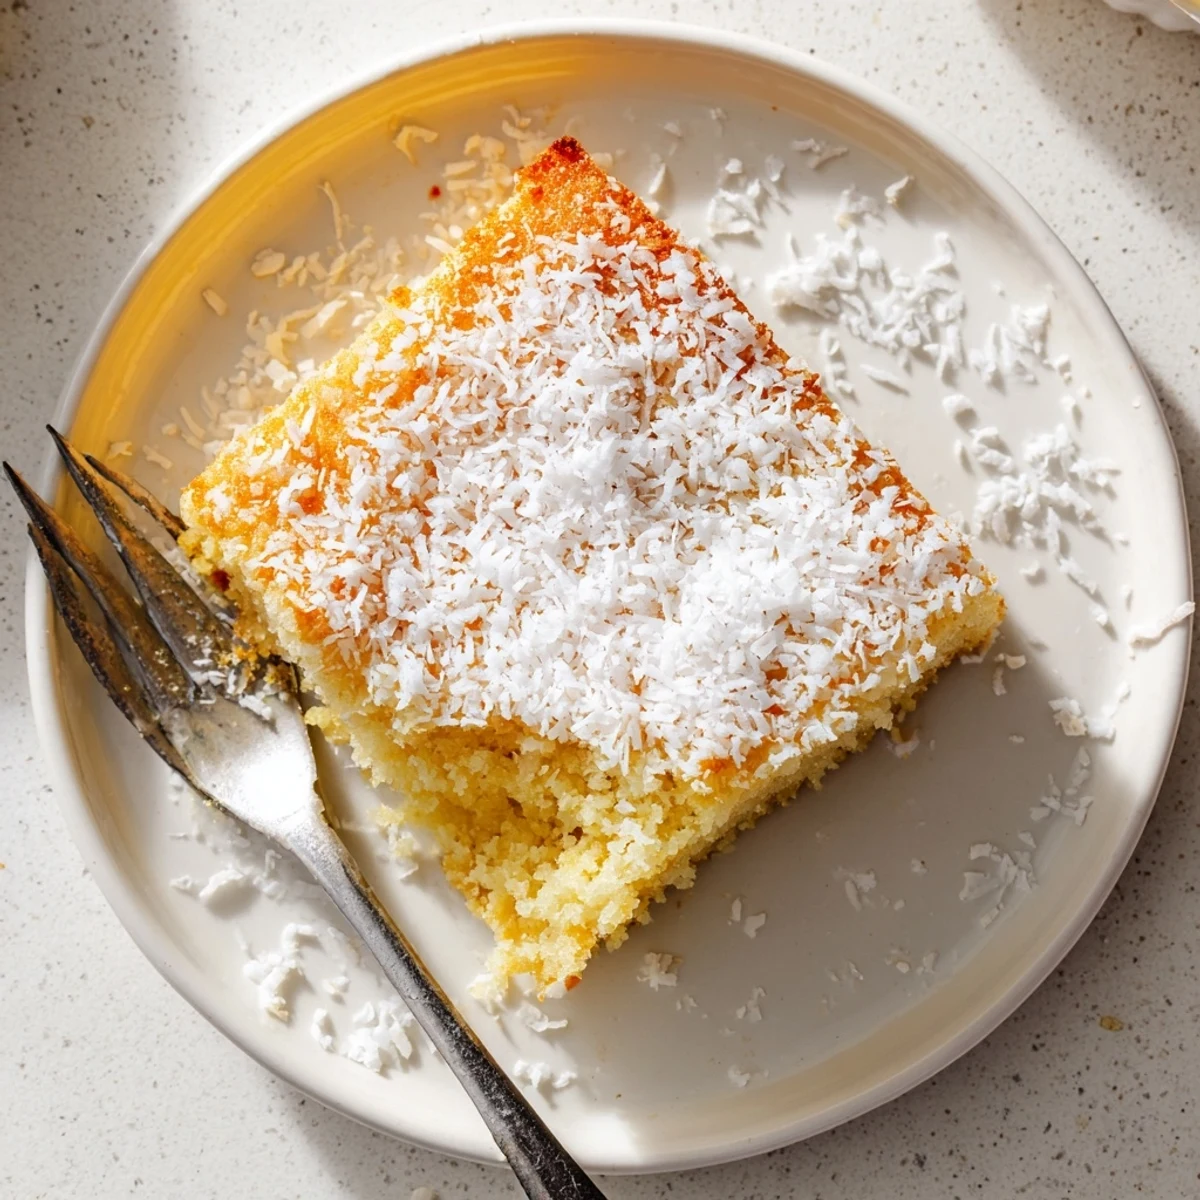
What makes this cake special is its versatility. The naturally gluten-free base works for various dietary needs, while the topping of shredded coconut adds pleasant texture and visual appeal. You can easily customize it by swirling in red bean paste for a traditional Hawaiian twist, or swap dairy ingredients to make it completely plant-based.
The result is a tender, chewy confection that bridges the gap between Asian mochi and American cake. Serve it plain, with fresh fruit, or alongside vanilla ice cream for an indulgent dessert. Leftovers stay moist for days when stored properly, making it ideal for batch preparation.
My grandmother first taught me to make mochi the way her mother taught her, hands sticky with rice flour and patience. We would sit at her kitchen table watching the steam rise from bamboo steamers, and she would tell me that good mochi requires surrender to the process. Years later when I discovered this coconut mochi cake recipe, I felt that same gentle wisdom return. The chewy texture and fragrant coconut brought back those quiet mornings together, but in a form I could share with my own family.
Last summer I brought this cake to a potluck where my friend Sarah, who has celiac disease, had grown accustomed to bringing her own separate dessert. Her eyes widened when I told her she could actually eat this one. Watching her take that first hesitant bite, then immediately reach for a second piece, reminded me why sharing food matters. She asked for the recipe before she even left the party.
Ingredients
- Sweet rice flour (mochiko): This is the heart of the recipe, giving the cake its signature chewy texture that regular rice flour simply cannot replicate
- Coconut milk: Use full-fat and shake the can well before opening to ensure you get all that rich creamy goodness throughout
- Unsalted butter: Melt it completely and let it cool slightly so it does not scramble your eggs when you combine everything
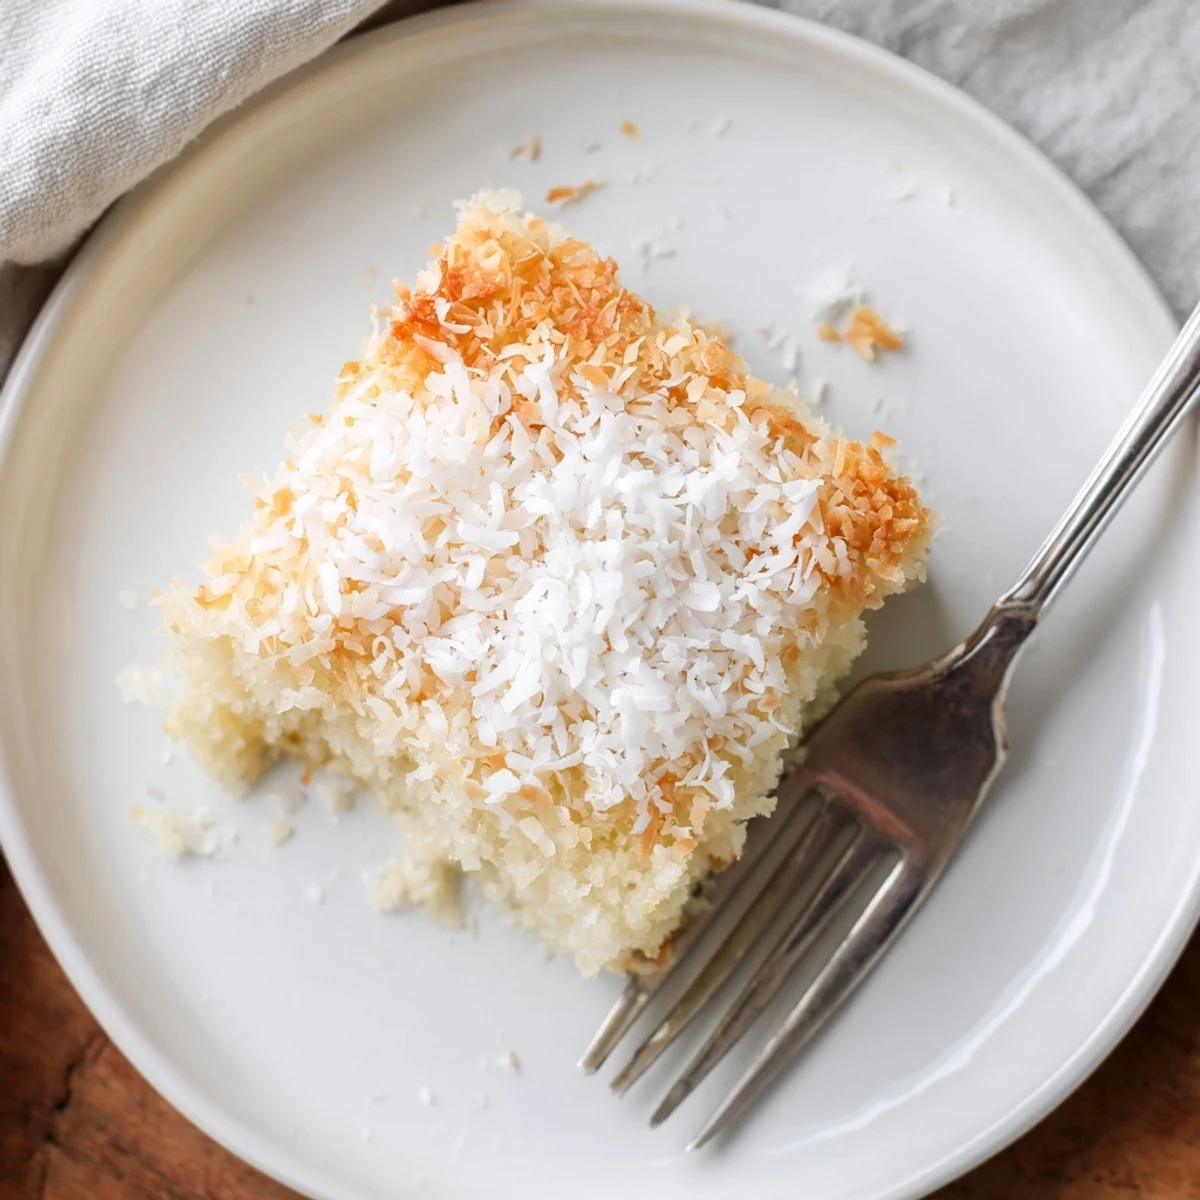
- Shredded coconut: Sprinkled on top it becomes toasty and golden in the oven, creating this beautiful contrast with the soft cake underneath
Instructions
- Warm the oven and prepare your pan:
- Preheat to 350°F and grease a 9x13-inch pan, then line it with parchment paper that overhangs the edges slightly so you can lift the whole cake out later
- Whisk the dry ingredients together:
- In a large bowl combine the sweet rice flour, sugar, baking powder, and salt until everything is evenly distributed
- Blend the wet ingredients separately:
- In another bowl whisk the coconut milk, whole milk, eggs, melted butter, and vanilla until completely smooth
- Combine the mixtures gently:
- Pour the wet ingredients into the dry and stir just until combined, being careful not to overwork the batter
- Add the topping and bake:
- Pour into your prepared pan, tap it gently on the counter to release air bubbles, sprinkle with shredded coconut, and bake for 55 to 60 minutes until golden
 Pin It
 My daughter now asks to help make this every Sunday, standing on her step stool to sprinkle the coconut on top. She calls it the magic cake because it transforms in the oven from this plain batter into something special. Those moments in the kitchen together, flour dusted across the counter and coconut in our hair, have become some of my favorite memories with her.
Making It Your Own
I have found that swirling in some red bean paste creates this lovely Hawaiian-inspired variation that my family adores. The earthy sweetness of the beans pairs so beautifully with the coconut, creating layers of flavor that make each bite interesting. You can also fold in fresh mango cubes during summer for a tropical twist that tastes like vacation.
Serving Suggestions
This cake needs nothing more than a cup of hot tea or coffee to feel complete, though a scoop of vanilla ice cream never hurts anyone. The contrast between the warm, chewy cake and cold, creamy ice cream is honestly next level. Fresh berries on the side add a nice tart brightness that cuts through the richness.
Storage And Make-Ahead Tips
The texture actually improves slightly on the second day as the flavors meld together and the coconut topping softens. I often make it the night before a gathering so it is ready to serve without any last-minute stress. Just keep it covered at room temperature if serving within two days.
- Wrap individual squares in parchment and freeze for up to a month, then thaw at room temperature
- Place a paper towel in the container if refrigerating to absorb excess moisture
- Warm leftover pieces in the microwave for about 15 seconds to bring back that freshly baked texture
 Pin It
 There is something deeply comforting about a recipe that connects generations while still feeling fresh enough for today. This coconut mochi cake has become one of those staples in our home, simple enough for a Tuesday yet special enough for celebrations. I hope it brings you as much joy as it has brought my family.
Recipe Q&A
- → What makes mochi cake different from regular cake?
-
Mochi cake uses sweet rice flour (mochiko) instead of wheat flour, creating a distinctly chewy and elastic texture similar to Japanese mochi. This gluten-free base produces a dense, bouncy consistency that sets it apart from traditional fluffy cakes while remaining incredibly satisfying to eat.
- → Can I make this dairy-free?
-
Absolutely. Simply replace the whole milk with additional coconut milk and substitute the unsalted butter with melted coconut oil. These changes maintain the moisture content and actually enhance the coconut flavor throughout the cake while keeping it completely plant-based.
- → Why is my mochi cake not chewy?
-
The chewiness comes from using sweet rice flour (mochiko)—regular rice flour or gluten-free all-purpose blends won't provide the same texture. Also, avoid overmixing the batter, which can develop too much structure. Finally, ensure proper cooling before slicing, as the texture sets and becomes more chewy as it cools completely.
- → How should I store leftover mochi cake?
-
Keep the cake in an airtight container at room temperature for up to 2 days—the humidity actually helps maintain its chewy texture. For longer storage (up to 5 days), refrigerate it. The cake can also be frozen for up to 3 months—wrap individual slices in plastic wrap and thaw at room temperature when ready to enjoy.
- → What can I serve with coconut mochi cake?
-
Fresh tropical fruits like mango, pineapple, or sliced strawberries complement the coconut flavor beautifully. A scoop of vanilla ice cream creates a temperature contrast that's particularly enjoyable. For a more traditional presentation, serve with a cup of hot tea or coffee. The mild sweetness also pairs well with slightly tart fruit like raspberries or passion fruit.
- → Can I add mix-ins to the batter?
-
Yes, this versatile base welcomes many additions. Try swirling in sweetened red bean paste for a Hawaiian-inspired twist, or fold in chocolate chips for a fusion dessert. Chopped macadamia nuts add crunch, while fresh or toasted coconut flakes intensify the coconut experience. Just keep mix-ins to about ½ cup total to maintain the proper texture.
