 Pin It
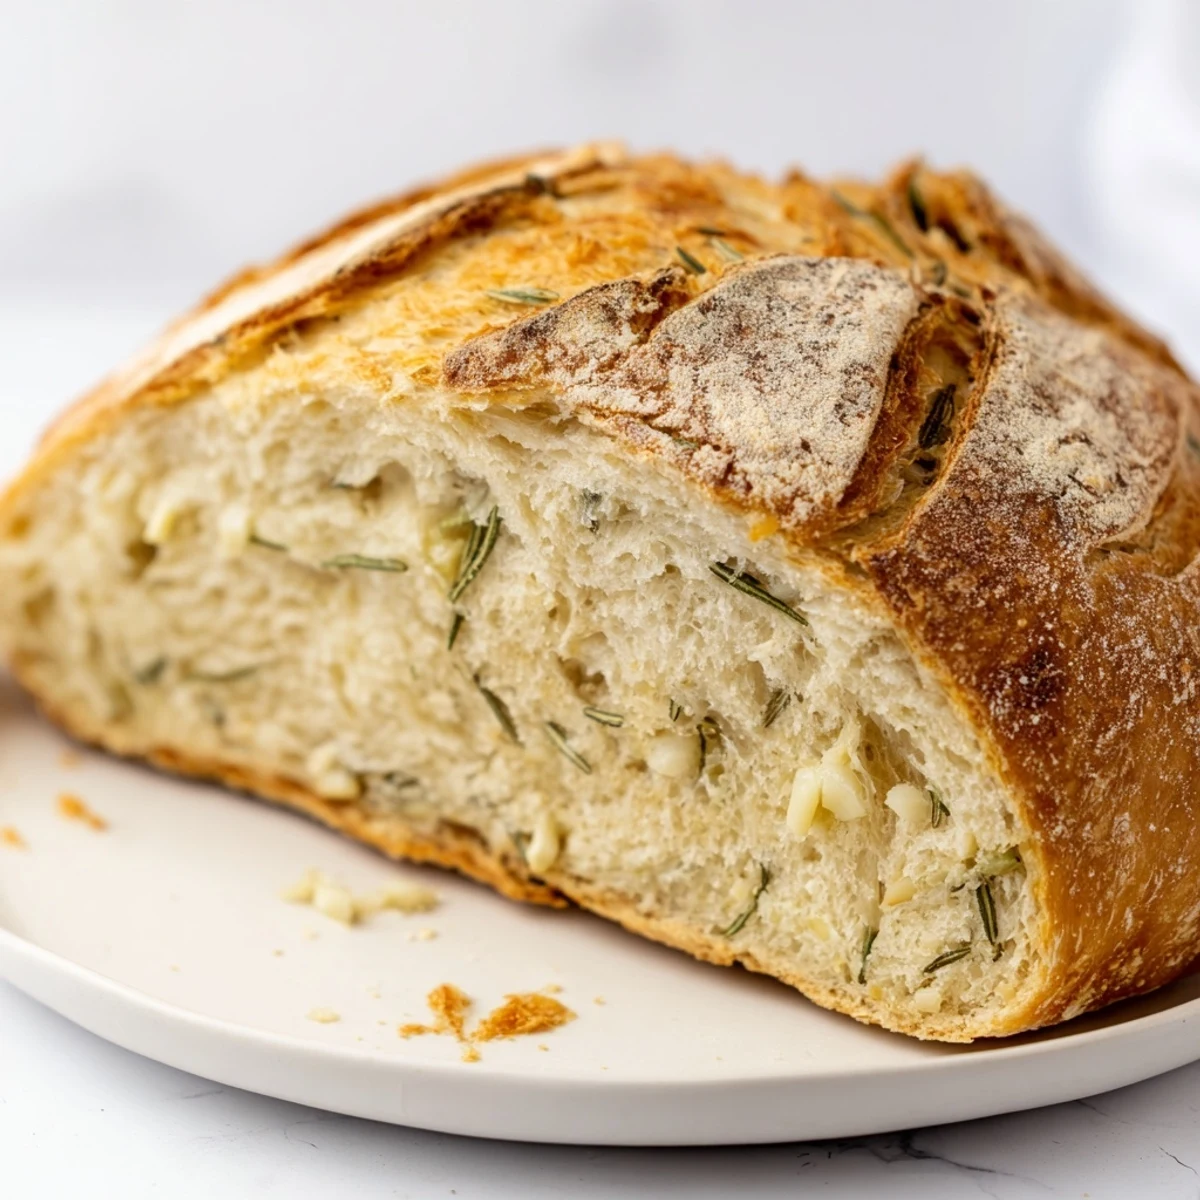
 Craft impressive artisan-style bread using a simple Dutch oven technique that creates steam for an irresistibly crisp crust. The dough requires just five ingredients plus aromatic garlic and rosemary, developing deep flavors during an extended rise. The hot Dutch oven mimics professional steam injection ovens, producing that characteristic crackling crust and airy crumb. Perfect alongside soups, for sandwiches, or simply slathered with butter.
The garlic hits you first—that unmistakable sharp scent that makes your whole kitchen feel alive. My tiny apartment kitchen was barely six feet wide, but that never stopped me from baking bread on rainy Sundays when the world outside felt gray and distant. Something about kneading dough, hands flour-dusted and mind focused on the rise and fall, felt like the most grounding thing I could do.
My roommate used to wake up from the smell alone, stumbling into the kitchen with sleep-mussed hair and asking if there was more. Wed stand there waiting those last agonizing minutes while the bread cooled, unable to resist tearing off pieces while it was still too hot to handle. Those moments, steam rising between us, became the highlight of our week.
Ingredients
- Bread flour: Higher protein content gives this bread its structure and chewy texture I learned the hard way that allpurpose flour just doesnt give you that professional crumb
- Sea salt: Fine sea salt dissolves more evenly into the dough than kosher salt creating that perfect balance of flavor in every bite
- Active dry yeast: This tiny amount works slowly over hours developing deeper flavor than rapid rise yeast ever could
- Lukewarm water: Think bathwater temperature too cold and the yeast sleeps too hot and you kill it outright
- Olive oil: Keeps the crumb tender and adds a subtle fruitiness that plays beautifully with the garlic
- Fresh garlic: Four cloves might seem bold but the long bake time tames the sharpness into something mellow and sweet
- Fresh rosemary: Dried herbs would work in a pinch but fresh rosemary releases these incredible aromatic oils during baking
- Extra flour or cornmeal: Prevents sticking and gives the bottom of your loaf that satisfying crunch
Instructions
- Mix your base:
- Whisk flour salt and yeast in a large bowl until everything looks uniformly combined
- Build the dough:
- Pour in the lukewarm water and olive oil stirring until a shaggy sticky dough forms dont worry it will look messy
- Add the magic:
- Fold in minced garlic and chopped rosemary mixing just enough to distribute them throughout without overworking the dough
- First rise:
- Cover the bowl with plastic wrap or a damp towel and walk away for 2 to 3 hours until the dough has doubled in size
- Shape it gently:
- Turn the dough onto a floured surface and with floured hands shape it into a rough ball handling it as little as possible
- Second rise:
- Place the dough seamside down on parchment paper cover loosely and let it rest for another 30 to 45 minutes
- Preheat like you mean it:
- Put your Dutch oven with its lid on into the oven and crank it to 450°F letting it get screaming hot for at least 30 minutes
- The transfer:
- Carefully lift the hot Dutch oven out and using the parchment as a sling lower your dough inside
- Bake covered:
- Put the lid on and bake for 30 minutes trapping steam to create that incredible crust
- Reveal and finish:
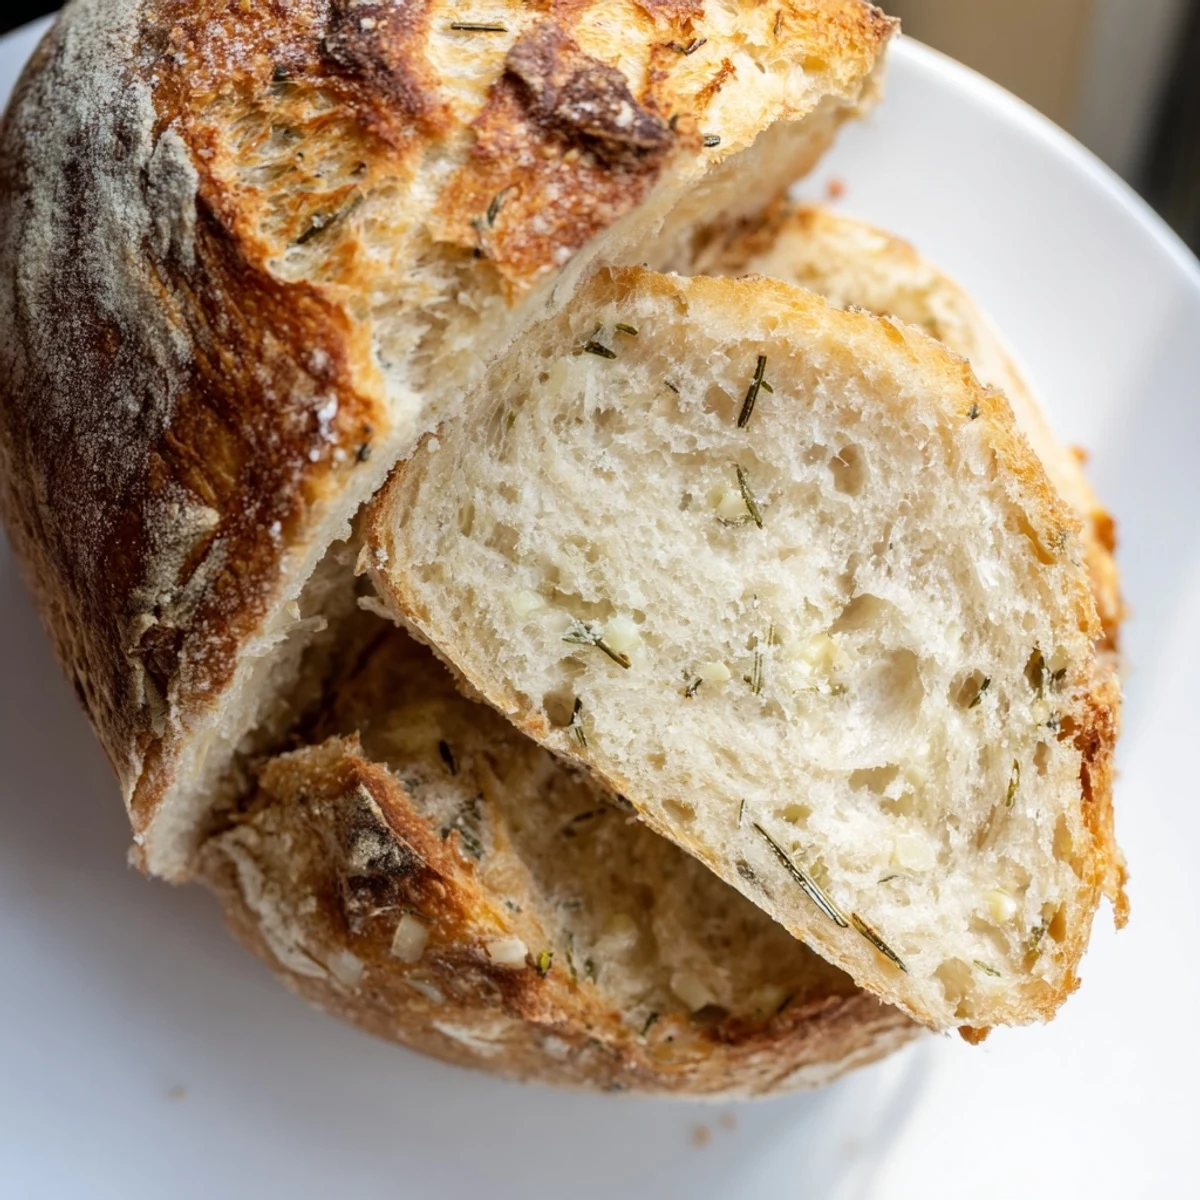
- Remove the lid and bake for another 12 to 15 minutes until the crust is deep golden brown and sounds hollow when tapped
- The hardest part:
- Let the bread cool on a rack for at least 20 minutes before slicing or youll ruin the crumb structure
 Pin It
 This recipe became my go to for dinner parties because it never failed to impress even though it required so little active effort. Something about tearing into that crackling crust at the table watching steam curl up into the air made everything feel special and intentional.
The Secret to Extra Crispiness
I discovered by accident that letting the Dutch oven preheat for closer to 45 minutes instead of 30 makes an astonishing difference in crust development. The extra heat retention creates that professional bakery crackle people try to replicate for years at home.
Making It Your Own
Once youve mastered the basic formula this dough becomes a canvas for whatever flavors speak to you. Kalamata olives and sun dried tomatoes turn it into something Mediterranean while roasted garlic and caramelized onions push it toward comfort food territory.
Storage and Leftovers
This bread is at its absolute best the day its baked but that never stops me from making extra because the leftovers have their own magic. Wrapped tightly it stays decent for two days but the real transformation happens when you slice and toast it.
- Day old slices revived in a toaster become incredible platforms for avocado or scrambled eggs
- Stale pieces can be cut into cubes and toasted into croutons that put store bought versions to shame
- Freezing sliced portions means you always have emergency bread on hand for sudden soup cravings
 Pin It
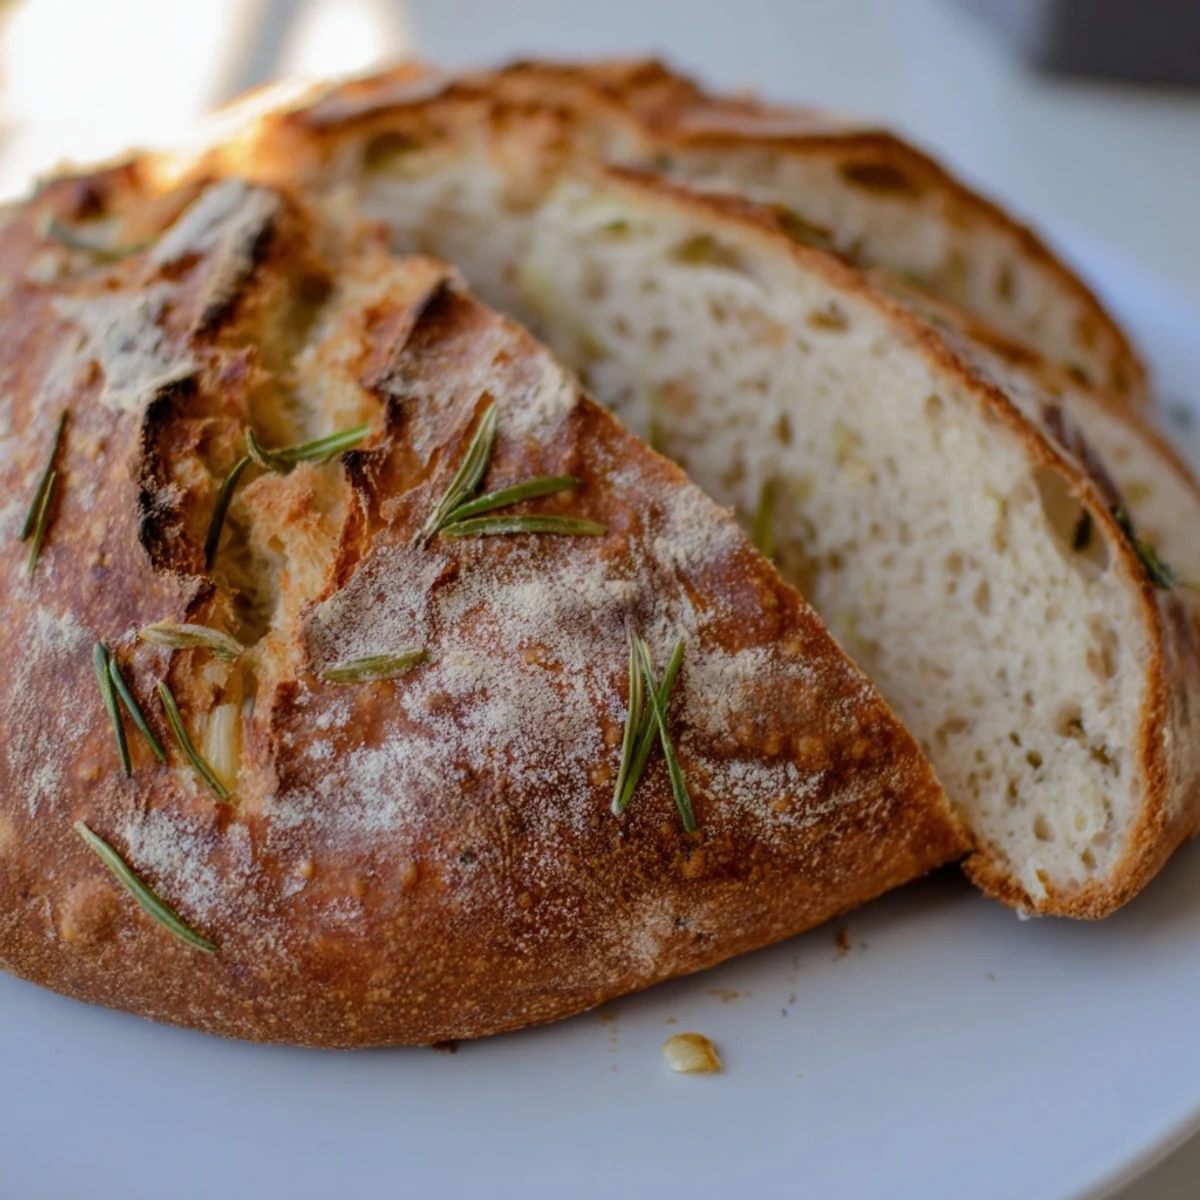
 Theres something deeply satisfying about pulling this bread from the oven, the kitchen filled with rosemary and garlic, knowing you created something this beautiful with your own two hands.
Recipe Q&A
- → Why use a Dutch oven for bread?
-
The preheated Dutch oven creates steam when the dough goes inside, which helps develop a crackling crisp crust and gives the bread an impressive oven spring. It essentially mimics professional steam-injected ovens used by bakeries.
- → Can I use dried rosemary instead of fresh?
-
Fresh rosemary provides superior flavor and aroma, but you can substitute dried rosemary. Use about one-third the amount since dried herbs are more concentrated. Soak the dried herbs in warm water for 10 minutes before adding to help rehydrate them.
- → How do I know when the bread is done baking?
-
The bread is ready when the crust reaches a deep golden brown color and sounds hollow when tapped on the bottom. An instant-read thermometer inserted into the center should read between 200-205°F (93-96°C).
- → Can I make this dairy-free?
-
This bread is naturally dairy-free as written. The fat comes entirely from olive oil, making it suitable for those avoiding dairy products.
- → Why does the dough need such a long rise?
-
The extended fermentation period allows yeast to slowly develop flavor while breaking down complex carbohydrates and gluten strands. This results in better taste, improved texture, and easier digestibility compared to quick-rise breads.
- → Can I add other ingredients like cheese or nuts?
-
Absolutely. This versatile dough welcomes additions like aged cheese, chopped walnuts, sun-dried tomatoes, or Kalamata olives. Fold them in gently after the initial mix, being careful not to deflate the dough.
