 Pin It
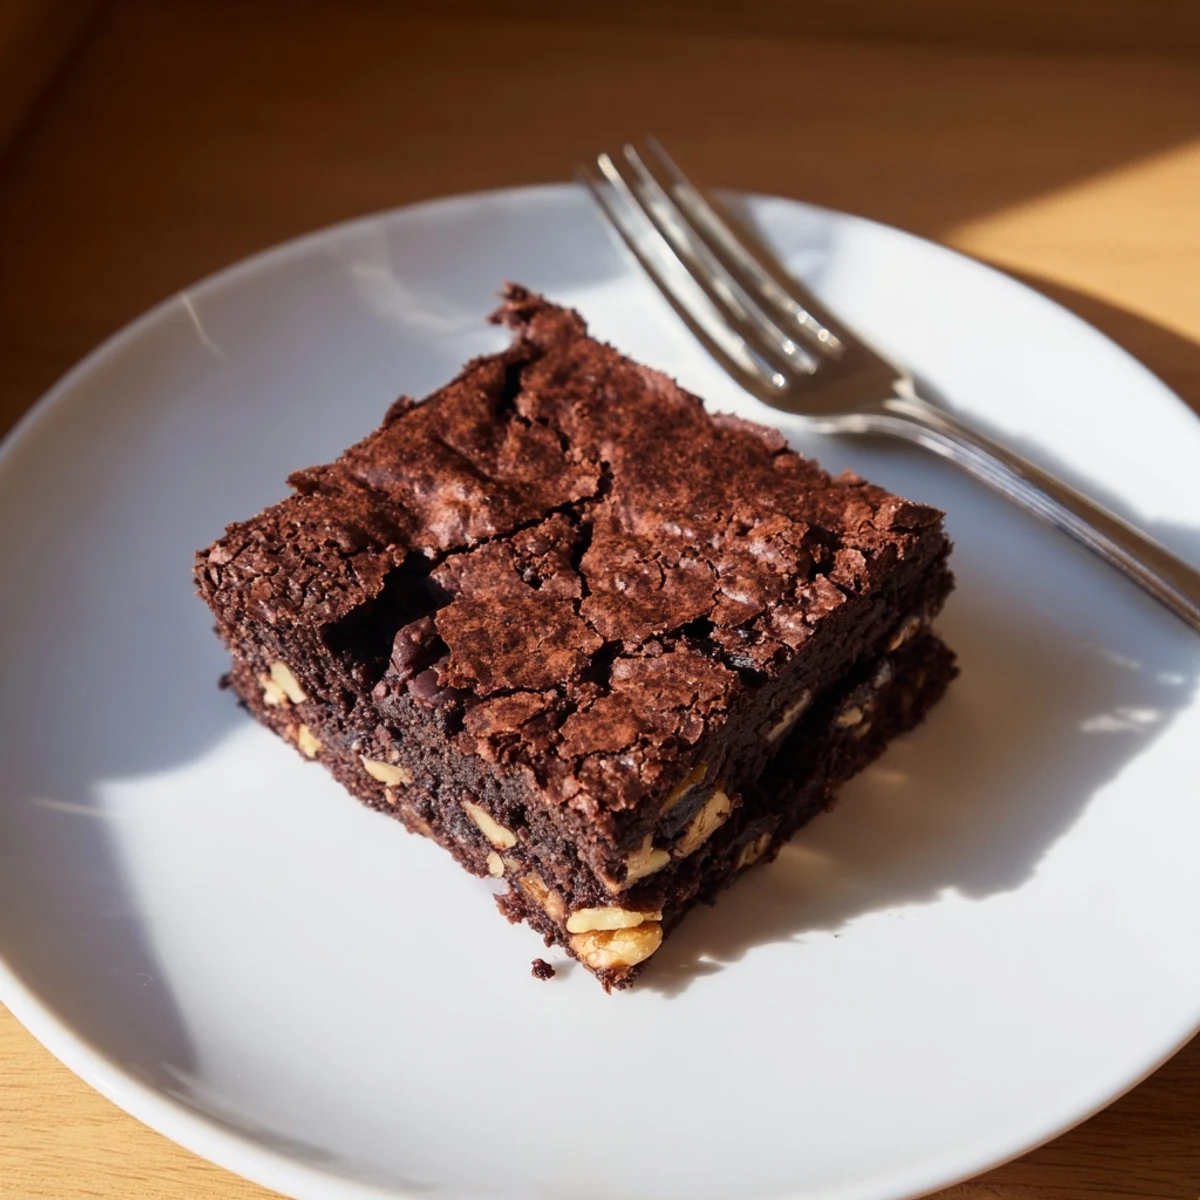
 These fudgy chocolate brownies feature a signature crackly top and an irresistibly moist, dense interior. Using high-quality dark chocolate with at least 60% cocoa ensures a deep, intense chocolate flavor throughout.
The batter comes together in just 15 minutes using a simple melting and folding technique. A combination of granulated and brown sugars creates the perfect balance of sweetness and chewiness.
Baked in a 20x20 cm pan and cooled completely before slicing, each square delivers a rich, decadent bite that pairs beautifully with a scoop of vanilla ice cream or a dusting of cocoa powder.
My apartment smelled like a chocolate factory for three days straight after the first batch of these brownies, and honestly I was not mad about it. I had been searching for a brownie that could walk the line between cakey and fudgy without falling into either camp completely. The crackly top sealed the deal for me, that papery thin shell that shatters when you bite through it. This recipe delivers every single time.
I brought a pan of these to a friends potluck dinner and watched two grown adults quietly argue over the last corner piece. There is something about a homemade brownie that strips away all politeness and turns people into honest negotiators. The corner, with its extra edges and crackly top, is the real prize and everyone knows it.
Ingredients
- Unsalted butter (150 g): Good butter is the foundation here, and I learned the hard way that margarine or salted butter throws off both texture and flavor.
- Dark chocolate at least 60% cocoa (200 g): Chop it yourself from a bar rather than using chips, because the uneven pieces melt into gorgeous pockets of richness.
- Granulated sugar (125 g) and light brown sugar (100 g): Using both gives you that classic crackly top from the white sugar plus chewy depth from the brown.
- Three large eggs: Room temperature eggs incorporate more smoothly and help create that beautiful cracked surface.
- Pure vanilla extract (1 tsp): A small amount that quietly rounds out the chocolate without announcing itself.
- All-purpose flour (90 g): Less flour than you expect is the secret to keeping things dense and fudgy rather than cakey.
- Unsweetened cocoa powder (30 g): Intensifies the chocolate flavor without adding extra fat or sweetness.
- Fine salt (1/2 tsp): Do not skip this, because salt is what makes chocolate taste like itself.
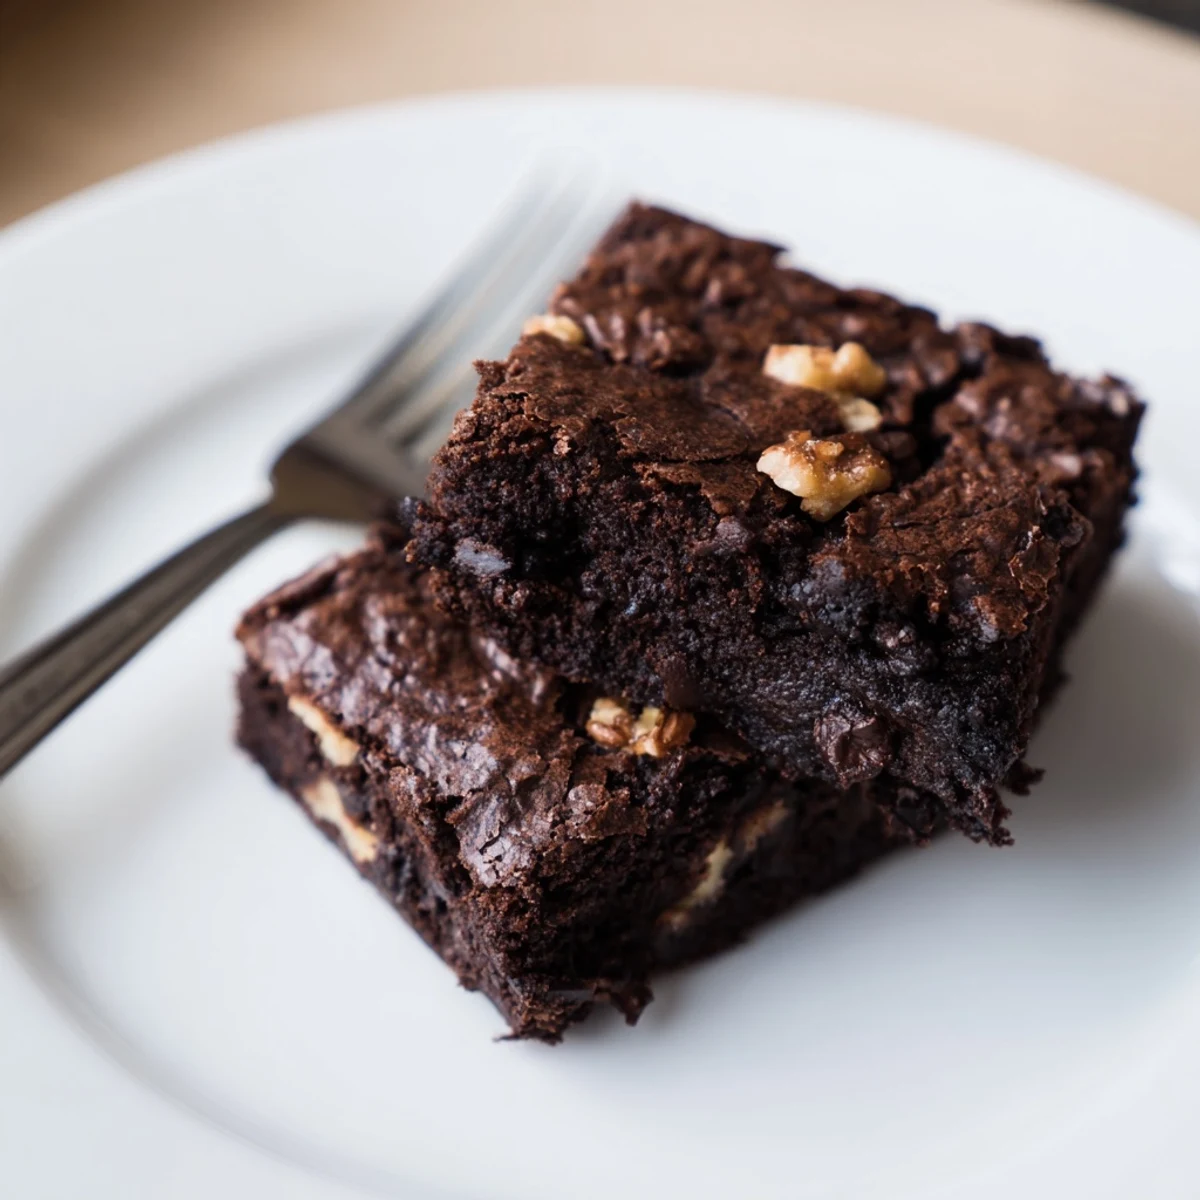
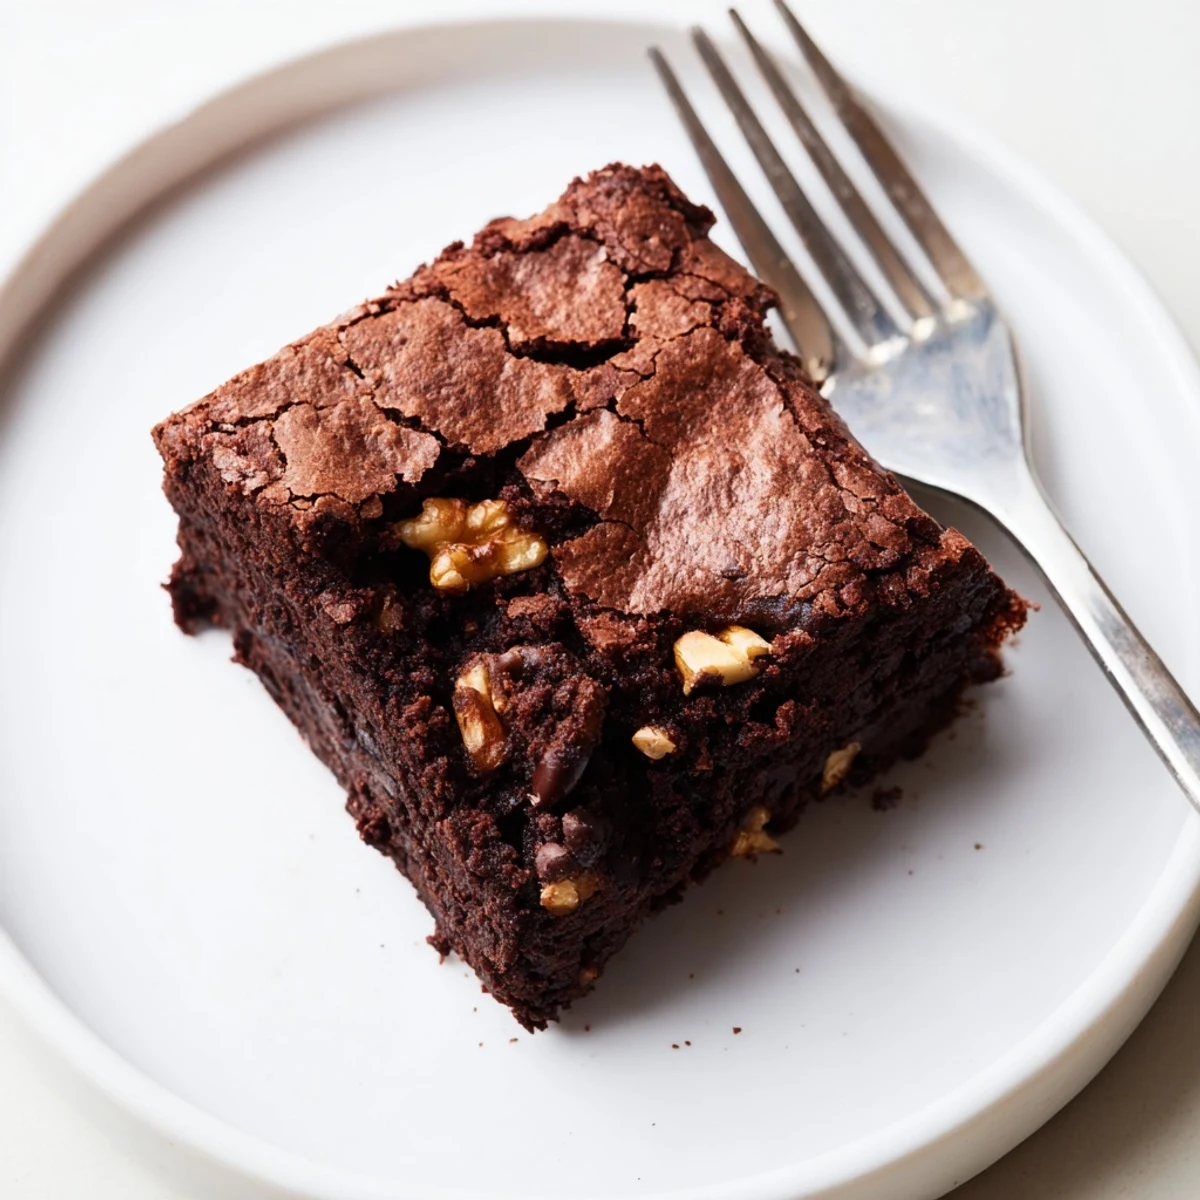
- Optional walnuts or pecans and chocolate chips: Add them if you want texture contrast, but the brownies are complete without them too.
Instructions
- Prepare your oven and pan:
- Heat the oven to 180 degrees C (350 degrees F) and line a 20x20 cm baking pan with parchment paper, leaving overhang on two sides so you can lift the whole block out later.
- Melt chocolate and butter together:
- Set a heatproof bowl over a saucepan of barely simmering water and stir the butter and chopped chocolate until the mixture turns glossy and smooth, then let it cool for a few minutes so it does not cook the eggs.
- Stir in the sugars:
- Pour both sugars into the warm chocolate mixture and whisk until everything looks dark and unified.
- Add eggs and vanilla:
- Drop in one egg at a time, whisking well after each until the batter thickens slightly, then stir in the vanilla extract.
- Fold in the dry ingredients:
- Sift the flour, cocoa powder, and salt directly over the bowl, then fold gently with a spatula until you see no more dry streaks.
- Add any extras:
- Scatter in the nuts or chocolate chips if you are using them and fold just two or three more times to distribute them without overworking the batter.
- Pour and smooth:
- Transfer the batter to your prepared pan and use the spatula to nudge it into the corners and smooth the top.
- Bake until just right:
- Bake for 22 to 25 minutes, looking for a set top with a gentle wobble in the very center when you give the pan a light shake.
- Cool completely before cutting:
- Leave the brownies in the pan until they reach room temperature, because cutting while warm will give you ragged slices instead of clean squares.
 Pin It
 A rainy Saturday afternoon, a warm pan of these cooling on the counter, and my roommate wandering into the kitchen drawn entirely by smell is the moment this recipe stopped being just a recipe for me.
Serving Ideas Worth Trying
A warm square with a scoop of vanilla ice cream melting over the top is simple and absolutely perfect. You can also dust the cooled brownies with cocoa powder or drizzle them with melted white chocolate for a potluck presentation.
Storing Them Right
Keep leftover brownies in an airtight container at room temperature for up to four days, though they rarely last that long in my kitchen. They freeze beautifully too, individually wrapped in foil, for up to three months.
Getting Clean Cuts
A sharp knife run under hot water and wiped dry between each slice gives you bakery neat edges that make the brownies look as good as they taste.
- Chill the whole pan in the refrigerator for an hour before slicing if you want extra clean squares.
- Use the parchment overhang to lift the entire block out before cutting so you do not scratch your pan.
- Always wipe the blade clean between cuts to avoid smearing crumbs into the next slice.
 Pin It
 Once you master this brownie, you will stop looking for another recipe. It is the one people will always ask you to bring.
Recipe Q&A
- → How do I get the crackly top on brownies?
-
The crackly top forms naturally when eggs are whisked thoroughly with sugar, creating air bubbles that rise during baking. Make sure to whisk the eggs and sugar vigorously for at least 2 minutes to achieve that signature glossy, cracked surface.
- → Should I use Dutch-process or natural cocoa powder?
-
Either works well for brownies. Natural cocoa powder adds a slightly fruity, acidic note while Dutch-process gives a smoother, milder flavor. Since the leavening relies on eggs rather than baking soda, both types produce excellent results.
- → How do I know when brownies are done baking?
-
The top should look set and slightly shiny, but the center should still have a gentle jiggle when you shake the pan. A toothpick inserted should come out with moist crumbs, not clean. This typically takes 22 to 25 minutes at 180°C.
- → Can I make these brownies without nuts?
-
Absolutely. The nuts are entirely optional. You can skip them, replace them with chocolate chips, or try white chocolate chunks for a different flavor profile. The base brownie batter is delicious on its own.
- → Why should brownies cool completely before cutting?
-
Cooling allows the structure to set properly. Warm brownies are too soft and will fall apart or become gummy when sliced. Letting them reach room temperature in the pan ensures clean, neat squares with the ideal fudgy texture.
- → What type of chocolate works best for brownies?
-
Use dark chocolate with at least 60% cocoa content for the richest flavor. Higher percentages like 70% create more intense, less sweet brownies. Avoid milk chocolate as it makes them overly sweet and soft. Always use real chocolate, not chips, for melting.
