 Pin It
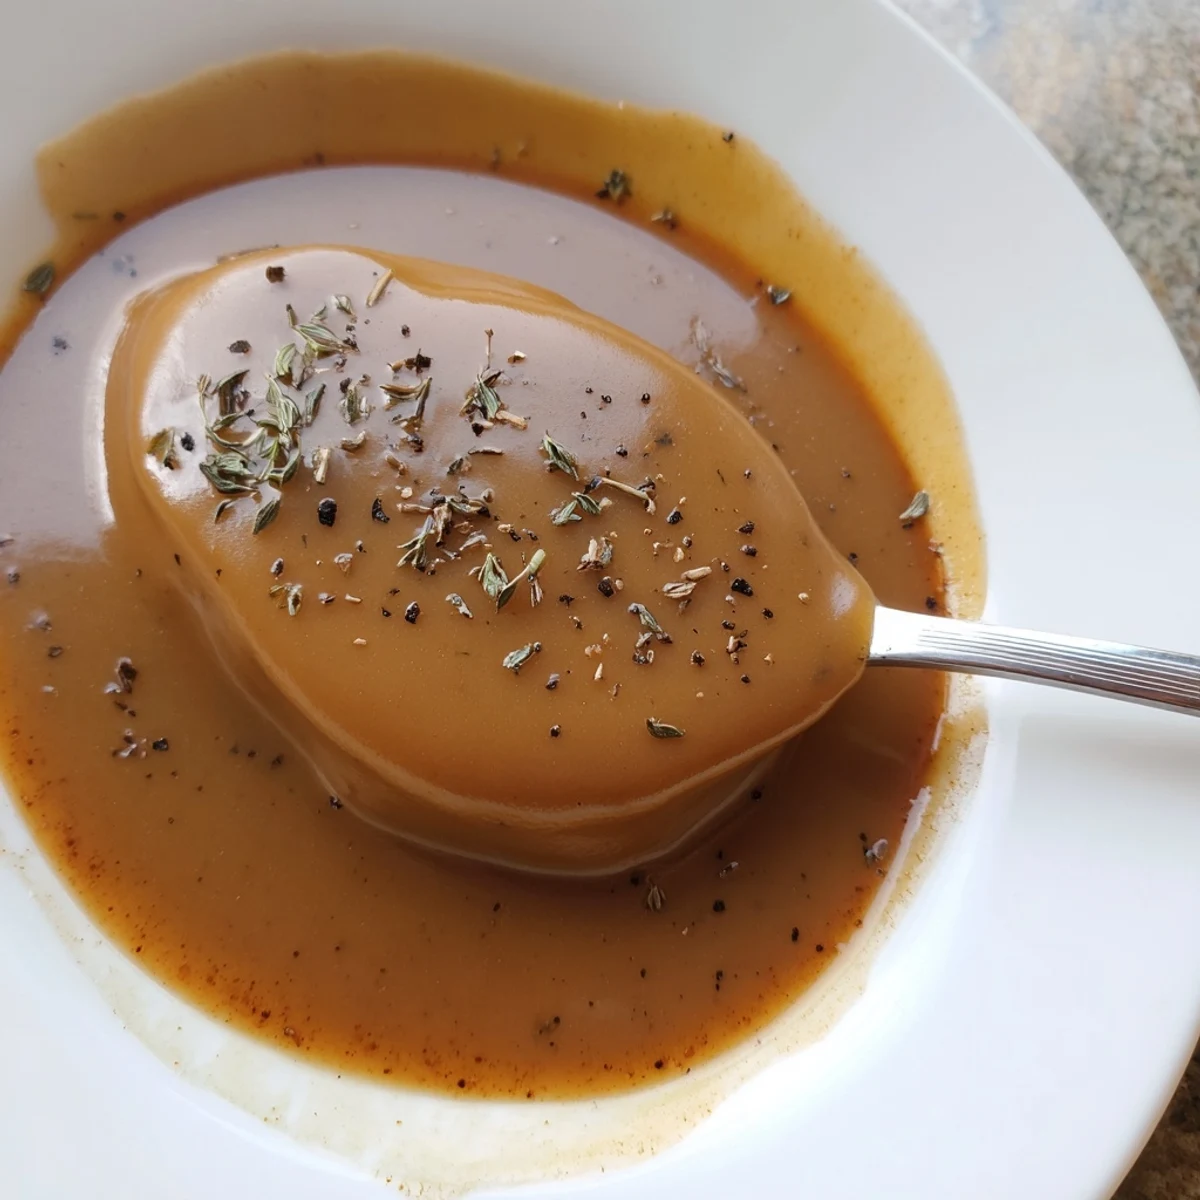
 Create a rich, savory sauce that transforms roast meats, mashed potatoes, and stuffing. This classic delivers deep flavor and silky texture using butter, flour, and stock.
The roux-based method ensures lump-free results every time. Ready in just 20 minutes with pantry staples you likely have on hand.
Customize with herbs like thyme or sage, add cream for richness, or incorporate pan drippings from your roast for extra depth.
The smell of roux cooking in butter takes me straight back to my grandmother's kitchen, where she'd make Sunday gravy while telling me stories about her childhood. I've ruined plenty of batches by rushing that crucial step of cooking the flour until it smells like toasted nuts rather than raw dough. Now I understand why she'd always say, 'Good things come to those who whisk patiently.'
Last Thanksgiving, my cousin who swore she couldn't cook made this gravy while I handled the turkey. She called me at 6am, panicked about lumps, and I talked her through the whisking technique over the phone. Her gravy was so good that now she's officially in charge of sauce duty forever.
Ingredients
- Unsalted butter: Butter adds richness, but pan drippings from a roast will give you even deeper flavor
- All purpose flour: This creates your roux, the thickening foundation, so don't skip the toasting step
- Low sodium chicken stock: Using low sodium lets you control the salt level perfectly
- Kosher salt and black pepper: Season at the end since the flavor concentrates as it reduces
- Dried thyme or sage: These herbs make it taste like you spent all day on it
Instructions
- Melt your butter:
- Get your medium saucepan over medium heat and let the butter melt completely, watching for it to stop foaming
- Build the roux:
- Whisk in the flour and cook for 2 to 3 minutes, stirring constantly, until it smells like toasted nuts
- Add the liquid:
- Pour in the stock gradually while whisking like your life depends on it to keep things smooth
- Simmer until thick:
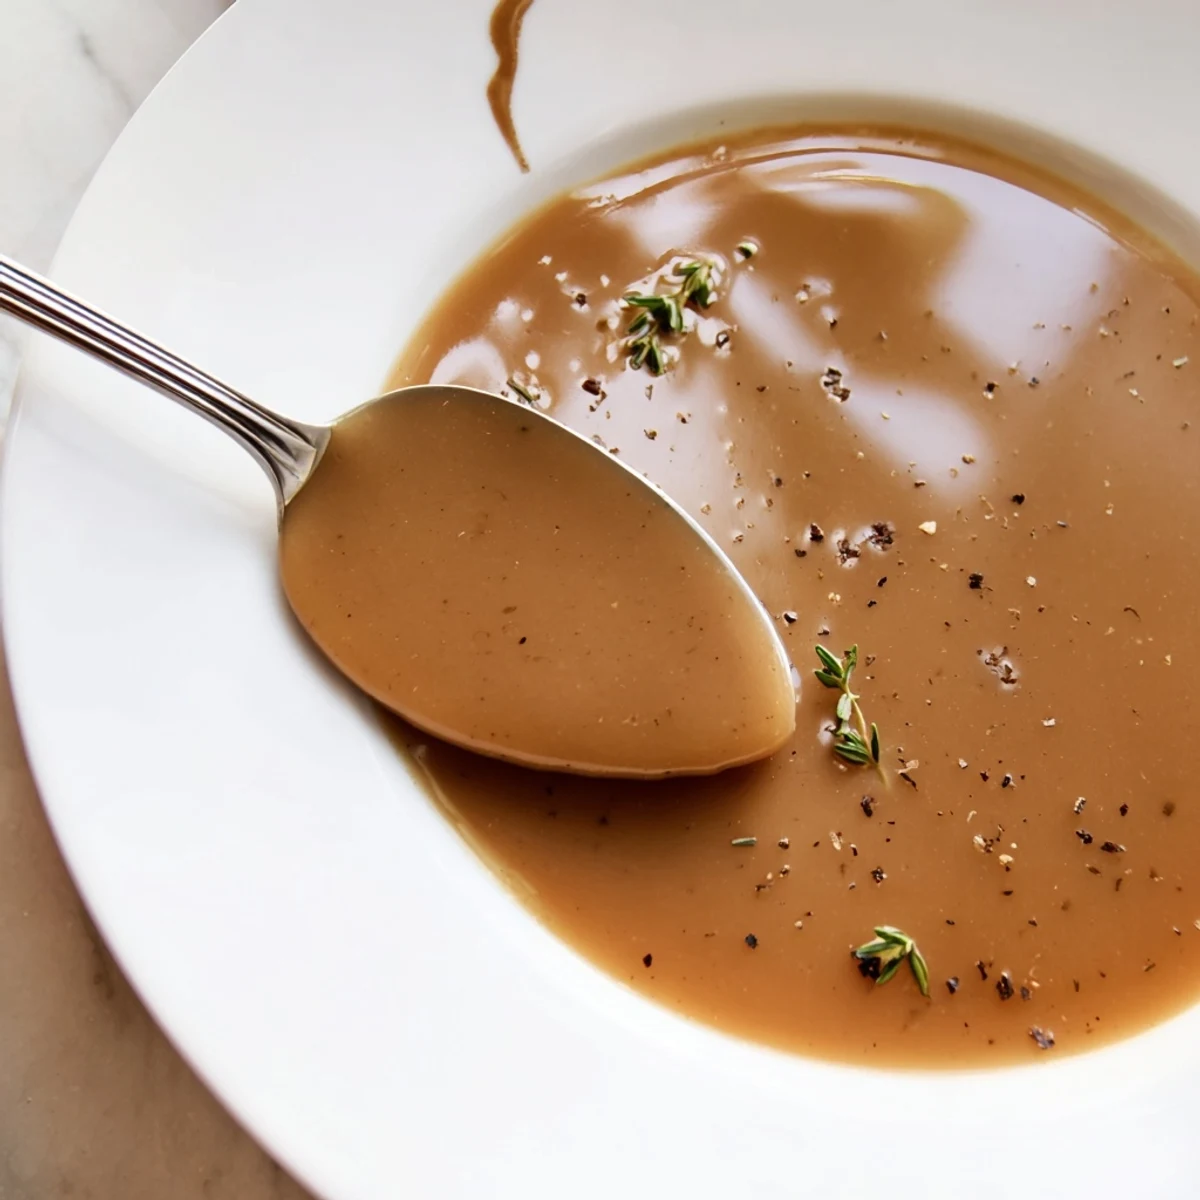
- Let it bubble gently for about 10 minutes, whisking now and then, until it coats the back of a spoon
- Season and serve:
- Taste and add your salt, pepper, and herbs, then strain through a sieve if you want it silky smooth
 Pin It
 My dad used to call Sunday dinner 'gravy night' even when there was no meat involved, just because he loved the comfort of a warm sauce over everything. Some meals stick with you not because they were fancy, but because they made the whole family go quiet for that first bite.
Making It Your Own
I've learned that a splash of cream at the end makes restaurant worthy gravy, while a dash of soy sauce adds this incredible depth that nobody can quite put their finger on. Once you nail the basic technique, you'll start experimenting with roasted garlic, a splash of wine, or whatever sounds good that day.
Timing Is Everything
The trick I wish someone had told me earlier is to start your gravy about 15 minutes before you plan to eat, right when your meat is resting. This gives you time to use the same pan and incorporate all those crispy brown bits that make gravy taste like it came from a professional kitchen.
Troubleshooting Like a Pro
If your gravy turns out too thick, whisk in a splash more warm stock or water, and if it's too thin, just let it simmer a bit longer. I once saved a broken gravy by buzzing it with an immersion blender, which is now my secret weapon for emergency smoothness.
- Keep warm milk or cream nearby to thin if gravy gets too thick
- Always strain through a sieve for that silky restaurant texture
- Make a double batch because it freezes beautifully
 Pin It
 Great gravy is just patience and butter, which is probably why it feels so special to pour over a plate. Every batch teaches you something new about timing and taste.
Recipe Q&A
- → How do I prevent lumps in homemade gravy?
-
Whisk flour into melted butter until smooth to create a roux. Gradually pour in stock while whisking continuously. This technique prevents lumps and ensures silky results.
- → Can I make gravy ahead of time?
-
Yes, prepare up to 2 days in advance. Store in the refrigerator and reheat gently, adding a splash of stock or water to restore consistency.
- → What's the best way to thicken gravy?
-
The roux method—cooking equal parts butter and flour before adding liquid—provides the most reliable thickening. Simmer until desired consistency is reached.
- → Can I use pan drippings instead of butter?
-
Absolutely. Pan drippings from roast meat add incredible depth. Skim excess fat, then use drippings in place of butter for even more flavor.
- → How do I make vegetarian gravy?
-
Use vegetable stock instead of chicken or beef stock. Stick with butter or use olive oil. The roux technique remains the same for delicious vegetarian results.
- → Why strain gravy through a sieve?
-
Straining removes any flour lumps or herb bits, creating an ultra-smooth professional texture. It's optional but recommended for the silkiest results.
