 Pin It
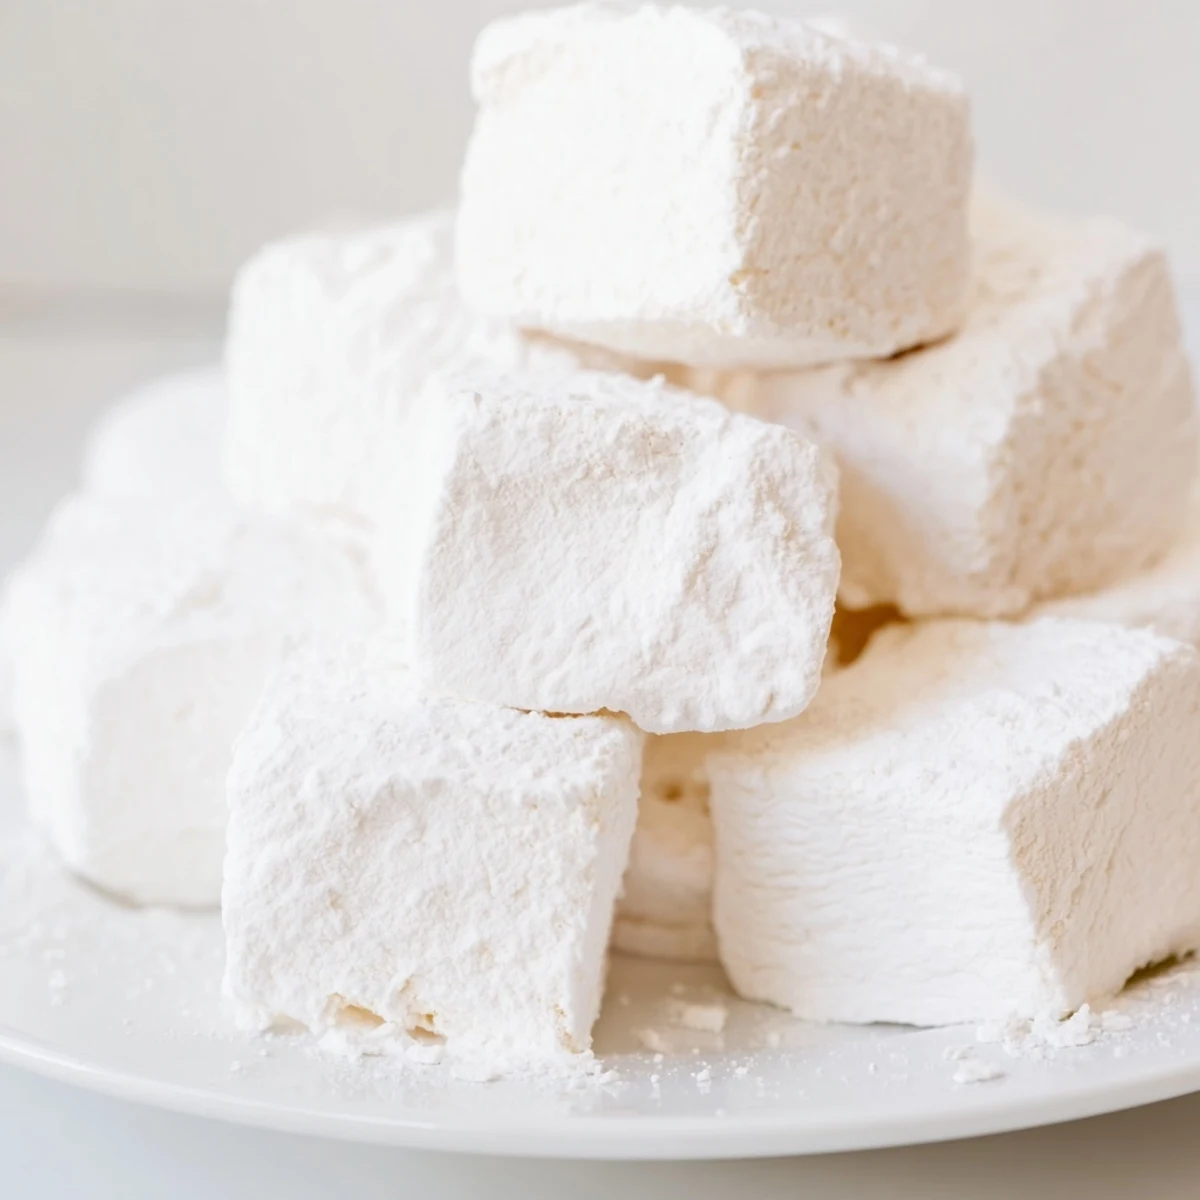
 These homemade marshmallows deliver incredibly soft, pillowy texture with pure vanilla flavor. The process involves blooming gelatin, cooking a simple sugar syrup to 240°F, then whipping until white and tripled in volume. After setting for four hours or overnight, you'll have 24 square clouds ready for snacking, floating in hot cocoa, or toasting for s'mores. The cornstarch-confectioners' sugar coating keeps them perfectly dusted and prevents sticking.
The first time I attempted homemade marshmallows, I stood over the stove watching sugar syrup bubble with nervous anticipation. My grandmother had insisted store bought ones could never compare to the real thing. She was right. The moment that hot syrup hit the gelatin and started transforming into glossy white peaks, I understood what she meant about magic happening in the kitchen.
I remember making these for a snow day gathering with friends. We spent the afternoon dipping freshly cut squares into melted chocolate, laughing when half of it ended up on our faces instead of in our mouths. Those sticky fingers and chocolate smudges became the highlight of winter, something we still talk about years later.
Ingredients
- Granulated sugar: The foundation that creates structure and sweetness, do not skip the candy thermometer step or texture will suffer
- Light corn syrup: Essential for preventing crystallization and keeping marshmallows soft, glucose syrup works perfectly too
- Unflavored gelatin: The magic transformer that turns liquid sugar into fluffy clouds, bloom it properly for best results
- Pure vanilla extract: Use the good stuff here since flavor comes through clearly in the final product
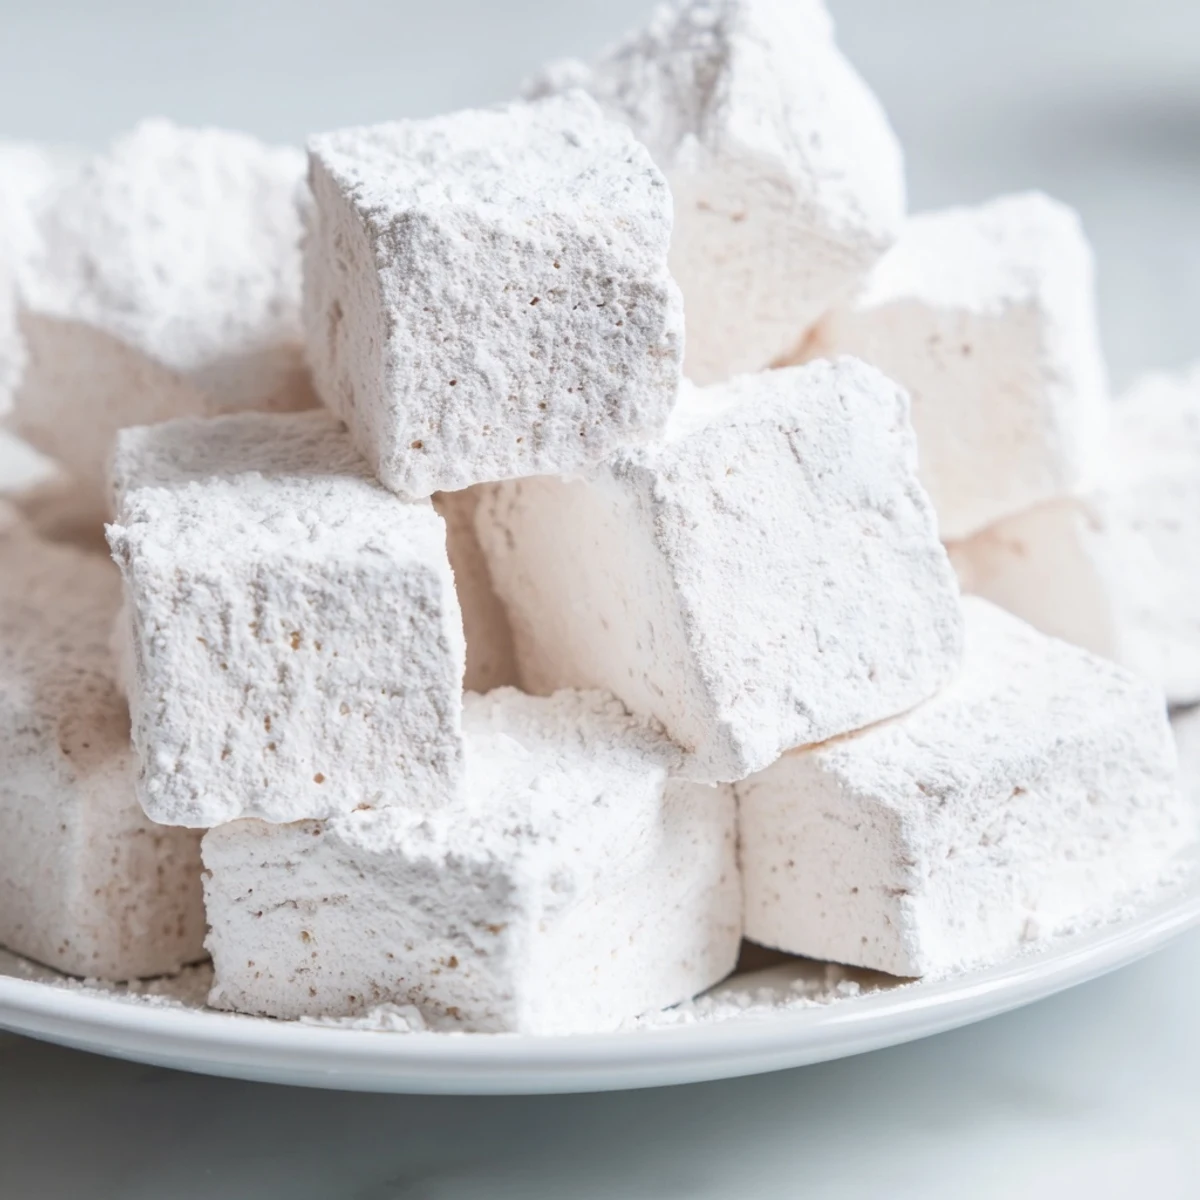
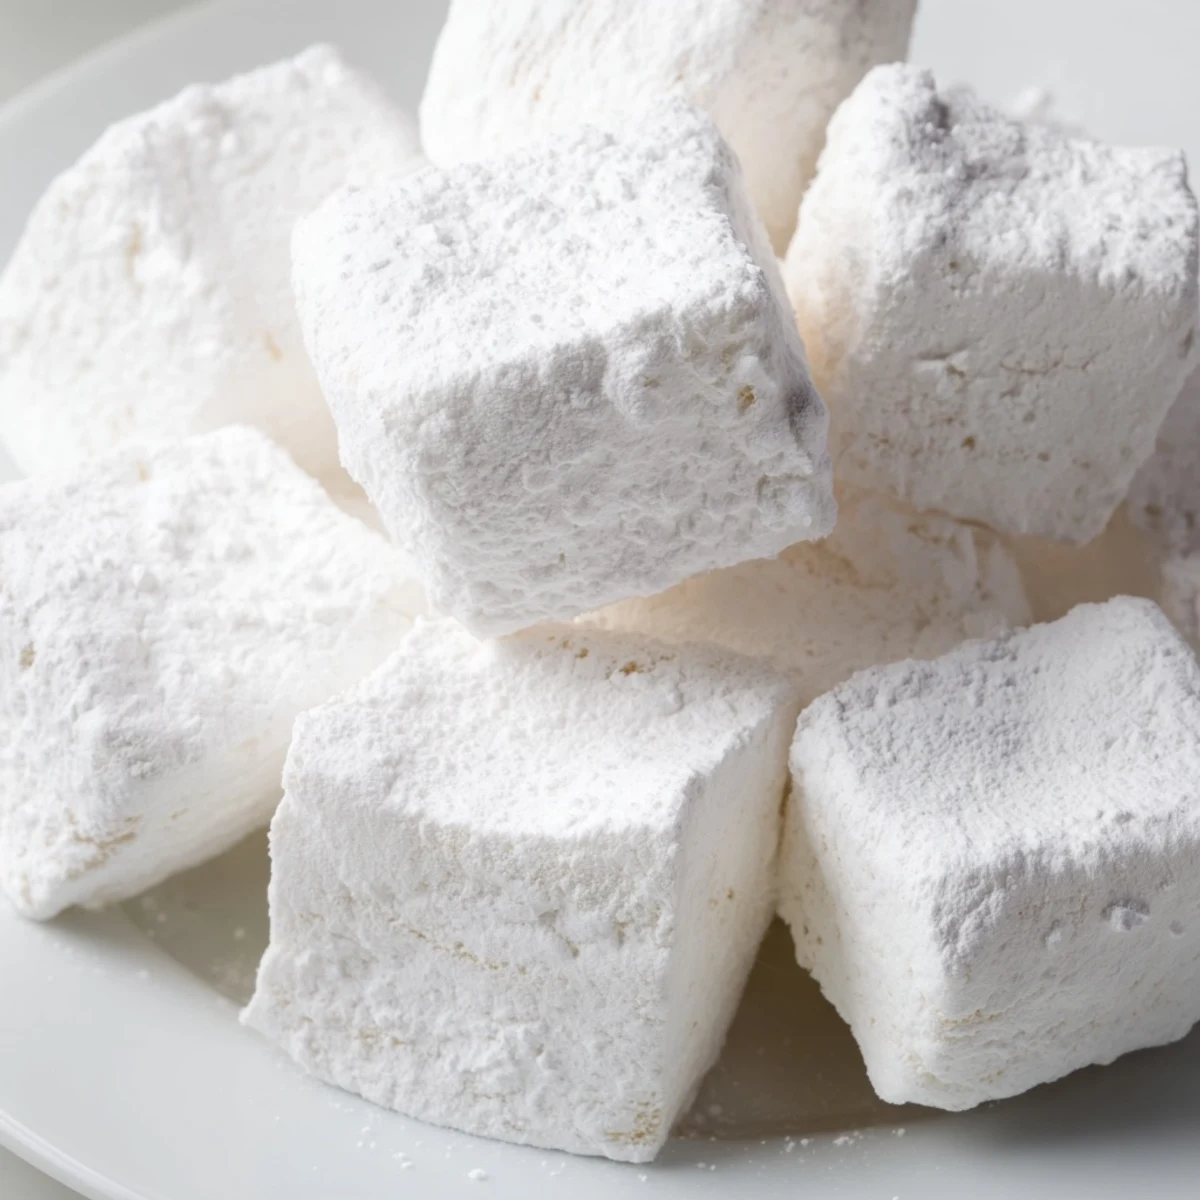
- Confectioners sugar and cornstarch: This coating keeps marshmallows from sticking together and adds that classic dusty finish
Instructions
- Prepare your pan:
- Dust a 9x9 inch pan generously with half the confectioners sugar and cornstarch mixture, paying attention to corners
- Bloom the gelatin:
- Combine gelatin with cold water in your stand mixer and let it sit for 10 minutes until it becomes firm and absorbent
- Cook the syrup:
- Heat sugar, corn syrup, water and salt until it reaches exactly 240 degrees F, this temperature matters more than anything else
- Combine and whip:
- Pour hot syrup carefully into gelatin with mixer running low, then beat on high for 8 to 10 minutes until tripled in volume
- Add flavor and set:
- Fold in vanilla extract, spread quickly into prepared pan, dust with remaining coating, and wait at least 4 hours before cutting
 Pin It
 These marshmallows have become my go to gift during the holidays. Last year I packed them in mason jars with ribbons and gave them to neighbors. The feedback was unanimous. People kept asking what made them different, better somehow. That quiet satisfaction of making something special from simple ingredients never gets old.
Flavor Variations
While vanilla is classic, the base recipe welcomes creativity. Peppermint extract creates marshmallows that taste like holidays in a bite. A swirl of raspberry puree before setting makes for a stunning pink version. Toasted coconut folded in at the end adds texture and warmth.
Storage Secrets
These keep remarkably well in airtight containers for up to a week. The key is separating layers with parchment paper so they do not stick together. I have learned the hard way that rushing this step leads to one giant marshmallow block. Humidity is the enemy, so keep them in a cool dry spot.
Serving Ideas
While they are perfect straight from the cutting board, homemade marshmallows shine in simple applications. They melt beautifully into coffee or chocolate milk. A quick torch over the top creates a caramelized crust that contrasts perfectly with the soft interior. They also work wonderfully in rice crispy treats, taking that childhood favorite to new heights.
- Dip them in tempered chocolate for an elegant dessert
- Toast them carefully over a gas burner for that campfire flavor indoors
- Cube them smaller to float atop elegant hot chocolate presentations
 Pin It
 There is something deeply satisfying about turning three basic ingredients into something so delightful. These marshmallows have a way of making ordinary moments feel just a little more special.
Recipe Q&A
- → How long do homemade marshmallows need to set?
-
Marshmallows need a minimum of 4 hours to set at room temperature, though overnight is preferable for the best texture. This allows the gelatin structure to fully stabilize.
- → Can I make marshmallows without a stand mixer?
-
A stand mixer is highly recommended because you need to whip for 8-10 minutes on high speed. Hand mixers may overheat, and whisking by hand is extremely difficult given the volume and time required.
- → Why do I need a candy thermometer?
-
The sugar syrup must reach exactly 240°F (115°C) for proper marshmallow texture. Too cool and they won't set; too hot and they become tough. A thermometer ensures precision.
- → How should I store homemade marshmallows?
-
Store in an airtight container at room temperature for up to 1 week. Keep the coating of confectioners' sugar and cornstarch intact to prevent them from becoming sticky.
- → Can I use different flavors?
-
Absolutely. Replace the vanilla extract with peppermint, almond, or any extract you prefer. Add food coloring with the vanilla for colorful marshmallows.
