 Pin It
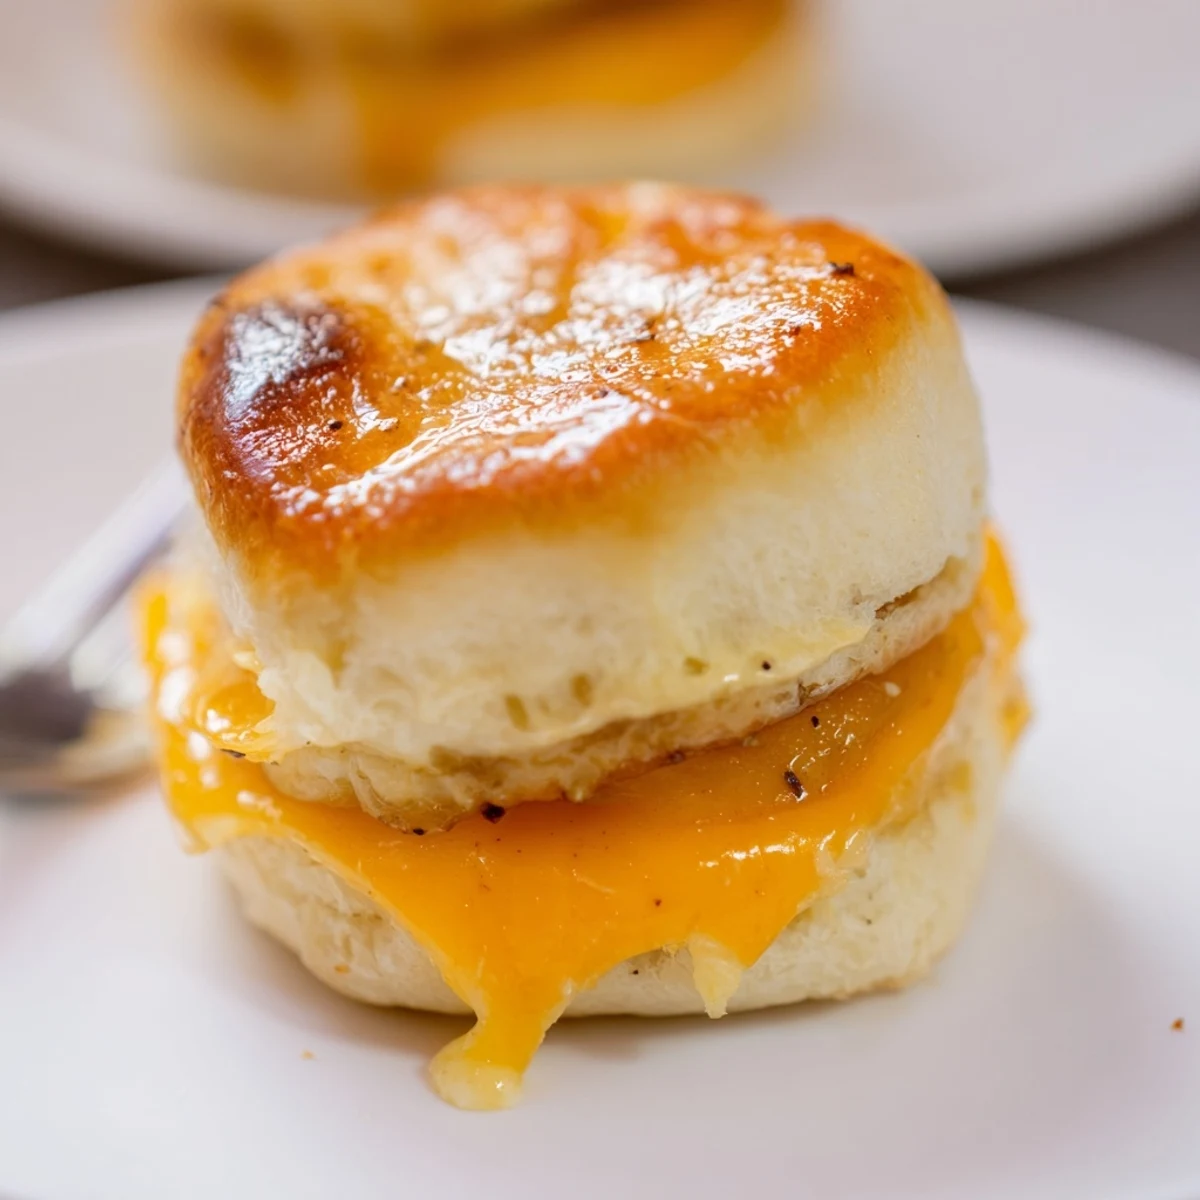
 These mini grilled cheese sandwiches transform a 12-count block of sweet Hawaiian rolls into 12 golden, gooey sliders. Slice the rolls horizontally, layer cheddar (and ham if desired), brush tops with a melted butter mix of mustard, honey and garlic, then bake 10–15 minutes until cheese melts and tops brown. Ready in about 25 minutes; swap cheeses or add caramelized onions for variation. Serve warm with tomato soup or dipping sauces.
The scent of melting cheese and butter always reminds me of those in-between times when lunch turns into an impromptu snack fest. These mini grilled cheese Hawaiian rolls came about on one such lazy Saturday, when a friend dropped by and we rummaged through the fridge for something fun. Suddenly, the sweet doughy rolls and sharp cheddar seemed destined for each other. I've come to love the way these little sandwiches come together—quick, gooey, and perfect for sharing.
One of my favorite memories is when I whipped up a batch of these mini sandwiches for a game night with cousins. I burned my fingers going in for the first one, but nobody waited for plates—we just laughed and juggled steaming rolls from hand to hand. That was the day I learned grilled cheese doesn't always need sliced bread or a skillet, just a little curiosity. By the end of the night, the only thing left was the scent of butter in the air.
Ingredients
- Hawaiian sweet rolls: Their soft, slightly sweet pull-apart texture makes these more than just a mini sandwich—don’t try to separate before slicing, it keeps things tidy.
- Sliced cheddar cheese: The sharper, the better—layer it evenly so every bite gets stretchy cheese, and experiment with your favorite cheeses for a spin.
- Unsalted butter, melted: Melt just before using, and always brush the tops generously for the best golden crust.
- Deli ham or turkey (optional): Adds a savory layer that transforms the sandwich, but is easily skipped for vegetarians.
- Dijon or yellow mustard (optional): Gives that secret zing if you’re in the mood for a grown-up touch.
- Honey (optional): I drizzle it into the butter for a sweet and salty vibe—it’s worth a try especially if you’re using a sharp cheese.
- Garlic powder (optional): Sprinkling a little over the top before baking coats the rolls with a hint of garlicky warmth.
Instructions
- Get your oven ready:
- Preheat to 350°F (175°C) and line a baking sheet with parchment so nothing sticks.
- Slice the rolls:
- With a serrated knife, slice the whole block of rolls horizontally—don’t pull them apart yet, it makes assembly easier.
- Layer the base:
- Set the bottom half of the rolls on the baking sheet, then layer cheddar slices over every inch, tucking in ham or turkey if using.
- Place the tops:
- Gently settle the top half of the rolls over the fillings, making sure they line up.
- Mix and brush the butter:
- Combine melted butter with mustard, honey and garlic powder if you like, and brush it thickly on top—the rolls should glisten.
- Bake to perfection:
- Slide the tray onto the middle rack and bake 10–15 minutes, until the cheese bubbles and the tops look set and golden brown.
- Cool and serve:
- Let the rolls sit 2 minutes; then slice along the edges for neat mini sandwiches and serve them warm, preferably straight from the tray.
 Pin It
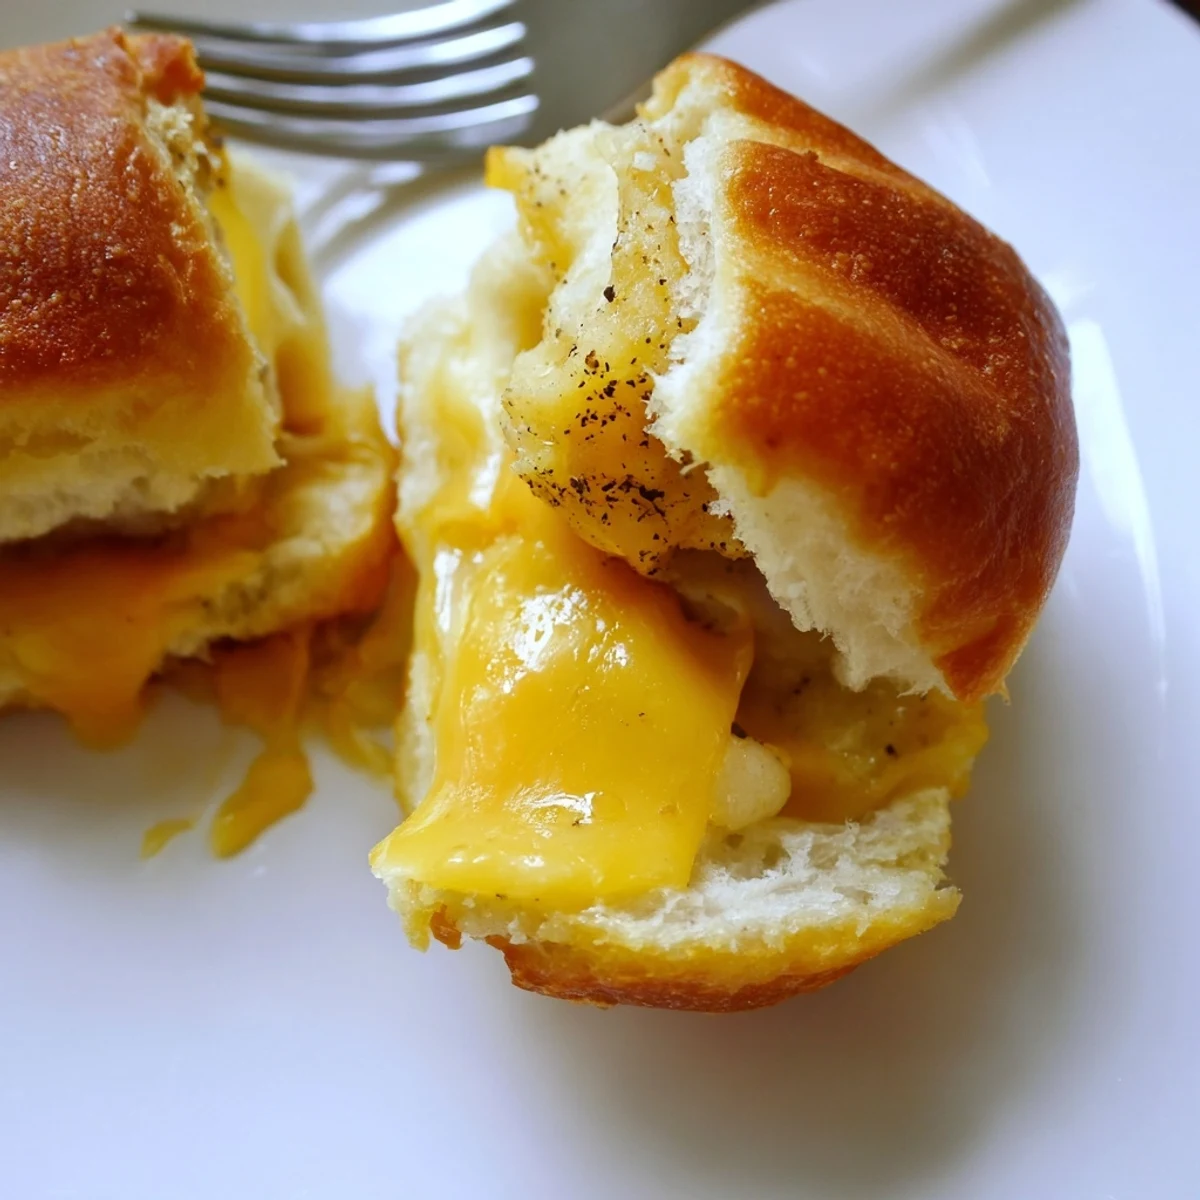
 The first time I snuck an extra sandwich before anyone noticed, I remember how the cheese pulled away and left a ribbon from roll to roll. It was such a small delight, but I still smile thinking about that gooey, slightly risky bite. Sometimes, the simplest moments around food turn routines into little celebrations.
Smart Swaps for Any Mood
I've tried swapping cheddar for pepper jack on days that needed an extra kick, and once, when out of butter, I brushed on olive oil—it still worked. The sandwiches seem to invite tinkering: a slice of tomato here, a sprinkle of caramelized onions there. Each change shifts the mood, but the core comfort always remains.
Serving Ideas Everyone Loves
If you want instant cozy, serve with hot tomato soup—the classic combo works even at midnight. Sometimes I pair these with a pile of crisp pickles or thinly-sliced apples for a sharp, juicy contrast. They're also a hit alongside a light salad for a quick but satisfying meal.
Little Tricks That Make Things Easier
Keeping the rolls together for slicing and layering saves cleaning and makes cutting afterwards a breeze. A pastry brush works best for getting butter in every nook, and parchment paper means less time scraping sticky cheese. Don’t overthink the cheese placement—the edges will look unruly, but that's where the crispy bits happen.
- If you use deli ham, fold it so each bite gets a little.
- Tomato slices should be patted dry so the bread stays crisp.
- Watch for golden tops as your cue—it’s more reliable than timing alone.
 Pin It
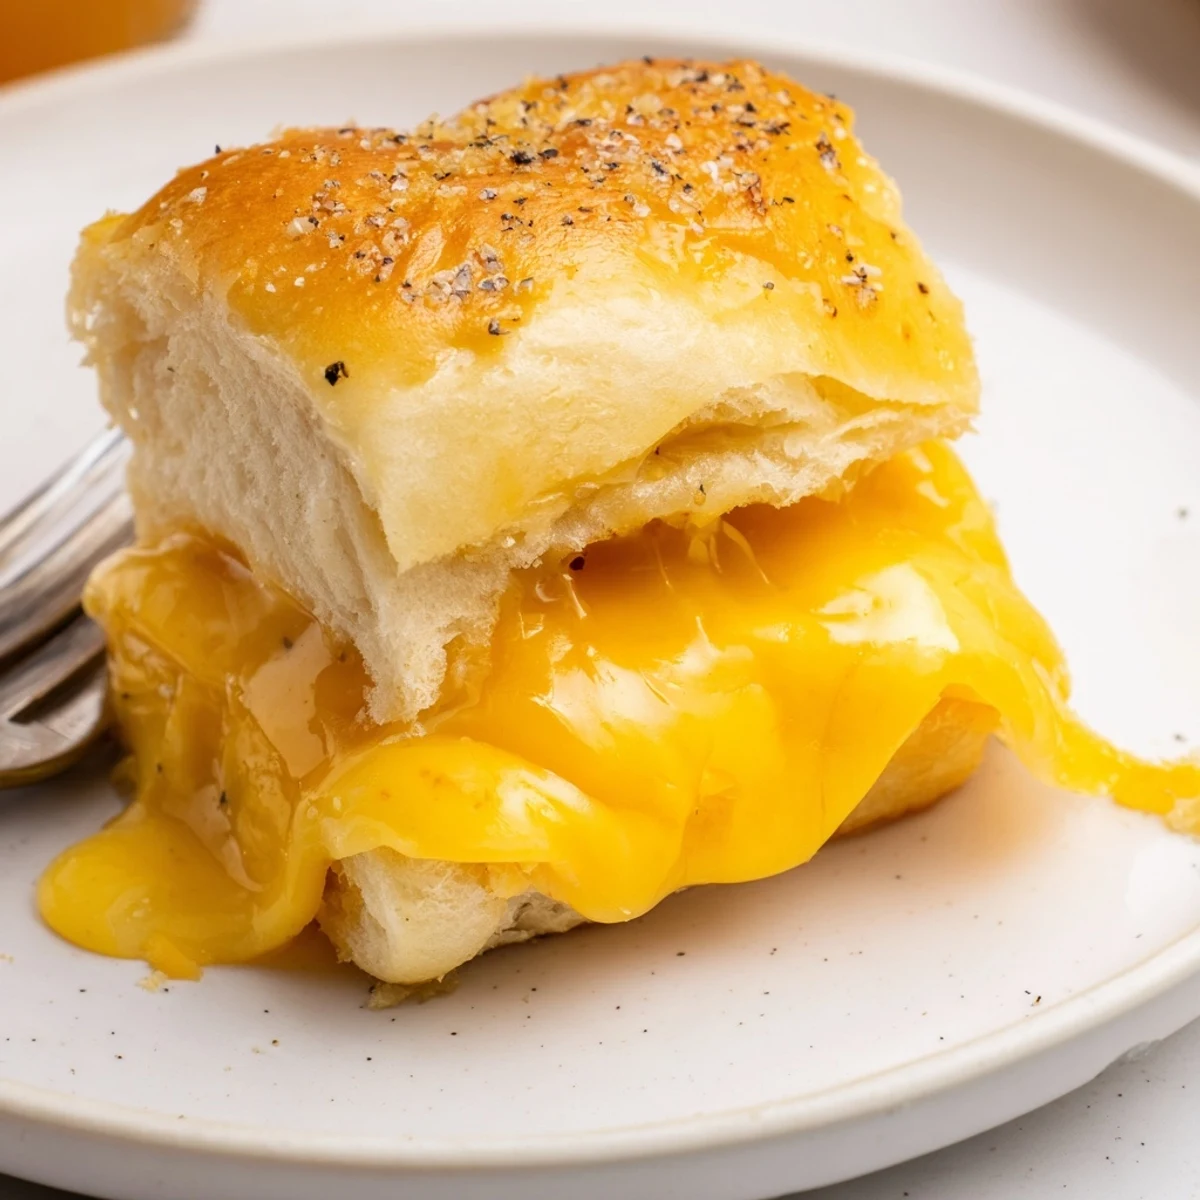
 Once you try these, you'll find an excuse to make them for every occasion. Let the laughter and melted cheese bring a little extra joy to your table.
Recipe Q&A
- → Can I use different cheeses?
-
Yes. Try Swiss, provolone, pepper jack or a sharp cheddar blend for varied meltiness and flavor. Mix softer and firmer cheeses for creaminess and stretch.
- → How do I prevent soggy bottoms?
-
Keep fillings thin and well-drained. Place the bottom roll layer on a lined baking sheet and avoid excess wet ingredients; a brief bake at 350°F crisps the exterior while melting the cheese.
- → What are good add-ins for more flavor?
-
Caramelized onions, sliced tomatoes, cooked bacon or deli ham add depth. A smear of Dijon or a drizzle of honey balances salty cheese with sweet notes.
- → Can I prepare them ahead and reheat?
-
Assemble and keep chilled for a few hours, then bake just before serving. Reheat leftovers in a 350°F oven or toaster oven to restore crisp tops and melty centers.
- → How should I store leftovers?
-
Cool completely, wrap tightly or store in an airtight container in the fridge for up to 2 days. Reheat in the oven to preserve texture rather than the microwave.
- → Any tips for serving at parties?
-
Cut into individual sliders and arrange on a platter with small bowls of ketchup, mustard or tomato soup for dipping. Keep extras warm in a low oven until ready to serve.
