 Pin It
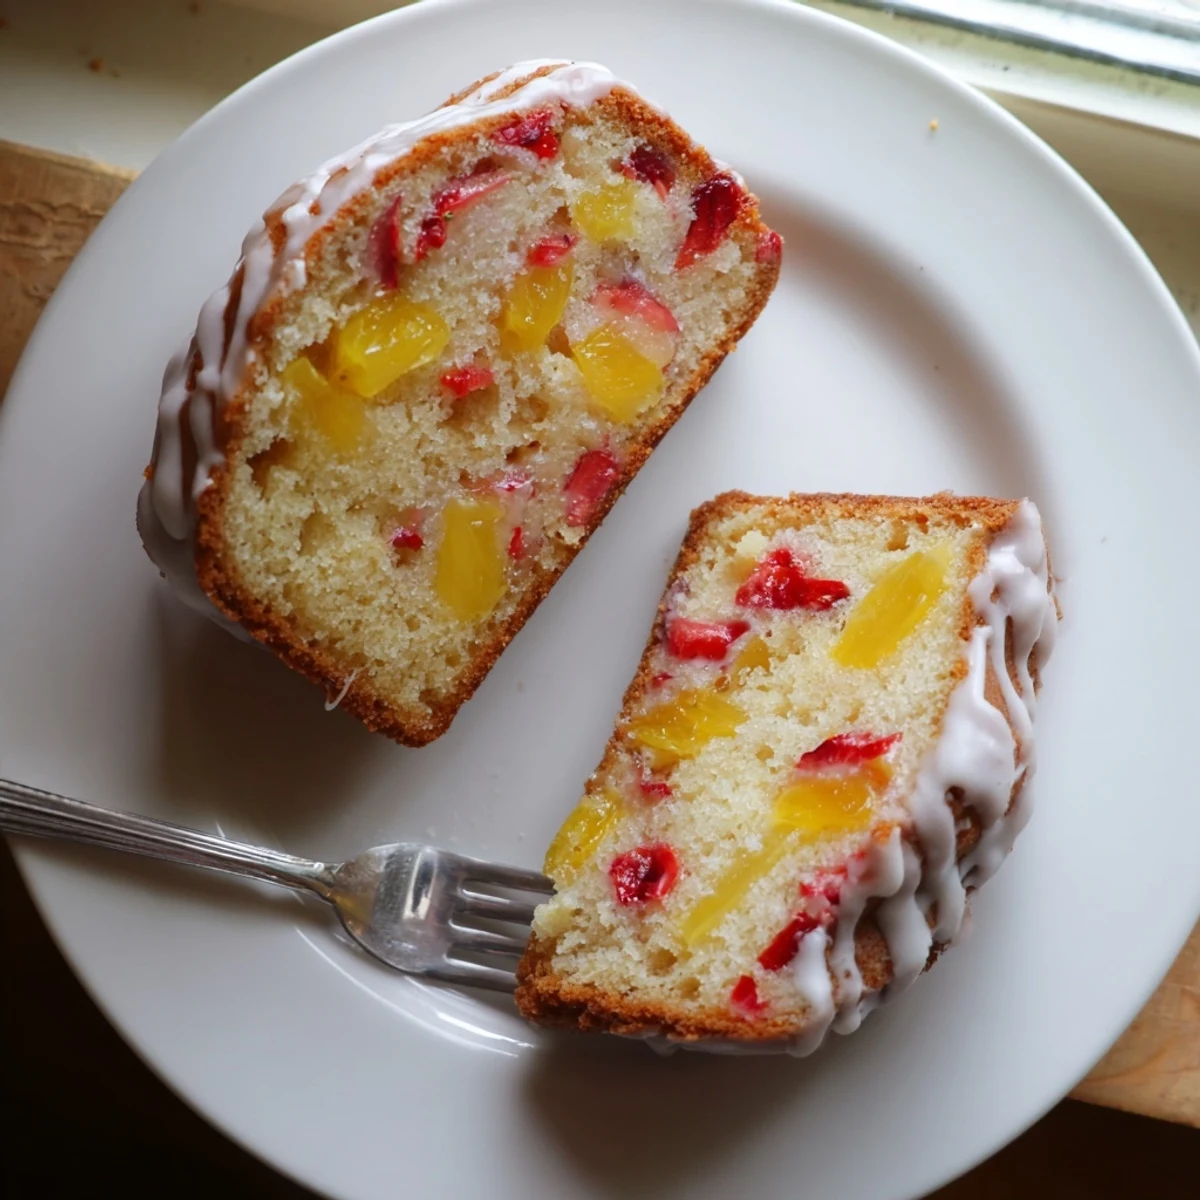
 This tender pound cake combines sweet strawberries and tangy pineapple in a moist, buttery crumb. The fruit gets tossed in flour before folding into the batter, ensuring even distribution throughout. Cream butter and sugar until fluffy, then add eggs one at a time for the best texture. The optional pineapple glaze adds an extra layer of tropical sweetness.
Bake time is approximately one hour, and the cake yields 10–12 generous slices. Perfect for brunch, afternoon tea, or dessert at your next spring or summer get-together.
The scent of strawberries and pineapple baking together still reminds me of lazy Sunday mornings at my grandmother's house. She believed every cake should tell a story, and this one always spoke of summer days and kitchen laughter. I've carried that tradition forward, tweaking her method until the crumb was impossibly tender and the fruit distribution perfectly even through each slice.
My sister requested this for her wedding shower after tasting it at a family brunch months prior. She remembered how the pineapple glaze caught the light on the serving platter and how guests kept returning for just one more thin slice. The cake disappeared completely before any other dessert even got touched.
Ingredients
- Fresh strawberries: Dicing them small prevents them from releasing too much moisture and creating soggy spots in the crumb
- Pineapple: Well drained canned pineapple works beautifully but fresh adds an extra brightness that really pops
- All-purpose flour: Measuring properly by spooning into the cup and leveling off prevents a dense heavy cake
- Baking powder: This lifts the batter enough to balance the richness from all that butter
- Salt: Just enough to brighten the fruit flavors without making the cake taste savory
- Unsalted butter: Room temperature butter creates the proper air pockets when creamed with sugar
- Granulated sugar: Creaming this thoroughly with the butter is what gives pound cake its signature fine texture
- Large eggs: Room temperature eggs emulsify better into the batter creating a more stable structure
- Whole milk: Alternating milk with flour keeps the gluten development in check for tenderness
- Sour cream: This is the secret ingredient that makes the crumb impossibly moist and gives the cake a slight tang
- Pure vanilla extract: Real vanilla makes such a difference here tying together all the fruit flavors
- Powdered sugar: For the glaze this dissolves smoothly without any graininess
- Pineapple juice: Using reserved juice from the pineapple ties the glaze flavor back to the cake
Instructions
- Prep your fruit first:
- Toss the diced strawberries and pineapple with two tablespoons of flour until each piece is lightly coated
- Warm the oven:
- Preheat to 350°F and generously grease your loaf pan with butter then dust with flour
- Mix the dry ingredients:
- Whisk the remaining flour baking powder and salt in a medium bowl so everything is evenly distributed
- Cream butter and sugar:
- Beat the butter and sugar on medium speed for three to four minutes until pale and fluffy
- Add the eggs:
- Drop in eggs one at a time letting each fully incorporate before adding the next
- Add flavor and tang:
- Mix in the vanilla extract and sour cream until just combined
- Build the batter:
- Add flour and milk in alternating portions beginning and ending with flour mixing gently until just combined
- Fold in the fruit:
- Gently incorporate the floured strawberries and pineapple being careful not to overmix
- Bake until done:
- Pour batter into the prepared pan and bake for fifty five to sixty five minutes until a toothpick comes out clean
- Cool properly:
- Let the cake rest in the pan for fifteen minutes before turning it out onto a wire rack
- Glaze if desired:
- Whisk powdered sugar with pineapple juice until smooth and drizzle over the completely cooled cake
 Pin It
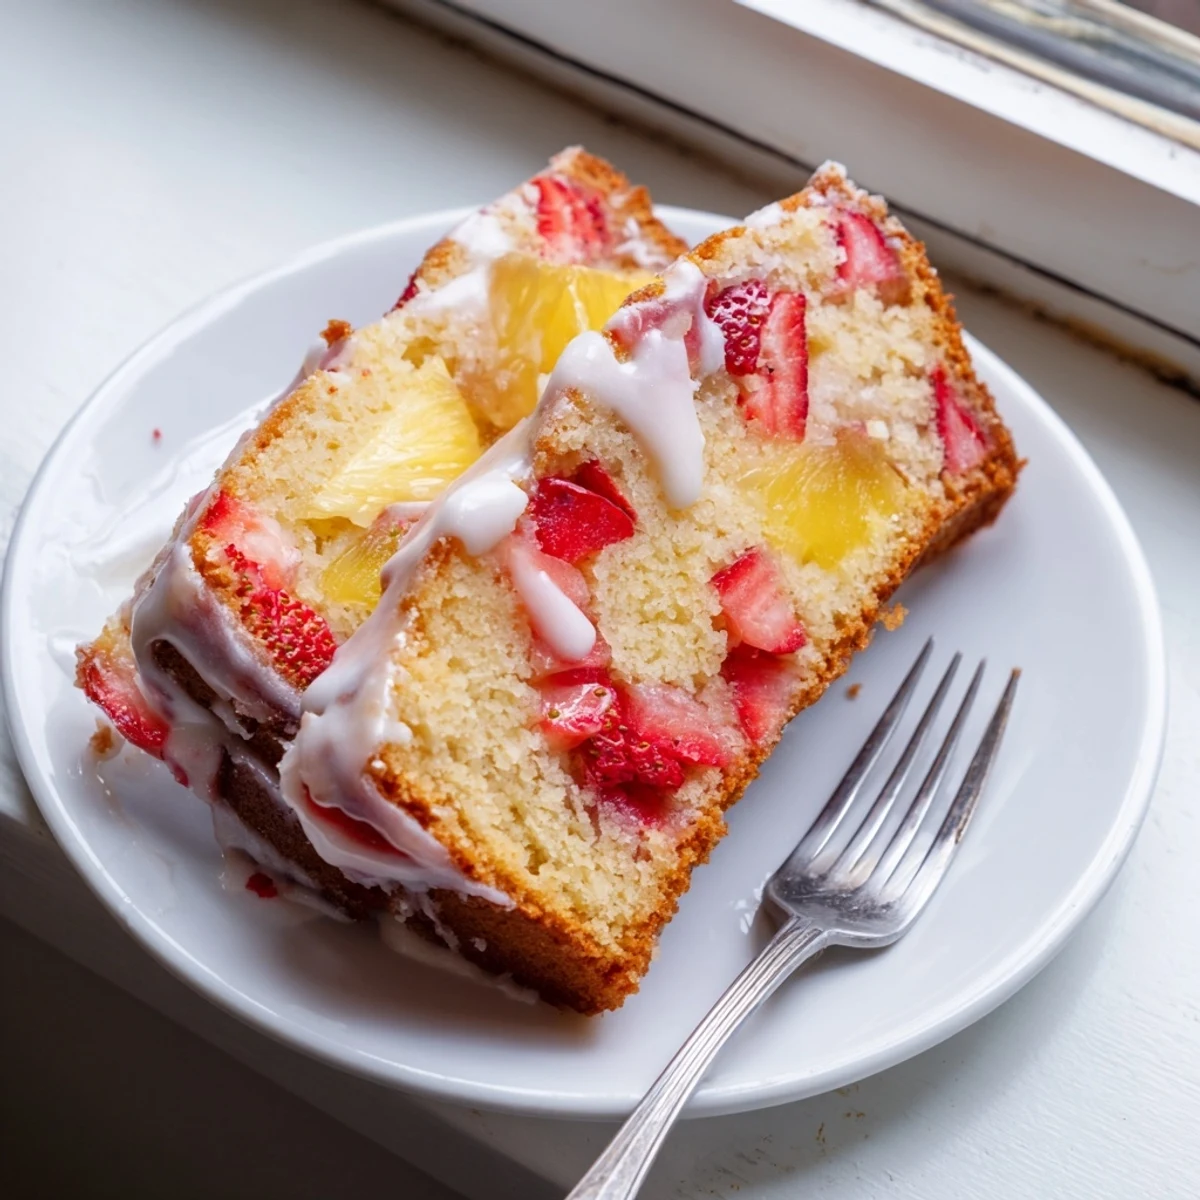
 This cake became our go to for summer potlucks after someone pointed out it travels better than delicate frosted layer cakes. The fruit stays suspended beautifully and the glaze sets enough to stack pieces on a serving platter without making a mess.
Making It Ahead
The unglazed cake keeps wrapped tightly at room temperature for three days and actually develops deeper flavor on the second day. The glaze is best added the same day you plan to serve since it can soften the crumb if stored too long.
Serving Suggestions
A dollop of lightly sweetened whipped cream alongside each slice makes this feel extra special for company. Fresh basil leaves scattered on the platter add an unexpected herbal note that really complements the pineapple.
Storage and Freezing
Wrap individual slices in plastic then foil and freeze for up to three months. Thaw at room temperature still wrapped so the glaze stays intact and the moisture redistributes evenly.
- Slices thaw in about two hours on the counter
- The glaze might weep slightly when thawing but this is completely normal
- Refresh day old cake by warming it in a 300°F oven for ten minutes
 Pin It
 There is something deeply satisfying about a cake that looks impressive but comes together with such straightforward technique. This is the recipe I reach for when I want to bring something that feels like summer no matter the season.
Recipe Q&A
- → Can I use frozen strawberries instead of fresh?
-
Yes, frozen strawberries work well. Thaw them completely and drain thoroughly before dicing. Excess moisture can make the cake dense, so pat them dry with paper towels after draining.
- → How should I store this cake?
-
Wrap the cooled cake tightly in plastic wrap or store in an airtight container at room temperature for up to 3 days. For longer storage, refrigerate for up to a week or freeze individual slices for up to 3 months.
- → Why do I toss the fruit in flour?
-
Coating strawberries and pineapple in flour prevents them from sinking to the bottom during baking. This simple step helps distribute the fruit evenly throughout every slice.
- → Can I make this without a mixer?
-
You can cream the butter and sugar by hand with vigorous stirring, though it will take longer—about 5–7 minutes of beating. The texture may be slightly denser but still delicious.
- → What's the best way to tell when the cake is done?
-
Insert a wooden toothpick into the center of the cake. If it comes out clean or with just a few moist crumbs, it's finished baking. The top should be golden brown and spring back when lightly touched.
